Quick and Creative DIY Cauldron for Halloween Decor
I’m a little late to the party, but I finally decided to try my hand at this super fun, easy Halloween DIY craft — my very own DIY cauldron! It turned out to be such a cute, inexpensive project, and the best part? I challenged myself to make it entirely with things I already had on hand.
If you’re looking for a quick Halloween project that looks high-end but costs next to nothing, this is it.
How I Made My DIY Cauldron
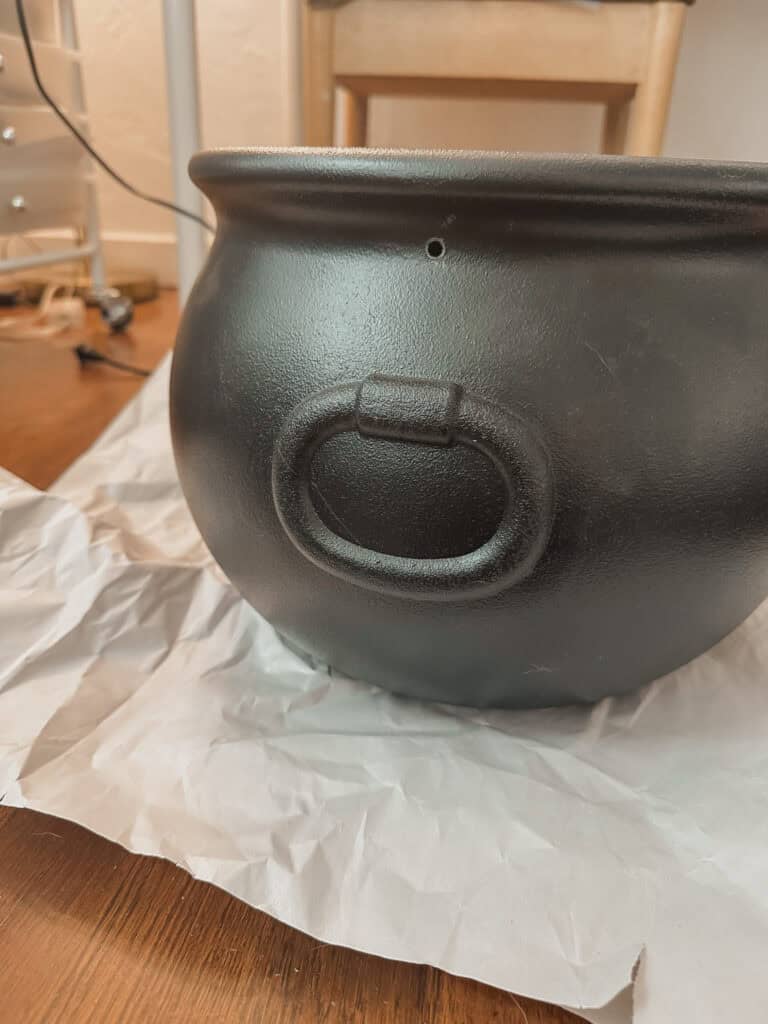
I started with a basic black plastic cauldron I picked up at Target a couple of years ago — you know the kind: smooth, shiny, and just a little too perfect. I wanted mine to look more like an antique witch’s cauldron — something that could have been bubbling away in a spooky old cottage.
To age it up, I mixed black and brown acrylic paint with a bit of baking soda to create a thick, gritty texture. Then I brushed that mixture all over the cauldron, intentionally leaving visible brushstrokes and ridges to give it that aged, cast-iron look.
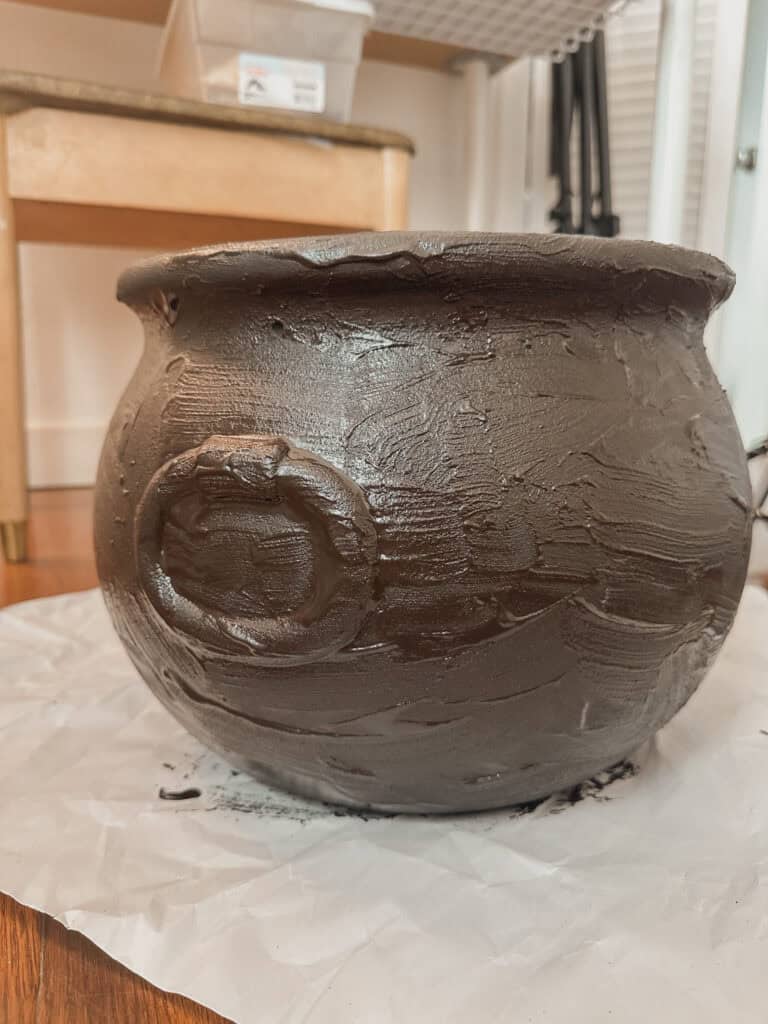
Once the paint dried, I used gold leaf Rub ’n Buff on a fluffy brush to highlight raised areas like the rim and handles. It added just the right amount of shine — like the cauldron had been handled for centuries.
Making the “Potion” Glow
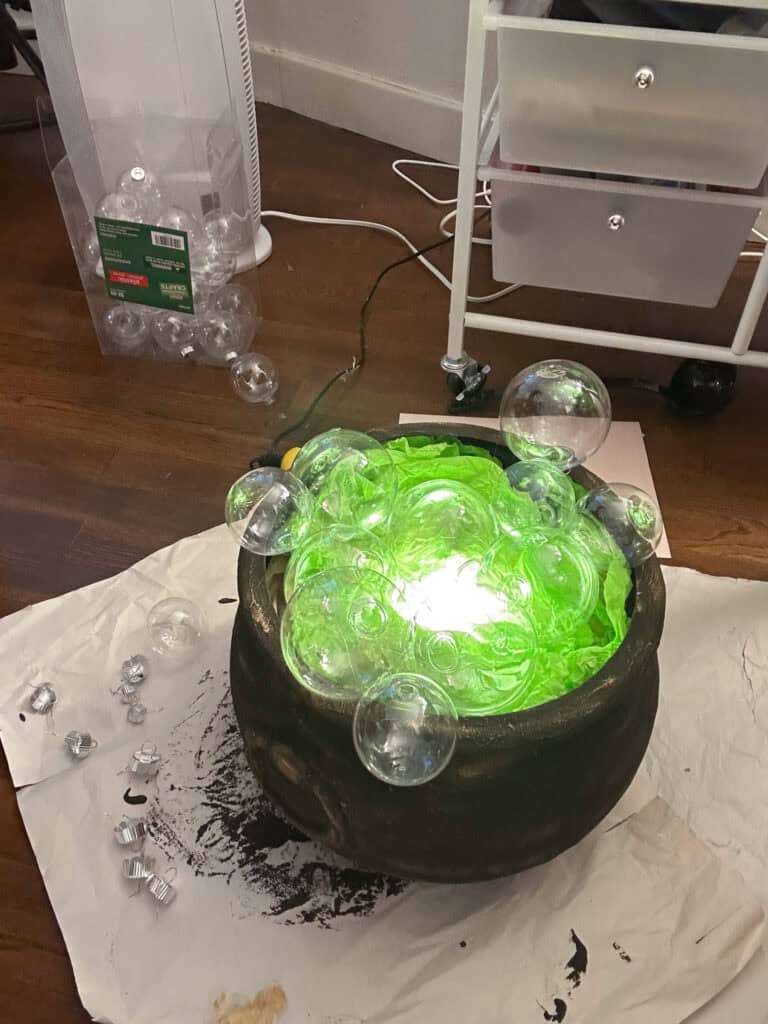
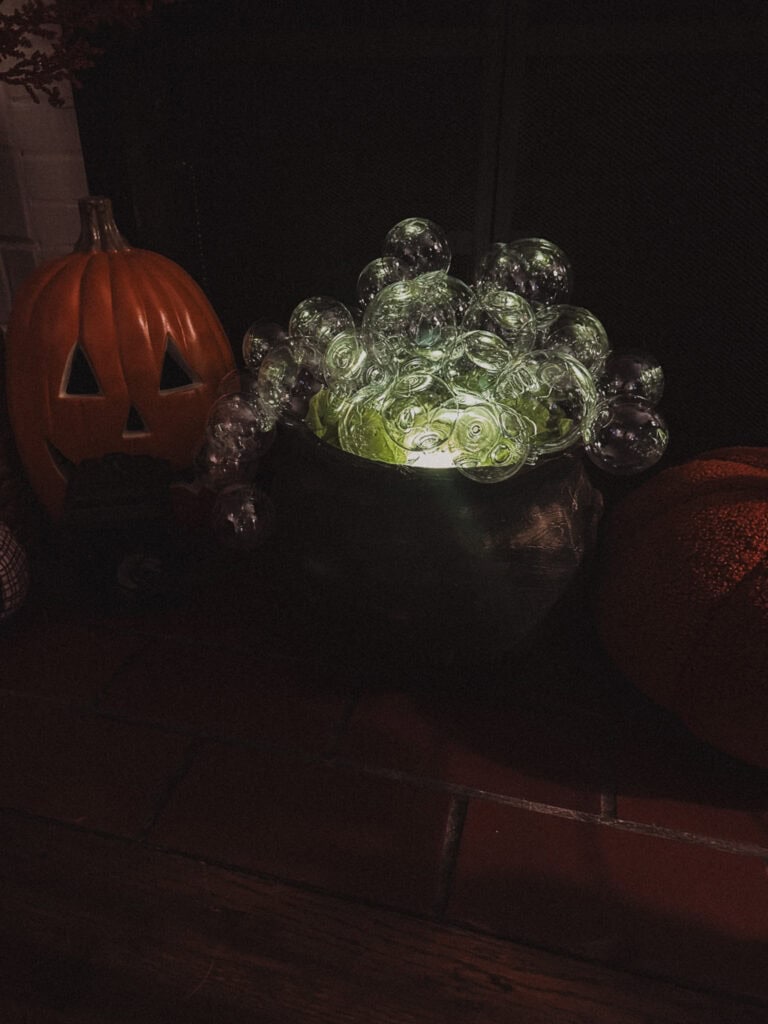
To give the illusion of a bubbling brew, I stuffed the bottom of the cauldron about three-quarters full with brown packing paper, then tucked in a simple LED light. A flickering or color-changing light would probably look even cooler, but I stuck with what I had. The challenge was to use only existing supplies.
To tint the glow green, I placed a single layer of green tissue paper over the light. Instant magic — no need for a green bulb.
Adding the Bubbling Effect
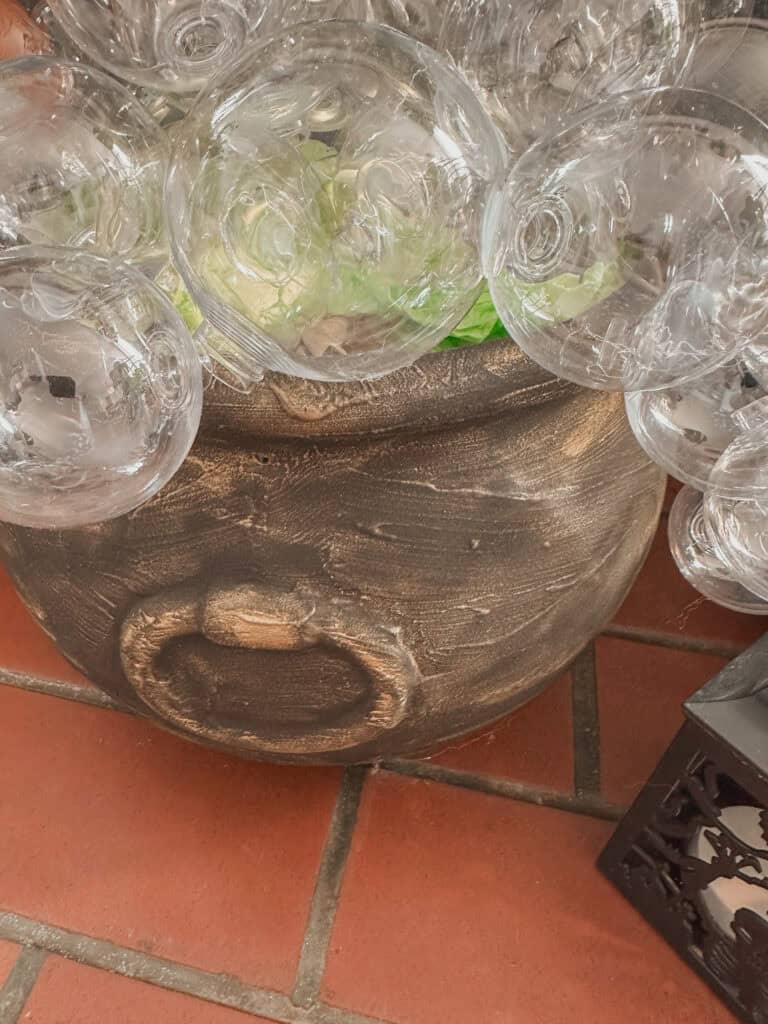
For the “bubbles,” I used clear Christmas baubles — the fillable kind — in a few different sizes. I didn’t have the iridescent ones (which are ideal if you can find them), but mixing large and small baubles still gave the effect of floating bubbles.
Using a hot glue gun, I glued smaller clusters together first, then attached those clusters to each other until I had one large, connected bubble piece. This made it easy to lift the whole thing off when I needed to turn the LED light on or off — practical and pretty.
If you don’t already have clear baubles, check Goodwill bins or craft store clearance aisles — they’re usually easy to find and super cheap, especially after the holidays.
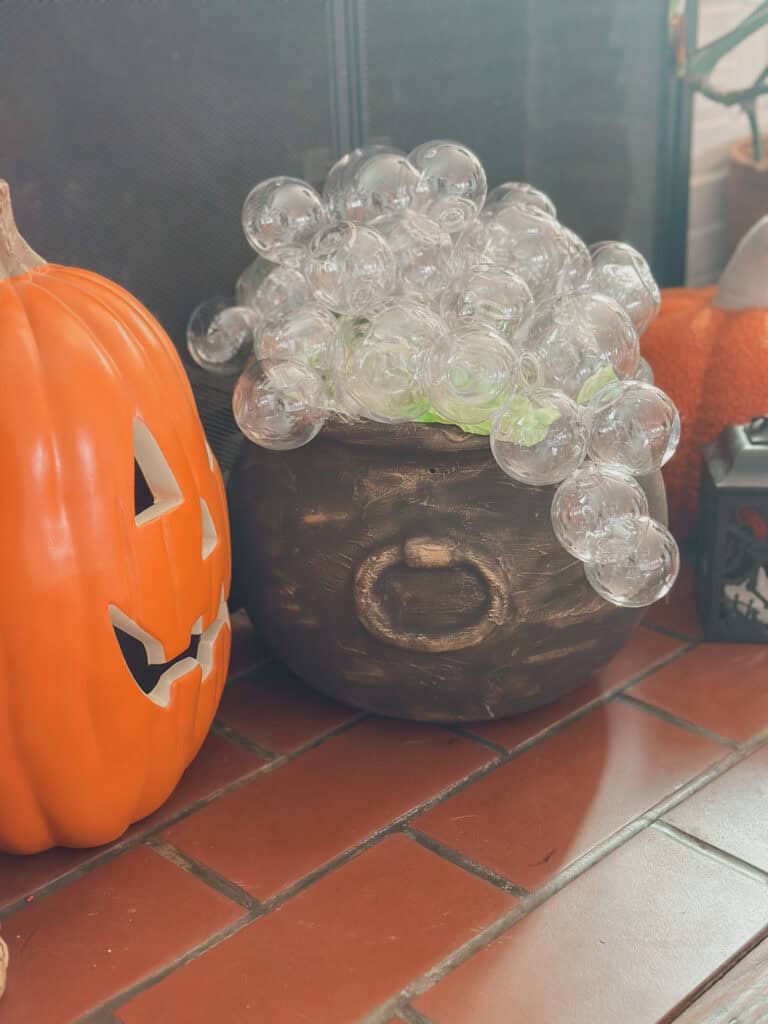
Final Touches: A Witchy Glow-Up
Once the bubble cluster was in place, I fluffed it a bit, turned on the light, and voilà — instant Halloween charm. The finished DIY cauldron looks like something straight out of a spooky fairytale. My kids are obsessed, and honestly, so am I.
Spell Complete: My Thoughts on This DIY Cauldron
That’s it — this easy DIY cauldron came together in less than a day, using supplies I already had around the house. It’s the perfect last-minute Halloween craft if you want something simple, kid-friendly, and high-impact.
If you’re looking for more ideas your kids will love, check out my post on inexpensive or free Halloween activities for kids and families — perfect for sneaking in a little extra magic before October 31st.

Join the List
Stay up to date & receive the latest posts in your inbox!