DIY Flocked Ornaments: How to Create Custom Vintage-Style Christmas Decor
Do you want to create beautiful, custom flocked Christmas ornaments that look like they came from a high-end boutique? This simple DIY tutorial will show you how to transform basic plastic ball ornaments into velvety, vintage-inspired decorations using items you probably already have at home. The best part? You can create them in any color to perfectly match your holiday decor!
As an Amazon Associate, I receive a small commission (at no additional cost to you) for qualifying purchases on items purchased through the links in this post.
What are Flocked Ornaments?
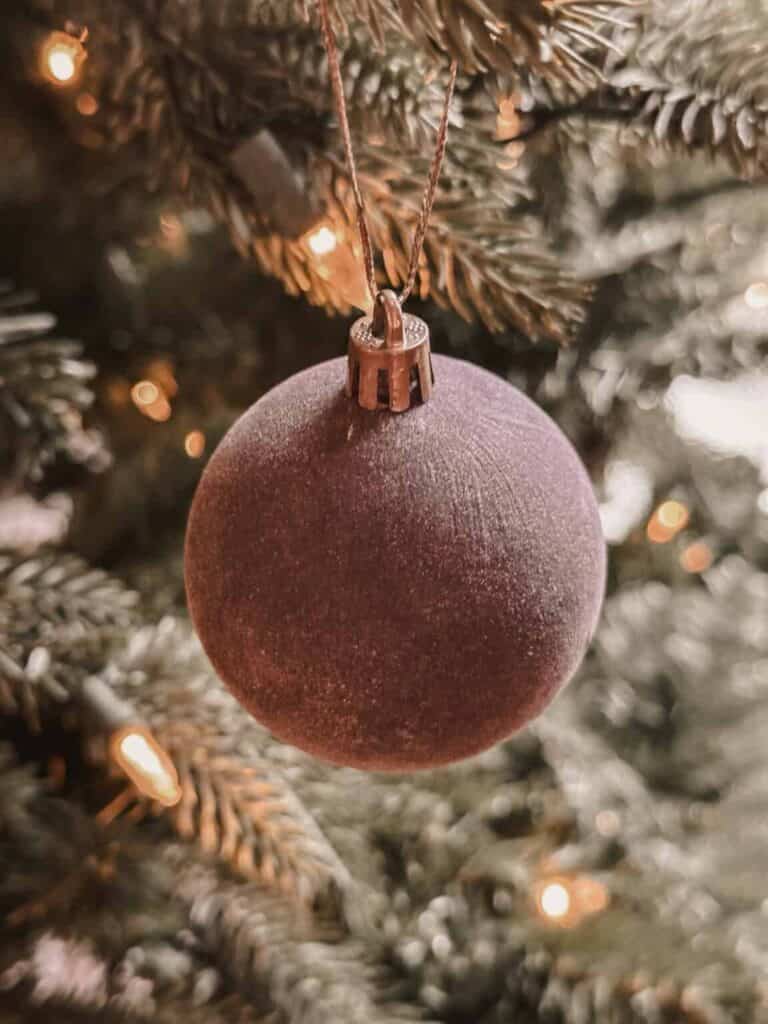
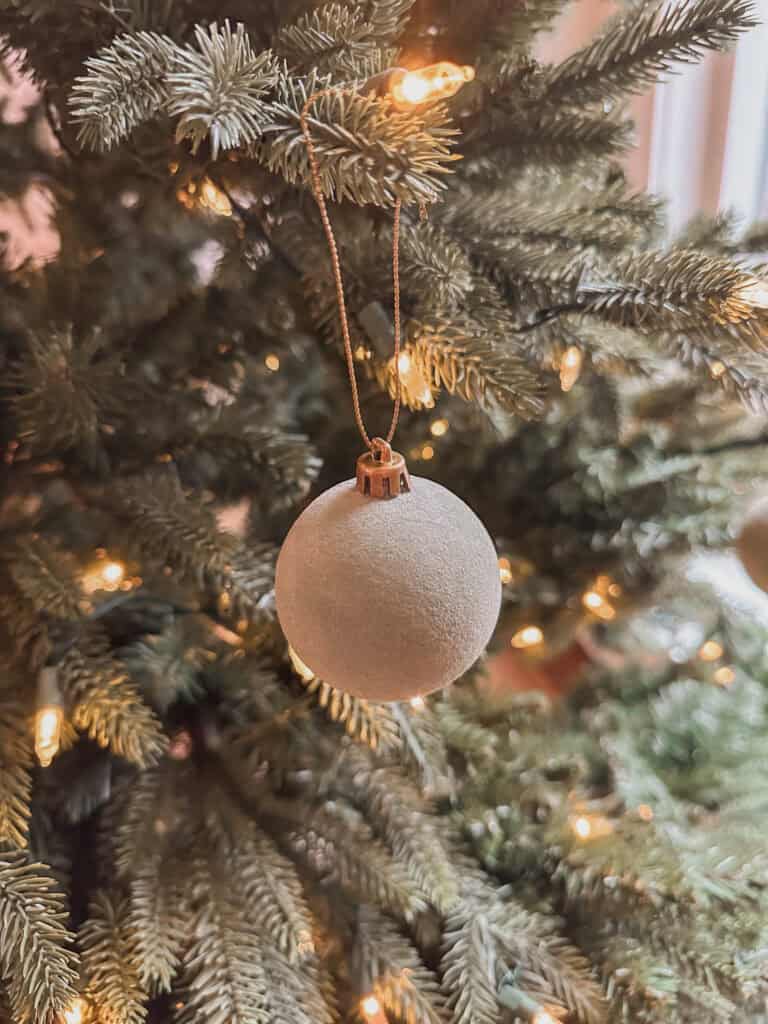
Flocked ornaments are holiday decorations with a soft, textured finish that mimics the look of fresh, powdery snow. You’ve probably seen flocking on Christmas trees, wreaths, or garlands, but it’s just as charming on ornaments! The traditional flocking process involves applying adhesive to an object’s surface and dusting it with fine fibers to create that fuzzy, snow-dusted effect. But I have an easy DIY you can do with things you already have on hand.
How Is Flocking Different from Velvet?
While flocking and velvet can both give a soft, textured appearance, they’re not the same. As stated above, flocking is achieved by layering synthetic fibers over an adhesive to create a snow-like finish, whereas velvet is a woven fabric with a dense, smooth pile for a more luxurious feel. Think of flocking as snowy and whimsical, and velvet as rich and elegant.
What makes flocked ornaments so special is their ability to bring a cozy, wintry vibe to your decor. They’re perfect for adding depth and texture to your Christmas tree or as part of a snowy holiday vignette. They work well with a variety of home decor aesthetics from minimalism to modern vintage.
Flocked Ornaments Without the Price Tag
Flocked ornaments are a popular choice for decorating trees this year, and I absolutely love the look! However, I was surprised to see that the average price is around $35 for just six ornaments—definitely outside my budget. So, I decided to make my own instead!
For years, I’ve been using a mix of baking soda and acrylic paint to transform thrifted vases, and it turns out this same combination works wonders for creating velvety, flocked Christmas ornaments.
Easy DIY for Making Your Own Flocked Ornaments
Making your own flocked ornaments is easier than you think! With just a few supplies like acrylic paint and baking soda, you can DIY these charming decorations for a fraction of the cost.
This DIY is perfect for beginners and practically foolproof, making it a great project to try while you put on your favorite Christmas movie and get into the holiday spirit!
Why You’ll Love This DIY Project
- Create custom colors to match any holiday theme
- Transform basic plastic ornaments into expensive-looking decor
- Upcycle old ornaments instead of buying new
- Achieve a high-end, vintage-inspired look for pennies
- Complete the project in a few hours (plus drying time)
Materials Needed
- Plastic ball ornaments (new or upcycled)
- Acrylic paint (in the colors of your choosing)
- Baking soda
- 1 medium brush for painting, and 1 large brush for dry brushing (approximately 1/2 inch and 1 inch brushes. If you don’t have those, you can get an inexpensive brush set)
- Drop cloth or cardboard (to protect the table)
- Disposable gloves (if needed)
- 2 paper plates (one for paint, one for backing soda or you can use a painter’s palette)
- Glass jar for water and one or two more for holding the ornaments while they dry
- Spray paint for painting hanging hardware (optional)
Time Required
- Painting time: 40-60 minutes (this will depend on how many flocked ornaments you are making)
- Drying time: 1 hour
- Dry Brushing: 30-40
- Total project time: approximately 2-4 hours
Step-by-Step Instructions
First things first, let’s set up for success:
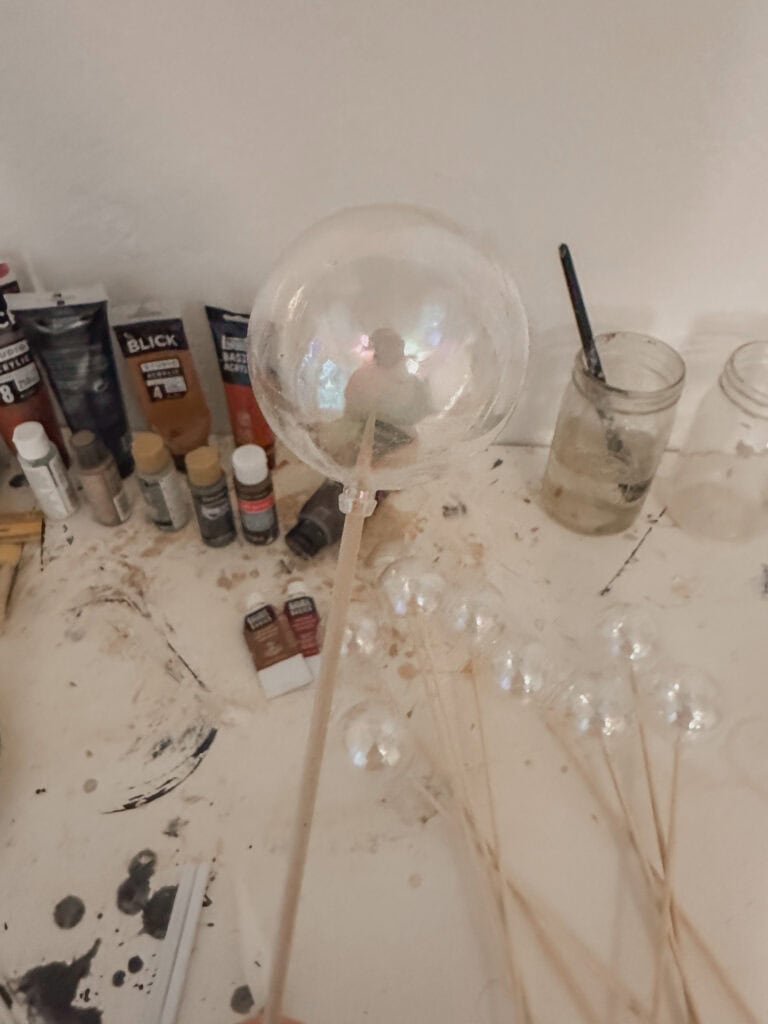
1. Prepare Your Workspace
- Set up your supplies at a table. Cover the table if necessary to protect it from paint. I am a painter, so my table is a lost cause!
- Get a jar of water, paint brushes (I used one medium flat angled brush), and a paper plate or paint palette
- Choose your paint colors. I chose charcoal, dark brown, cinnamon brown, beige, cream, and green. *There are color guides below!
- Put your first paint color on the palette
- Put on disposable gloves (if you want)
- Remove ornament hangers and set aside (save these for later)
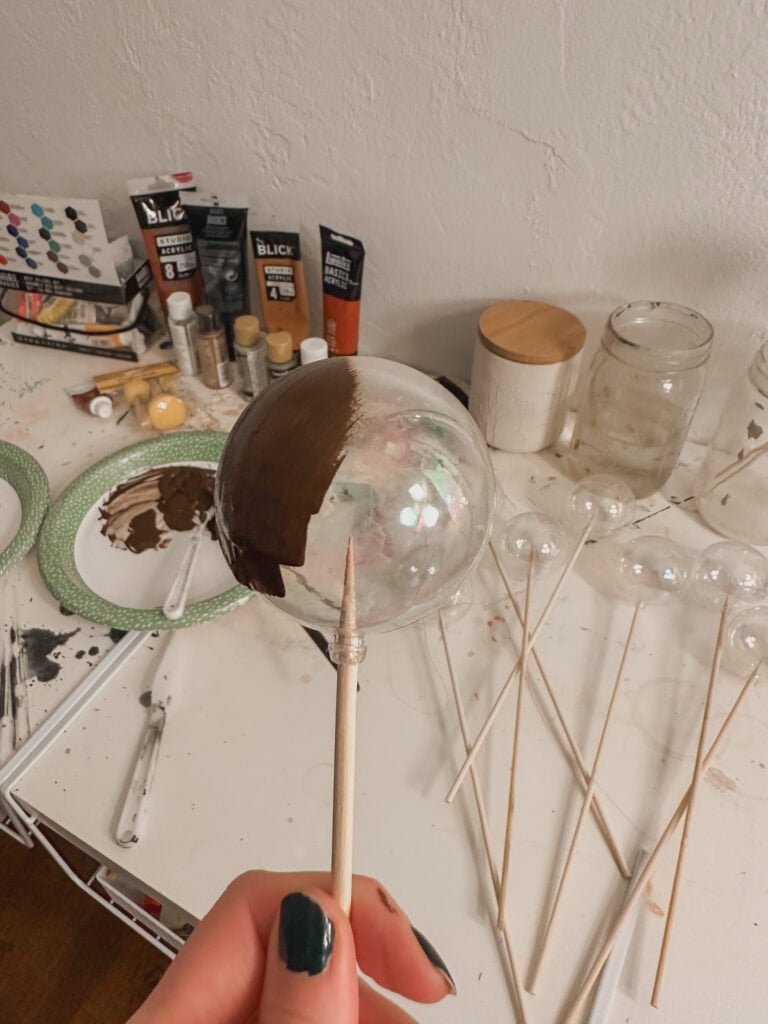
- Use some kind of stick to hold the ornaments so you can get to the entire surface without damage or painting your finger. I used wooden shish kebab sticks, but straws or craft sticks might work too.
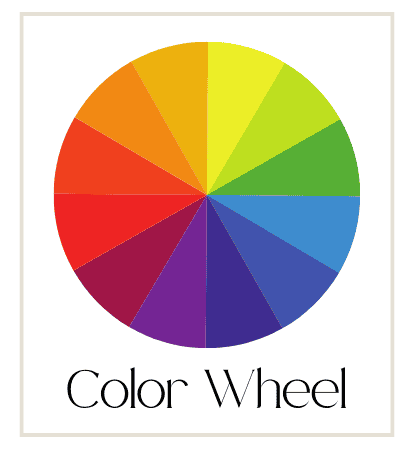
Note on color mixing: you can create the exact shades you want by mixing paints. If you are new to that, here are a few general tips.
- Add white to make a color lighter and more opagque
- Add black to make it a cooler darker
- If you want to desaturate or mute a color to make it less bright, you can add a small amount of the color on the opposite side of the color wheel from it.
- Opposites on the color wheel are as follows: blue and orange, green and red, yellow and purple.
2. Apply Base Coat
Now for the fun part – choosing your color!
You’ll do these one at a time in a little assembly line: paint, then baking soda, then dry, then drybrush.
- Evenly cover the entire surface of the ornament with acrylic paint. I didn’t dilute the paint with water because I wanted one layer to cover. If you need to add water, use it sparingly.
- Rotate the ornament to cover it completely. Check for full coverage
- If you need more than one coat, let it dry between coats (approximately 10 minutes)
- Use another jar or vase to hold them while they dry
- If you do not need another coat, immediately proceed to the next step, adding the baking soda
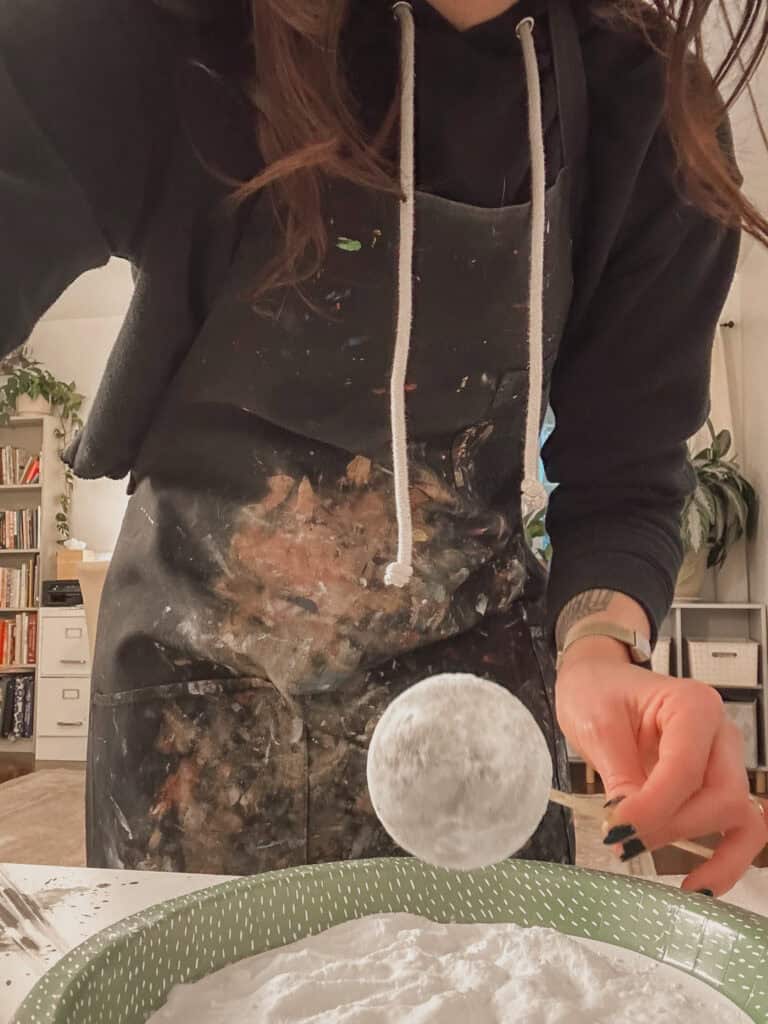
3. Create the Flocking Effect
Here’s where the magic happens:
- While the final paint coat is still wet, sprinkle baking soda generously over the entire surface
- Cover completely until no wet paint is visible
- Gentle tap the stick to shake off the excess
- Let dry completely (1-4 hours until dry to the touch. Dry time will be affected by the ambient temperature in your home and the amount of paint used)
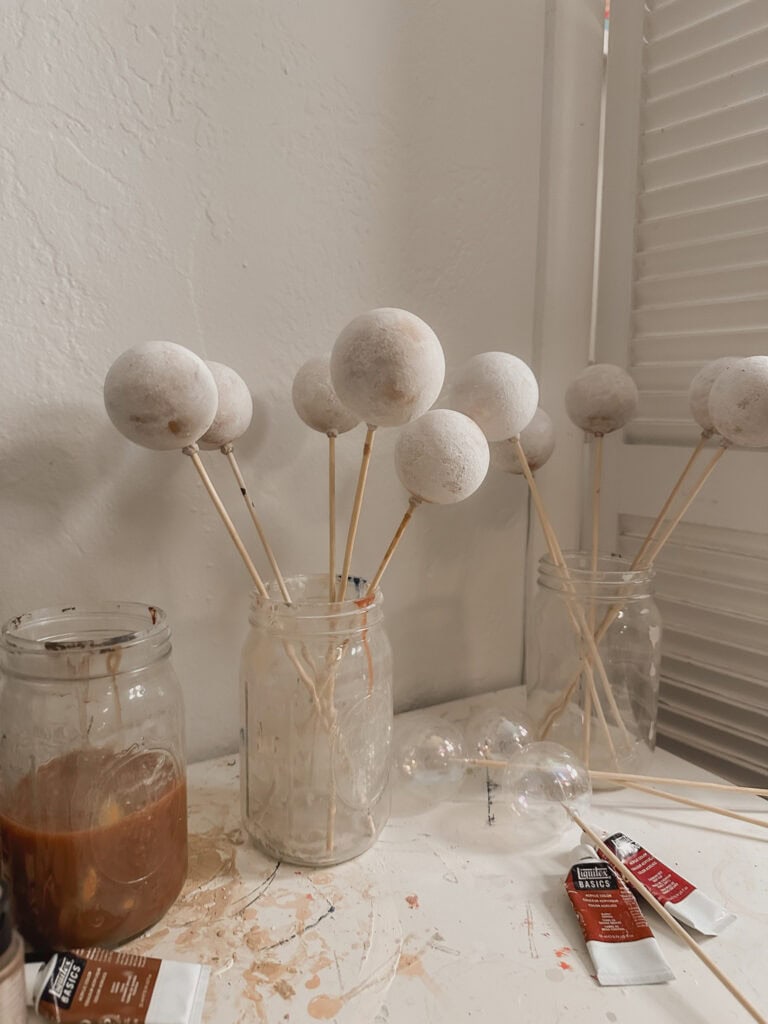
4. Perfect the Finish
Once completely dry:
- Gently brush off excess baking soda with a soft, dry brush
- Work in light, circular motions
- Continue until you achieve the desired texture
- Reattach ornament hangers. Mine were silver, so I spray painted them brass with my favorite brass spray paint
Pro Tip: Save the excess baking soda for touching up any spots you might have missed.
Color Combinations to Try
Get creative with your color choices! Here are some stunning ideas and combinations:
- Classic: White paint for a snow-covered effect
- Modern: Black or charcoal for sophisticated drama
- Vintage: Soft pink or sage green for retro charm
- Midcentury modern: orange and teal
- Luxe: Deep navy or emerald for rich elegance
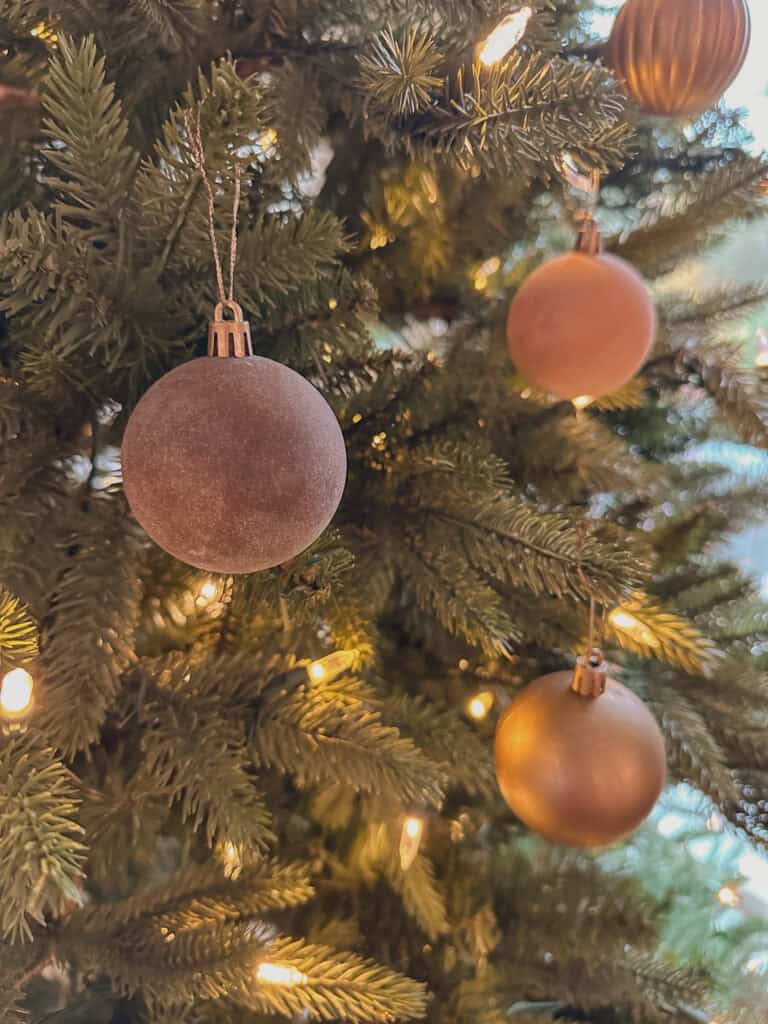
- Metallic: Gold or copper for glamorous shine
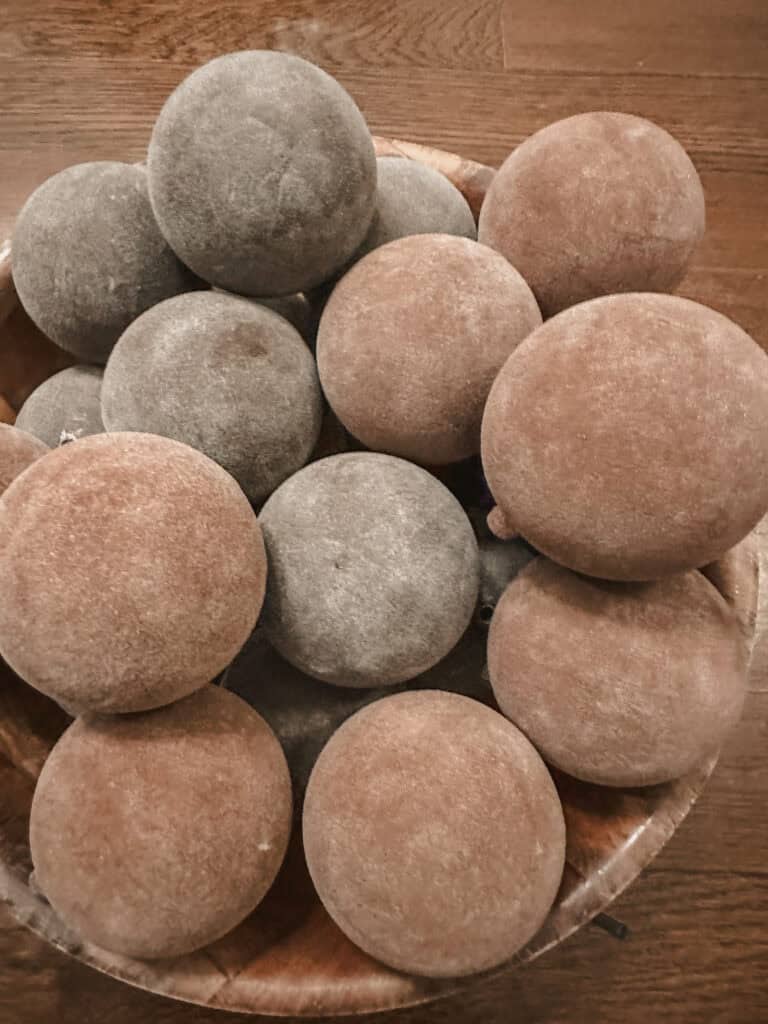
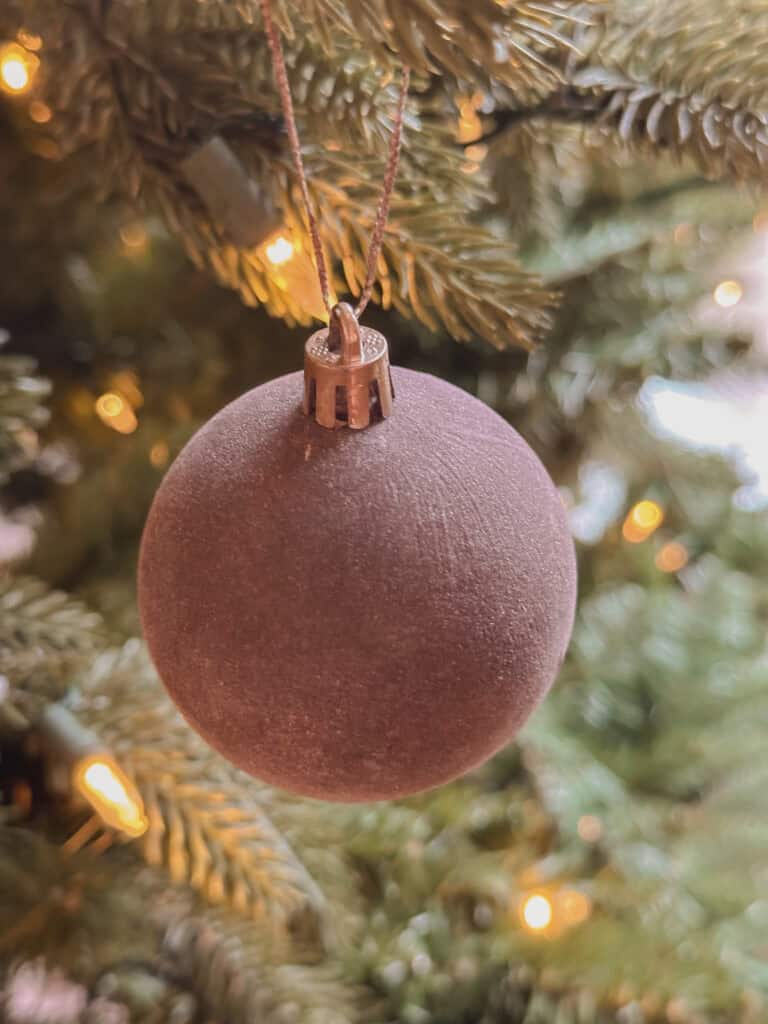
- Earthy Browns: dark and cinnamon brown
- Greens: forest, pale, and sage greens
Tips for Success
- Patience is Key: Allow proper drying time between steps
- Test First: Try the technique on one ornament before doing a full batch
- Storage Solutions: Store finished ornaments in compartmented boxes lined with tissue paper
Troubleshooting Common Issues
- Uneven Texture: Apply baking soda more evenly and use lighter coats of paint
- Clumping: Make sure the paint isn’t too thick before applying baking soda
- Bare Spots: Touch up with a small brush and repeat the process
- Too Much Texture: Gently brush excess with a slightly firmer brush
Why Choose DIY Flocked Ornaments?
Flocked Christmas ornaments are beautiful, both modern and classic, environmentally friendly, and unique.
Sustainability
By upcycling existing ornaments, you’re:
- Reducing holiday waste
- Giving new life to old decorations
- Making an eco-friendly choice
- Saving money while being creative
Customization
Create exactly what you want:
- Match any color scheme perfectly
- Control the texture and finish
- Make coordinating sets
- Design unique gift ornaments
Creative Variations
Once you’ve mastered the basic technique, try these variations:
- Add glitter before the baking soda for extra sparkle
- Create ombré effects with multiple colors
- Use stencils for patterns
- Mix flock densities for visual interest
- Add a velvet bow
I also made some faux brass ornaments to go with my flocked ornaments, if you want to read about that easy DIY, check the article below!
Caring for Your Flocked Ornaments
To ensure your creations last for years:
- Store in a cool, dry place
- Use compartmented storage boxes, line with tissue paper to protect them
- Handle gently when decorating
- Dust with a soft brush if needed
Crafting Your Own Christmas Ornaments
DIY flocked Christmas ornaments are a perfect way to create custom, high-end-looking holiday decorations without the price tag. Not only do they give you complete creative control over your holiday color scheme, but they also provide a sustainable alternative to buying new decorations each year. With just a few simple materials and some patience, you can create beautiful, vintage-inspired ornaments that will become cherished parts of your holiday decor collection.
Looking for more holiday DIY inspiration? Check out this tutorial for making your own faux-brass Christmas bells!
Follow me on Pinterest for more Holiday crafts and inspiration!

Join the List
Stay up to date & receive the latest posts in your inbox.
0 Comments