DIY Stocking Tags: Unique Ideas for a Festive Touch
Creating personalized stocking tags is an easy and creative way to add charm and individuality to your Christmas decor. For this project, I used fabric scraps and linen to make these unique and ecclectic, modern vintage stocking tags, which I absolutley love. I’ve also included two more super easy DIYs for anyone needing quicker options. Which ever you choose, each these DIYs will elevate your holiday stockings while keeping the process simple and affordable. Here’s how to craft your own beautiful stocking tags, including one standout project that’s both stylish and sentimental.
Why Personalized Stocking Tags?
The obvious answer is that stocking tags make it easy to identify whose stocking is whose while adding a decorative touch to your mantel. Instead of store-bought labels, crafting custom stocking tags allows you to personalize the design, making each tag meaningful and unique to your family.
I made all three of these DIYs and honestly I love each one. For now, I have kept two of the designs on our stockings and I might use the third style on some smaller stockings that I plan to hang on the stairs for decor.
Whether you’re aiming for a vintage-inspired aesthetic or something sleek and modern, these DIY ideas have you covered. But we’ll start with the fabric scrap project!
Main DIY: Modern Vintage Stocking Tags with Fabric Scraps
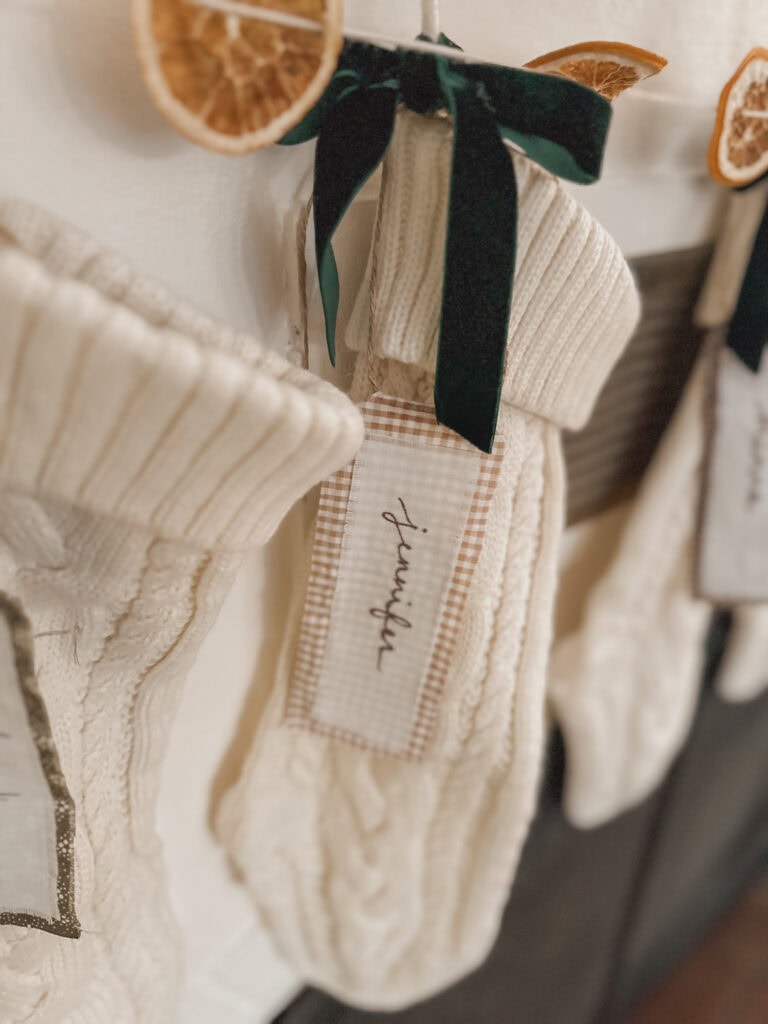
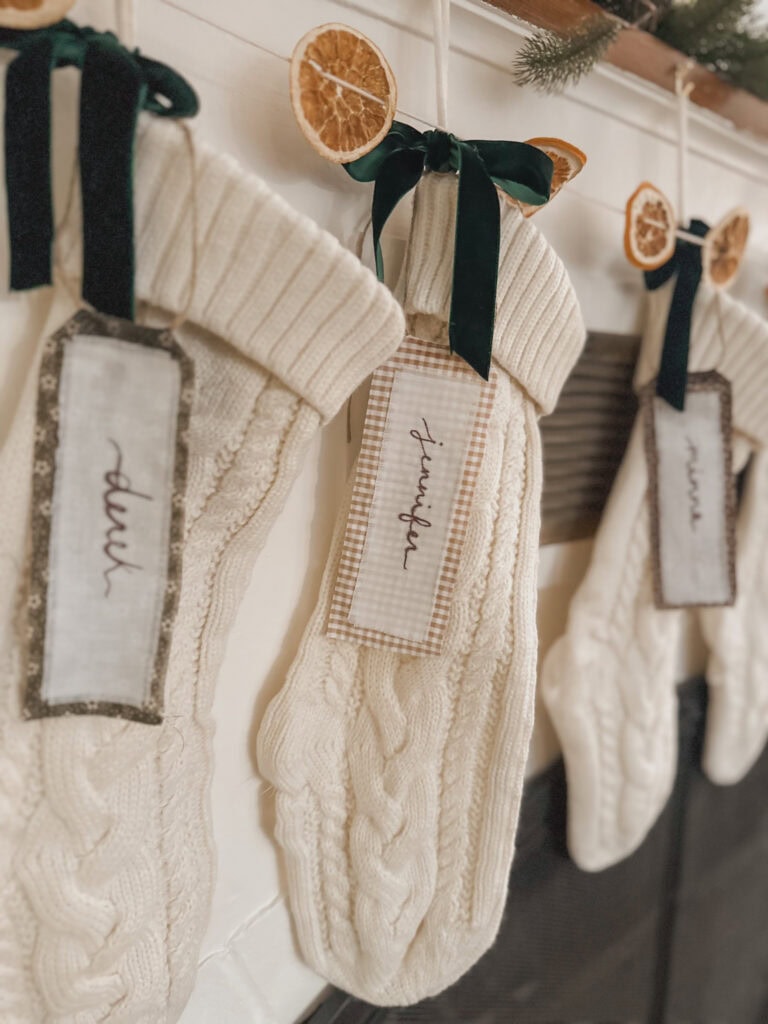
This project combines white linen and fabric scraps to create charming, eclectic stocking tags. By using different patterns and colors for each family member, you’ll achieve a one-of-a-kind look that’s equal parts vintage and modern.
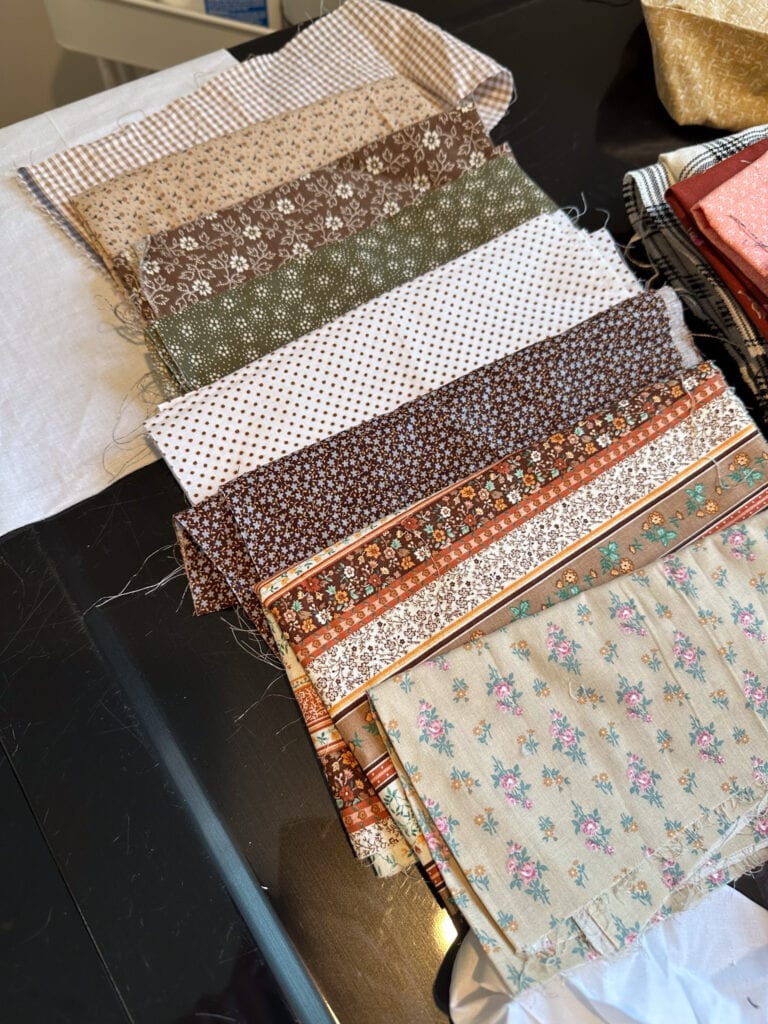
Like most crafters, I have a slight hoarding tendency, but sometimes that works out! I am not (yet) very into sewing, but I have been saving and collecting fabric scraps for years. I found some perfect pattern combinations for our family’s stocking tags in that collection.

Supplies Needed:
- White linen fabric
- Fabric scraps (in colors and patterns of your choice)
- Scissors
- Ruler (optional)
- Fine-tip permanent pen (I used a brown marker for a more subtle effect)
- Fabric glue or Mod Podge
- Hot glue gun
- Twine or string
Step-by-Step Instructions:
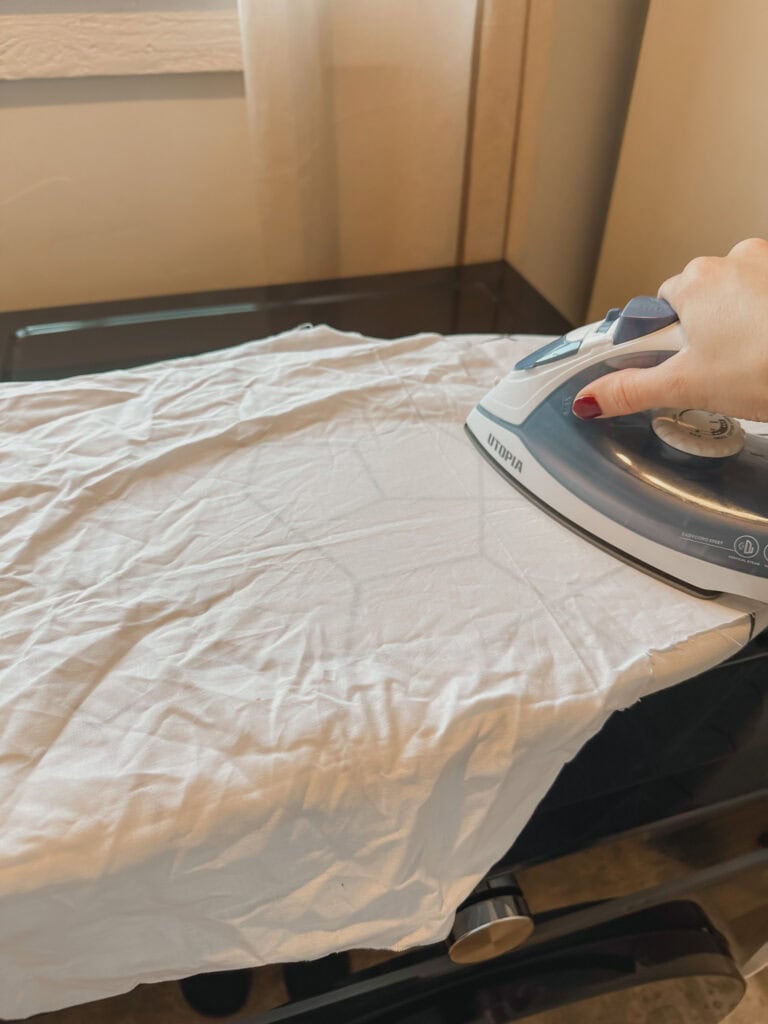
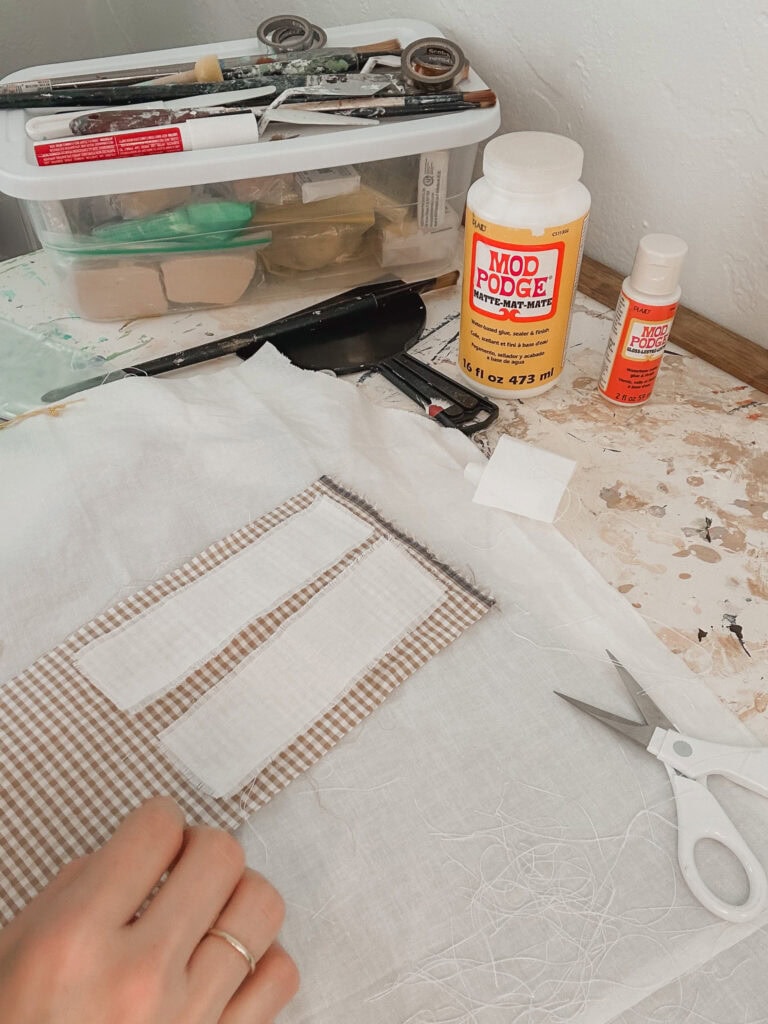
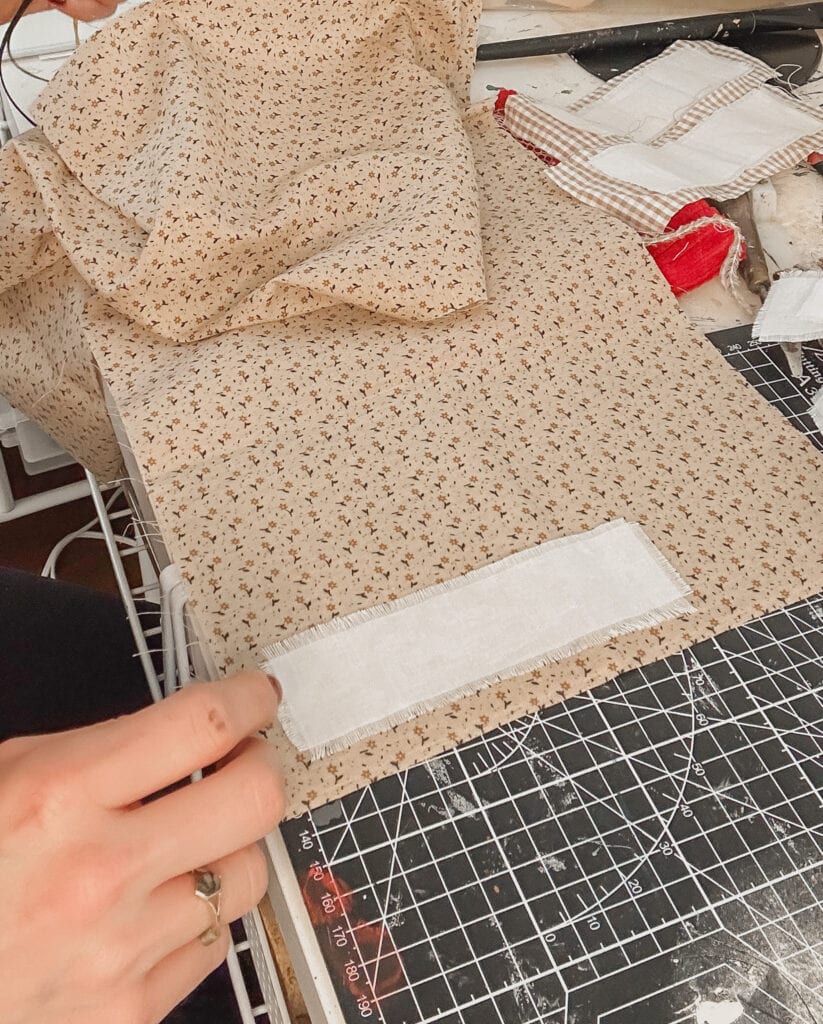
- Cut the White Linen: Begin by cutting rectangles from the white linen fabric. Each piece should measure approximately 2 inches by 5 inches, but you can adjust the size based on your preference. I had to iron mine first.

- Fray the Edges: To give your tags a rustic, vintage look, gently pull at the threads along the edges of the linen until a frayed border appears.
- Prepare the Fabric Backing: Cut your chosen fabric scraps into rectangles slightly larger than the linen pieces. Leave about half an inch of clearance on three sides and 1-1 and 1/2 inchs at the top. This extra space at the top will allow for attaching the twine. Choose matching fabric pieces or a unique color and pattern for everyone in the family.

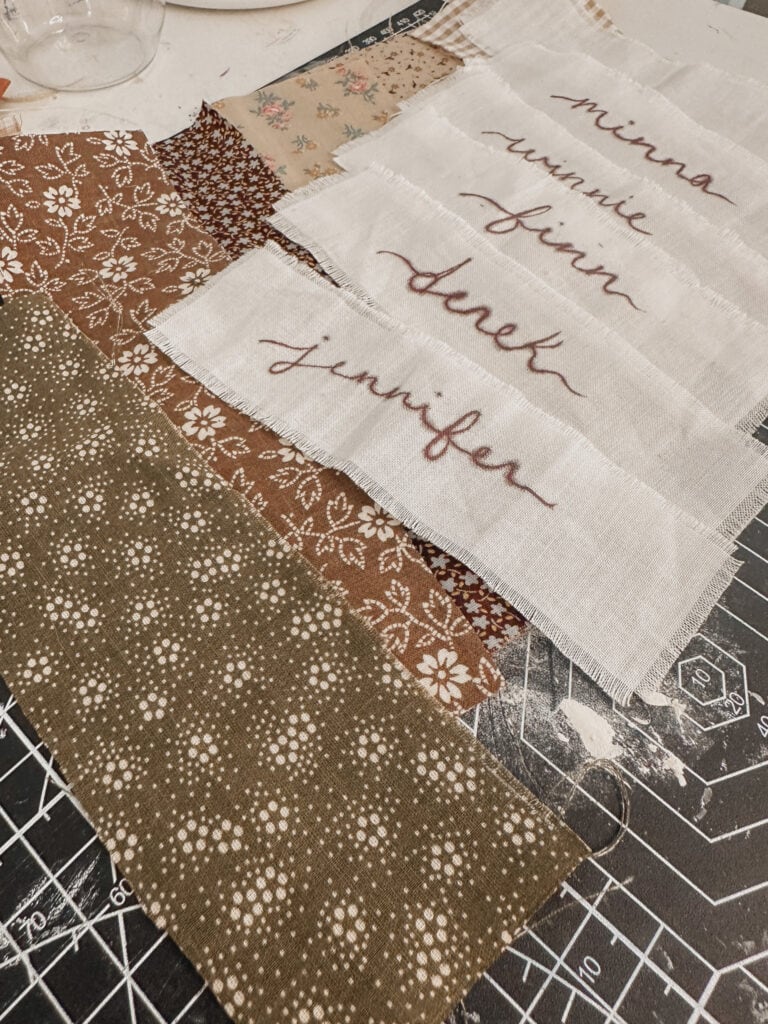
- Add Names: Using a fine-tip pen, carefully write the names of your family members on the white linen pieces. Keep the handwriting clean and legible for a polished look.
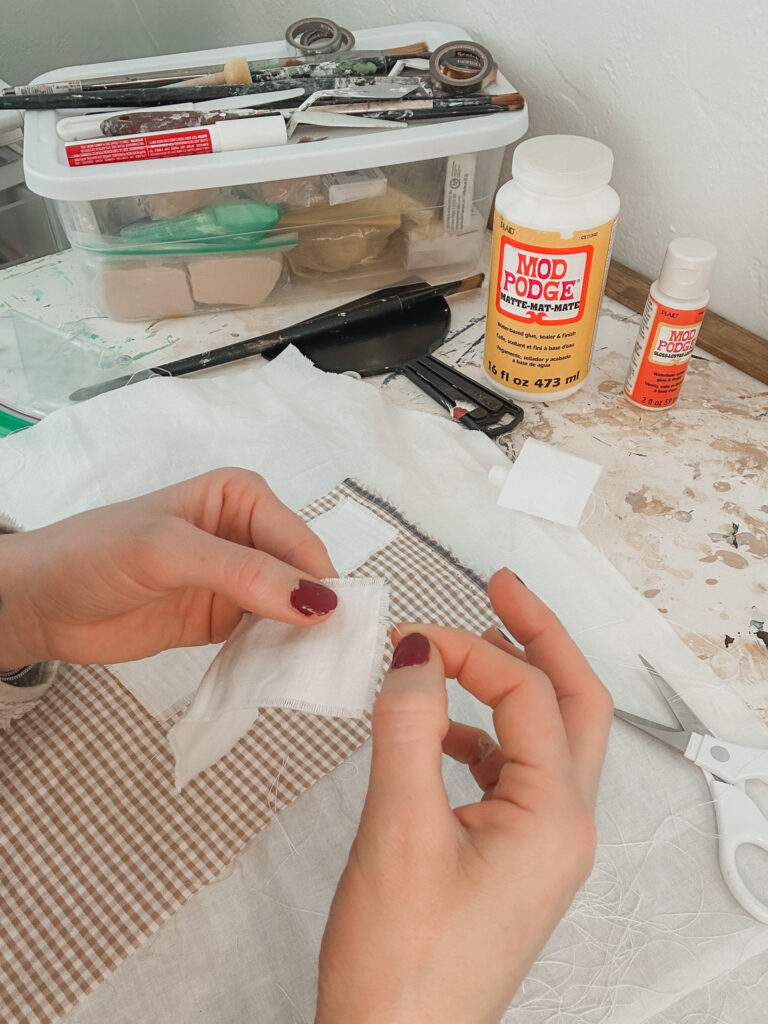
- Glue the Linen to the Fabric: Center the white linen rectangle onto the fabric backing and attach it with fabric paint or Mod Podge. Press firmly to ensure a secure bond, but avoid pressing directing on the lettering to avoid smearing the letters.

- Fold Over the Top Edges: Fold the top two corners over in small triangles (like dog-earring a page in a book) to create a tapered end. Glue the small triangles down with Modge Podge or fabric glue. This will create a neat edge for attaching the string.
- Attach the Twine: Cut an 8-inch piece of twine for each tag. Glue the ends of the twine to the back of the fabric backing to form a loop for hanging.
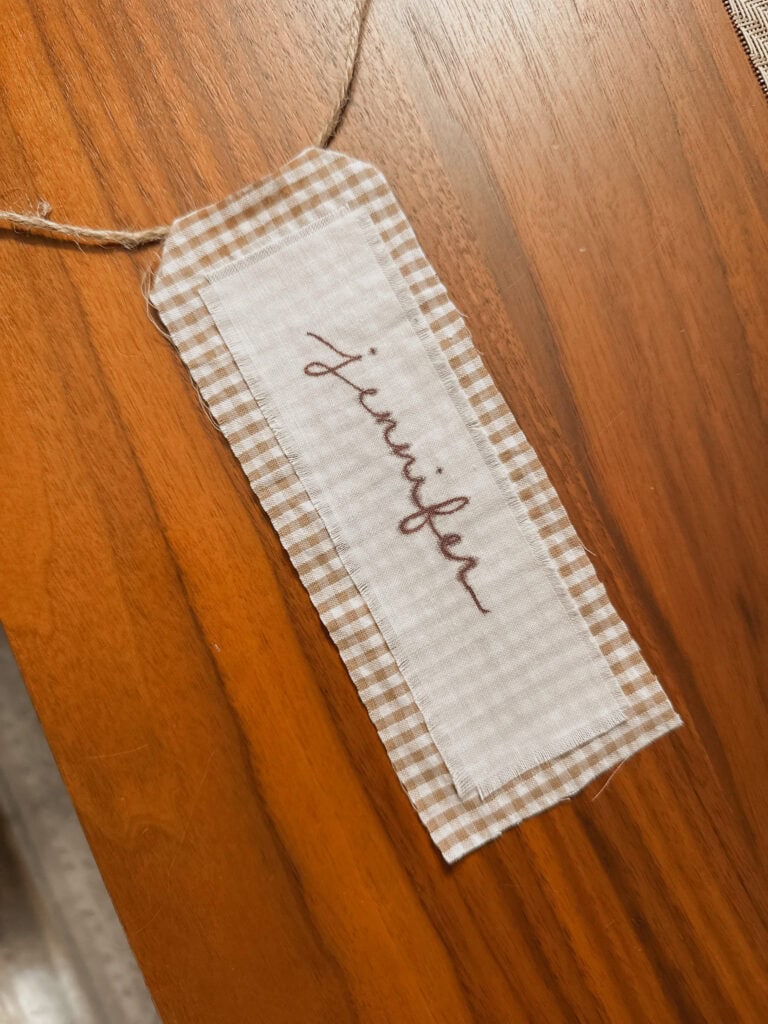
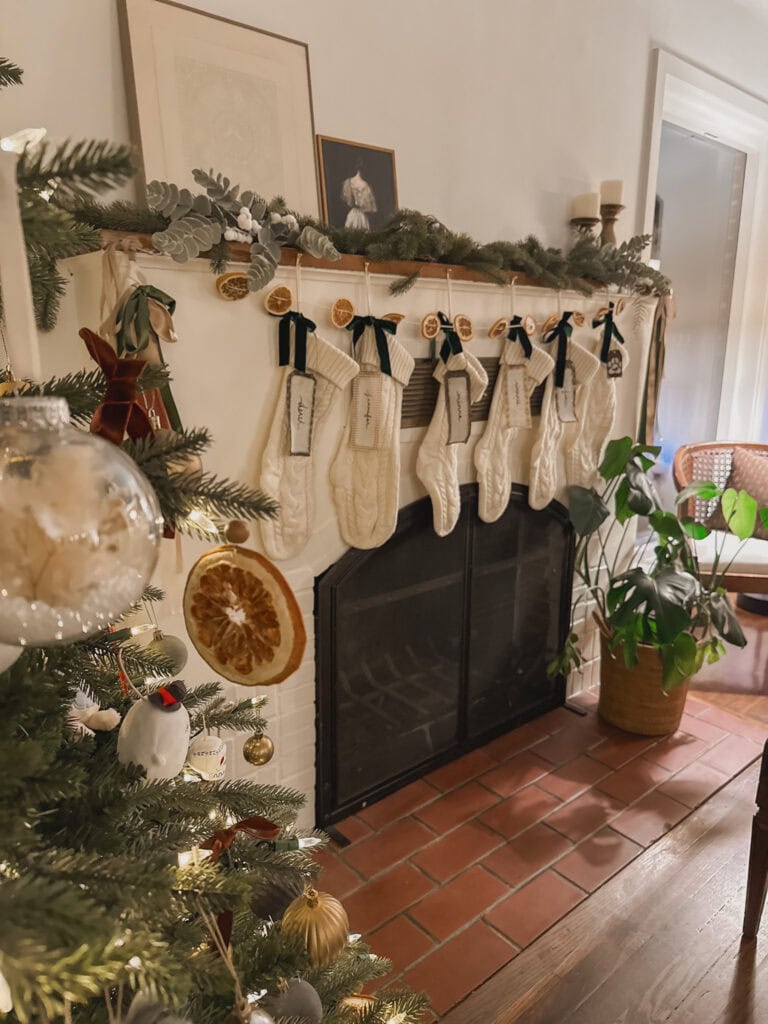
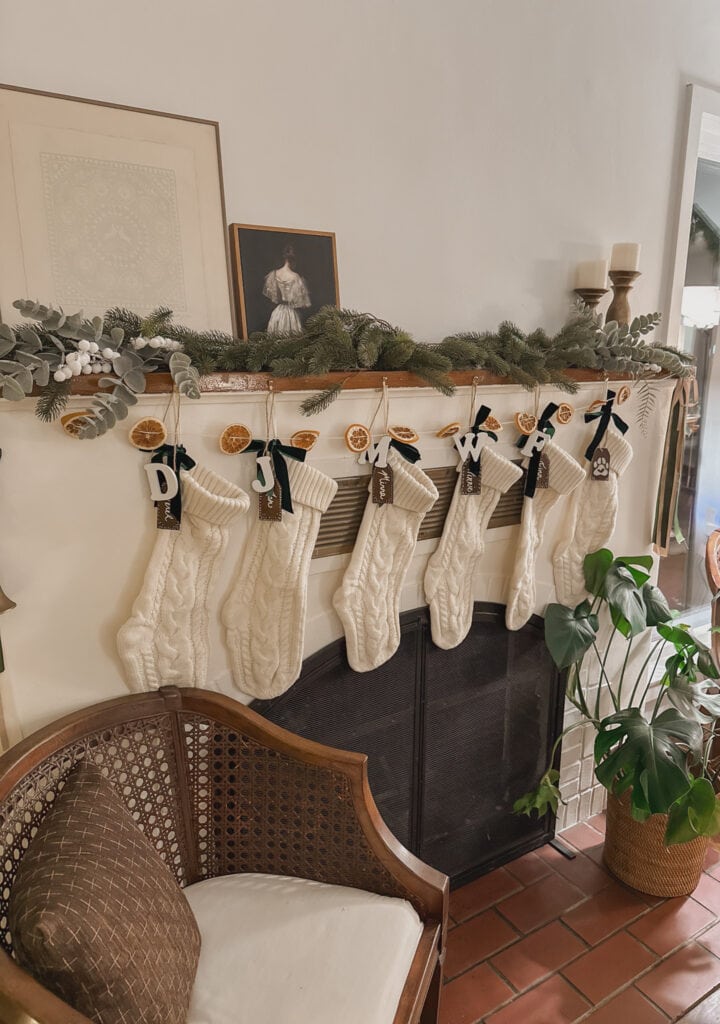
- Hang the Tags: Once dry, attach your personalized stocking tags to each Christmas stocking. The mix of textures and patterns will add a delightful, unique touch to your holiday decor.
Two Quicker DIY Stocking Tag Ideas
If you’re short on time, these simpler options are perfect for creating beautiful Christmas stocking name tags without much effort.
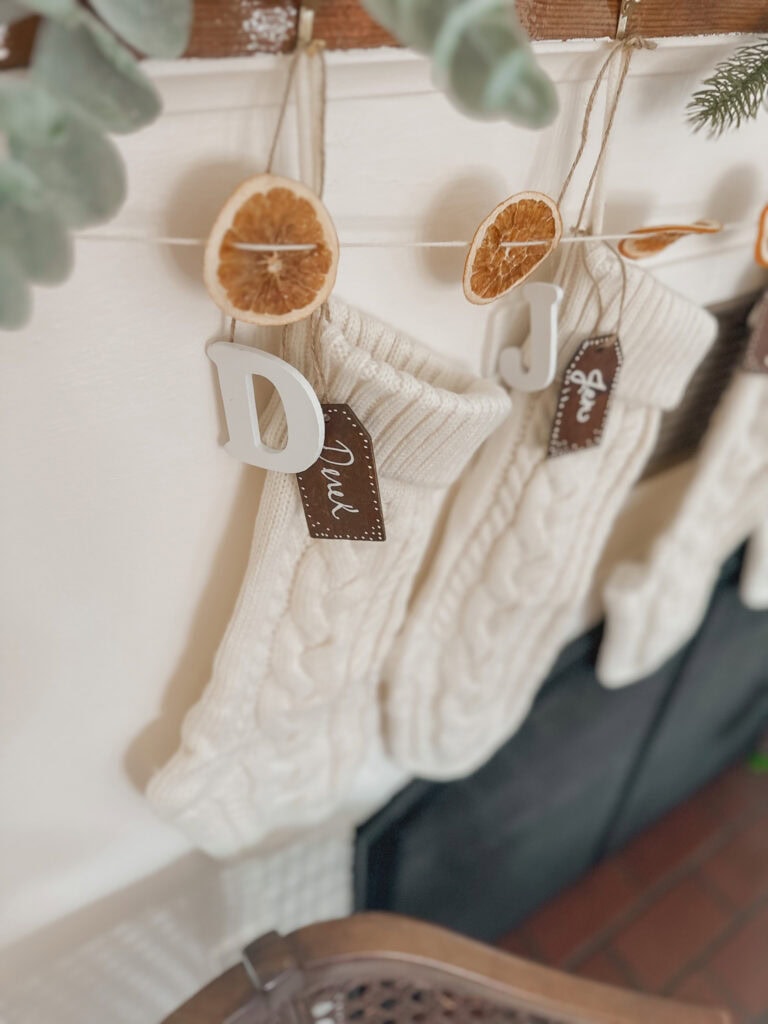
1. Painted Letters
Decorating wooden letters is a fast and festive way to make stocking tags.
Supplies Needed:
- Paintable wooden letters (available at craft stores)
- Acrylic paint
- Small paintbrushes
- Ribbon or twine
Instructions:
- Paint each wooden letter to match your holiday theme. Use solid colors, patterns, or even glitter paint for extra sparkle.
- Once dry, attach a ribbon or twine to each letter using hot glue.
- Hang the finished letters on your stockings for a bold, personalized touch.
2. Chalk Pen Tags
This option uses pre-made wood or paper tags and chalk pens for quick customization.
Supplies Needed:
- Small wooden or paper tags (available at craft or dollar stores)
- Chalk pens or white paint markers
- Twine or ribbon
Instructions:
- Write each family member’s name on the tags using a chalk pen or paint marker. For a festive flair, add small doodles like holly and snowflakes or just add some cute dots to represent falling snow.
- Thread twine or ribbon through the tag’s hole and tie it into a loop.
- Attach the tags to your stockings for an elegant and minimalist look.
I love these stocking tags because half of them were written by my mom during her visit over Thanksgiving. Since she lives out of state and we don’t get to see each other nearly as often as I’d like, her visit was really special. We spent the week cooking, baking cookies, making ornaments, and decorating the Christmas tree together. These little tags now hold a piece of that memory, and every Christmas, they’ll remind me of the wonderful time we shared.
That’s what I love most about a craft like this. It’s more than just a project; it can become a keepsake. The things you create today might not seem significant in the moment, but one day, they could turn into treasured heirlooms to be passed down to your kids or even your grandkids, carrying your story forward.
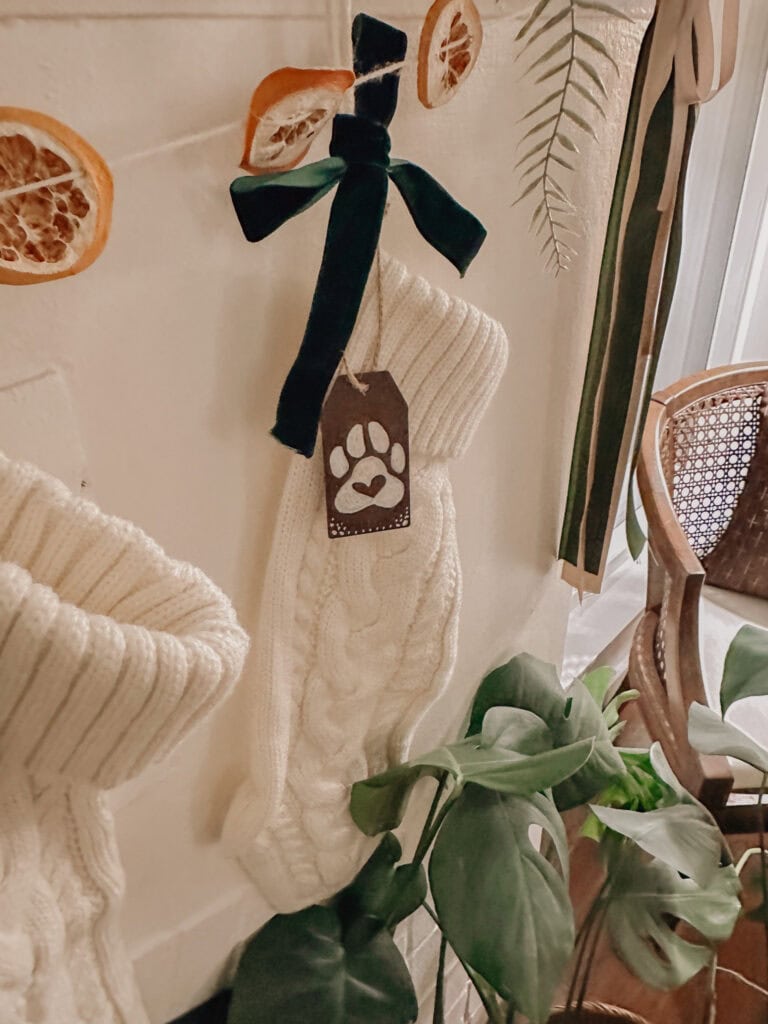
I made one for our three dogs as well!
Personalizing Your Stocking Tags
With the above in mind, to make your stocking tags even more special, consider these creative touches:
- Add Embellishments: Glue small accents like buttons, faux greenery, or miniature bells to your tags.
- Write in your own handwriting: Even if your writing isn’t perfect, it will be so much more meaningful to your loved ones to have their name written by hand.
- Incorporate Photos: Attach small printed photos to the tags for a sentimental touch.
- Choose Seasonal Colors: Match your tags’ color scheme to the rest of your Christmas decor for a cohesive and creative look.
Displaying Your Stocking Tags
Your handcrafted stocking tags deserve a spot to shine! Here are a few ways to display them:
- On the Mantel: Hang the stockings with their personalized tags from decorative stocking holders.
- Stocking Ladder: Use a wooden ladder as an alternative to the traditional mantel. Drape stockings and tags over the rungs.
- Wall Hooks: Arrange stylish wall hooks in a row and hang your stockings with tags for a modern display.
Why Choose DIY Stocking Tags?
Crafting your own stocking tags adds a personal and heartfelt touch to your holiday decor. These DIYs not only allow you to customize the look to match your home but also create lasting memories with your family.
Making Your Own Traditions
Whether you’re making modern vintage stocking tags with fabric scraps, painting wooden letters, or customizing tags with chalk pens, these DIY projects bring a creative and personal flair to your holiday celebrations. With just a few materials and a bit of time, you can create stocking tags that reflect your family’s unique style and make your Christmas decor truly unforgettable.
So, gather your supplies, get crafting, and let these stocking tags become a cherished part of your holiday traditions!
Looking for more creative and gorgeous Christmas DIYs? Check out this tutorial on making Christmas orange garlands and ornaments.


Join the List
Stay up to date & receive the latest posts in your inbox!