How to Build a DIY Shaker Peg Wood Shelf with Hooks (Beginner-Friendly)
When we renovated our kitchen recently, I wanted to keep one wall simple but still give it some warmth and personality. It felt like it was asking for a little decor. So I decided to build my own DIY Shaker Peg wood shelf with hooks — and I’m so glad I did!
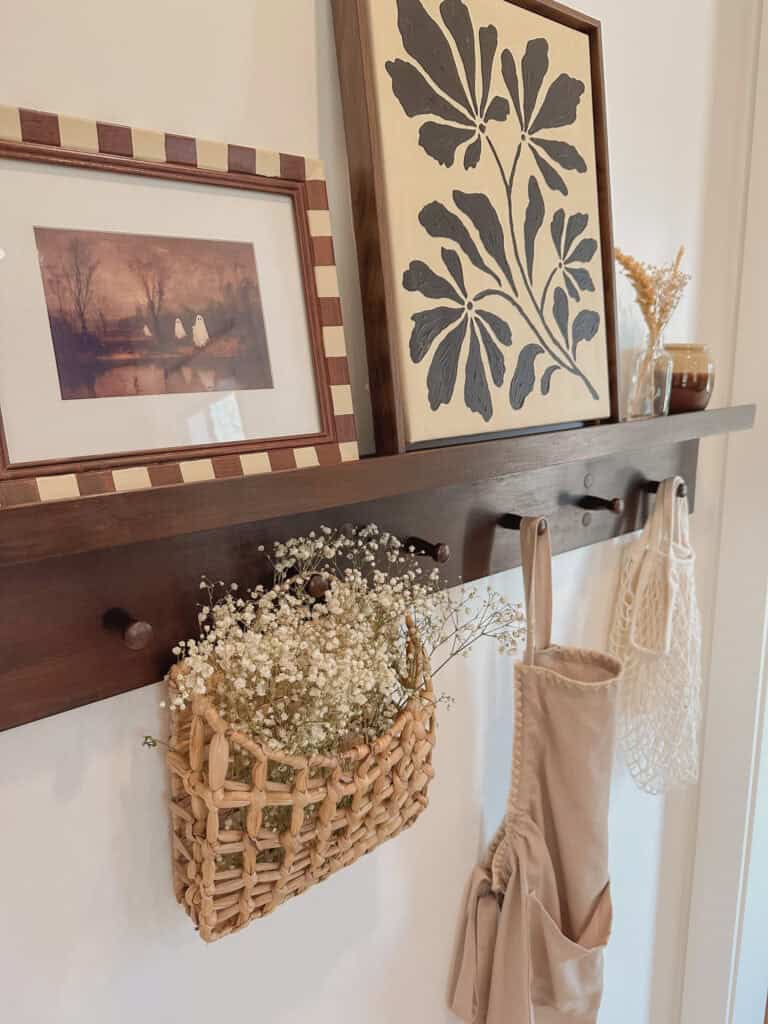
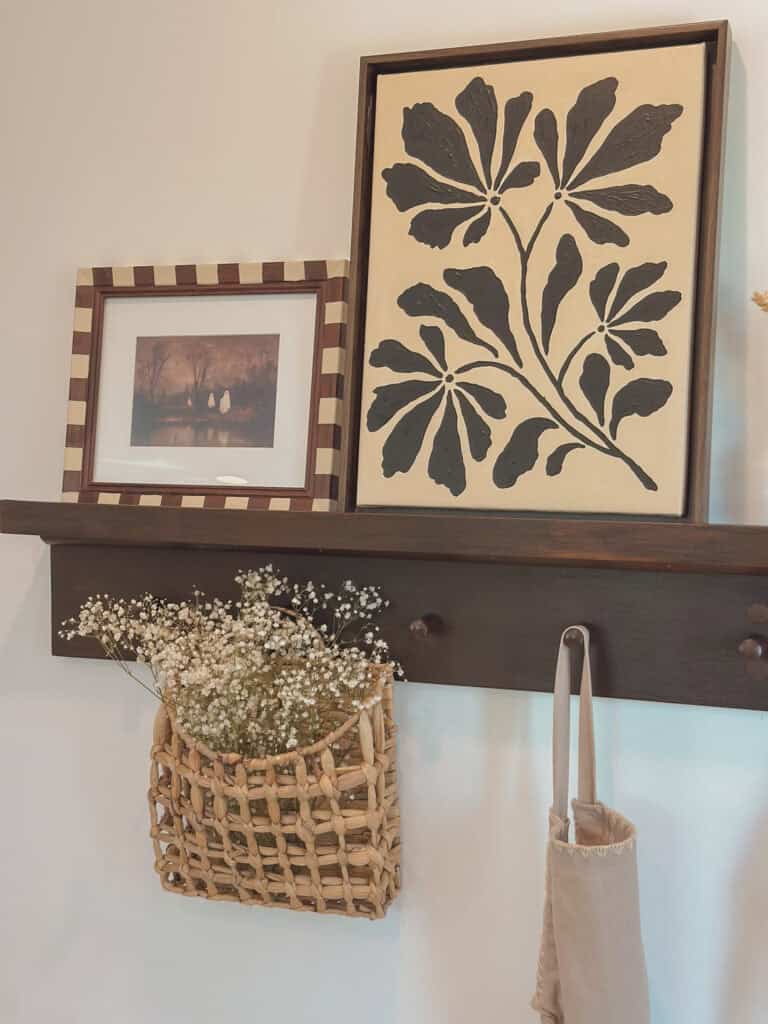
This was an easy, beginner-friendly DIY project that turned out even better than I expected. It’s timeless, functional, and perfect for seasonal styling. Right now, mine is dressed up for fall with a small Halloween print in my DIY checkered frame, some florals, and from the pegs I’ve hung an apron, a cinnamon broom, and a basket of flowers.
Once the holidays roll around, I’ll swap those out for brass bells, holly, or even a stocking. That’s one of my favorite parts about this project — it’s easy to refresh seasonally, and it looks beautiful all year long.
What Makes This Wood Shelf with Hooks So Practical?
Our wood shelf with hooks is installed right by the entrance to our kitchen, which makes it incredibly handy. I can grab my apron as soon as I walk in or hang a basket on the hooks to carry herbs and veggies in from the garden.
It’s also where I hang my sun hat and reusable shopping bags. Beyond being functional, it completely transformed a blank wall — adding depth, warmth, and charm.
It’s one of those rare projects that checks all the boxes: beautiful, practical, affordable, and beginner-friendly.

Step-by-Step: How to Build a DIY Shaker Peg Wood Shelf with Hooks
Step 1: Plan Your Build
Measure your wall space and decide how long and deep you want your shelf. Mine is about 45 inches long, using a 1×6 board for the back (where the pegs attach) and a 1×4 board for the top shelf.
You’ll also need:
- 1×6 board (back)
- 1×4 board (top)
- Unfinished Shaker pegs
- Quarter round trim
- Flat lattice trim
- Wood glue
- Drill
- Clamps
- Saw (hand saw or miter saw)
- Wood stain and polyurethane (or a combo product)
- Wall anchors and screws
- Stud finder
- Screw cap covers (optional but so worth it!)
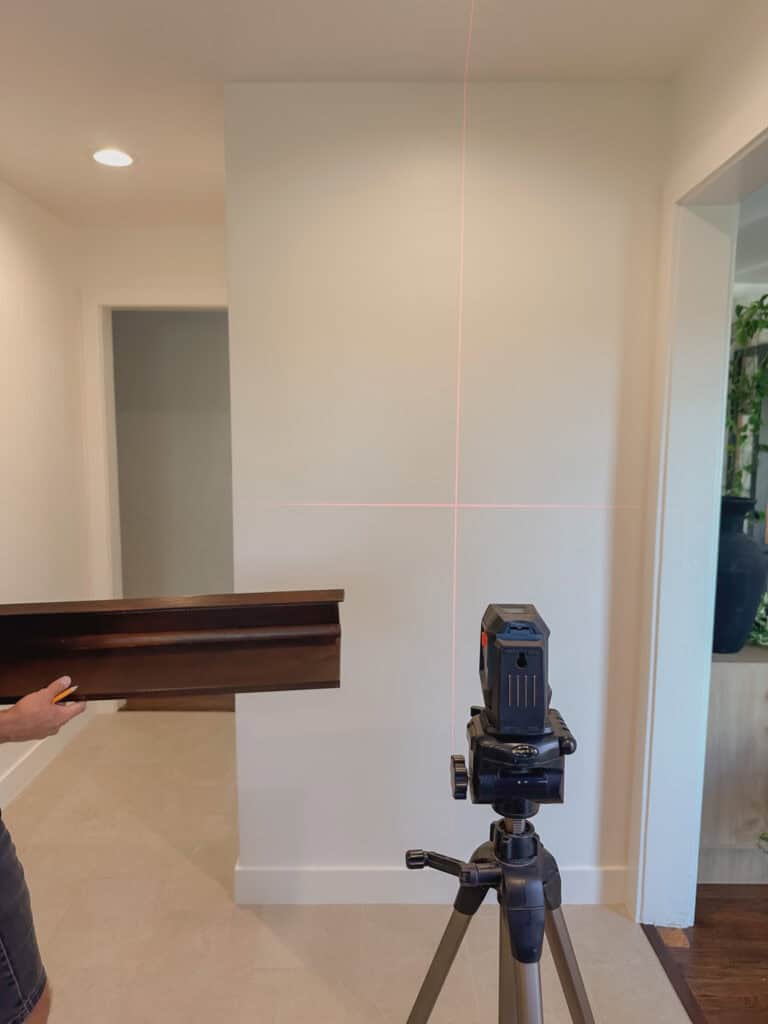
- level (a laser level makes this so much easier!)
Because my shelf was about 4 feet long and only 2 studs were available in that wall section, we used six wood screws to secure the shelf to the studs and added matching screw caps for a cute finishing touch that helped hide the screws completely.
Step 2: Cut and Sand Your Wood
Cut all your pieces to length. For a polished look, I made my trim piece about ½ inch longer than the top shelf so it fully covered the edge.
Sand each piece starting with 80–120 grit to smooth rough spots, then finish with 220 grit for a smooth surface before staining.
Step 3: Stain and Seal
Apply your chosen wood stain (I used a walnut Varathane stain and polyurethane combo). Multiple coats will darken the color — I did three for a rich, warm tone.
Let each coat dry fully before moving to the next.
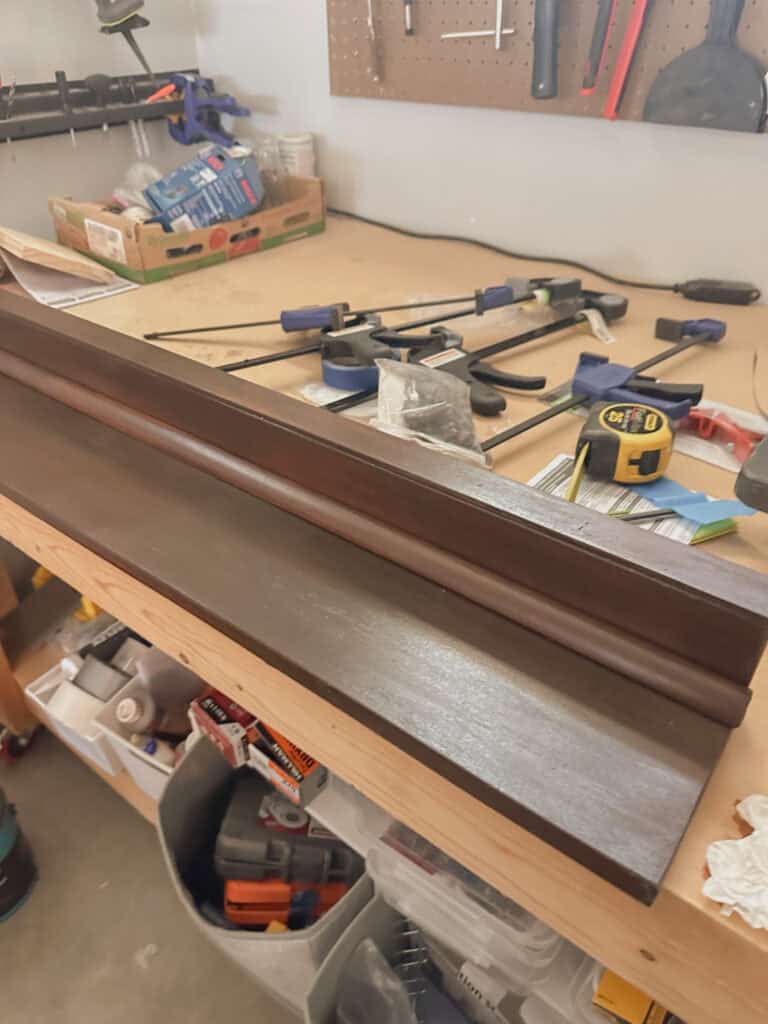
Step 4: Assemble the Shelf
Start by attaching the lattice trim to the front of your 1×4 top piece with wood glue and clamps. This creates a subtle picture ledge that keeps artwork or decor from sliding off.
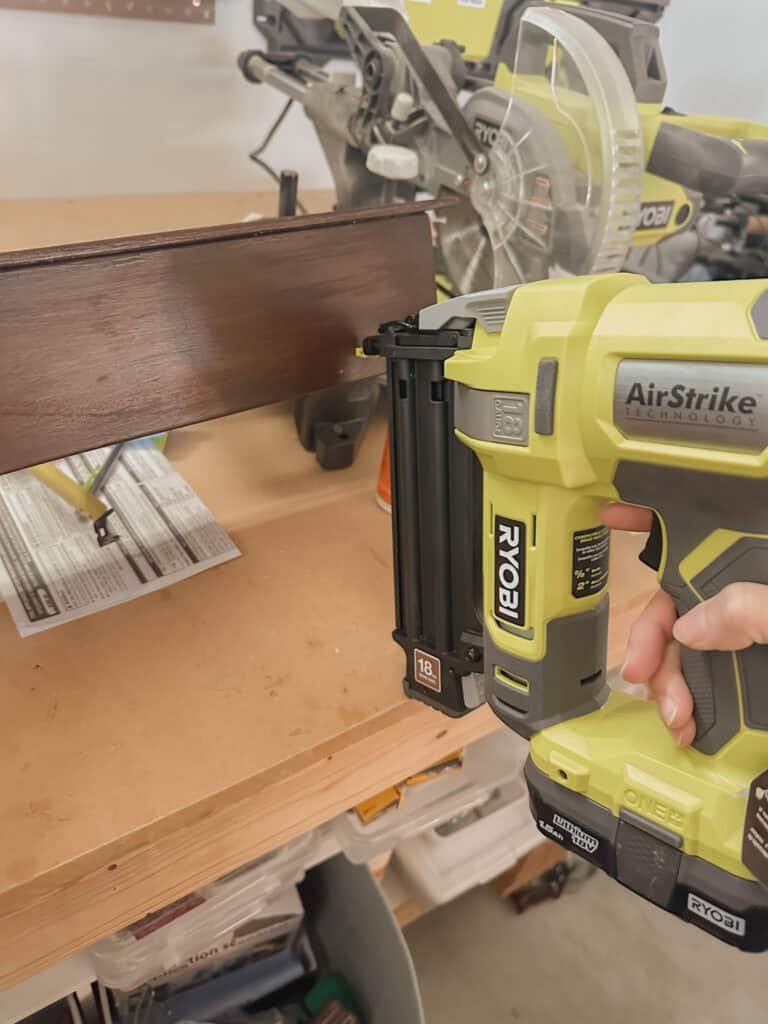
Once dry, glue and clamp the 1×4 top to the 1×6 backboard at a 90° angle. Let it cure for at least an hour (overnight is even better). If you have one, use a nail gun for added strength. You can also just use regular finishing nails and a hammer.

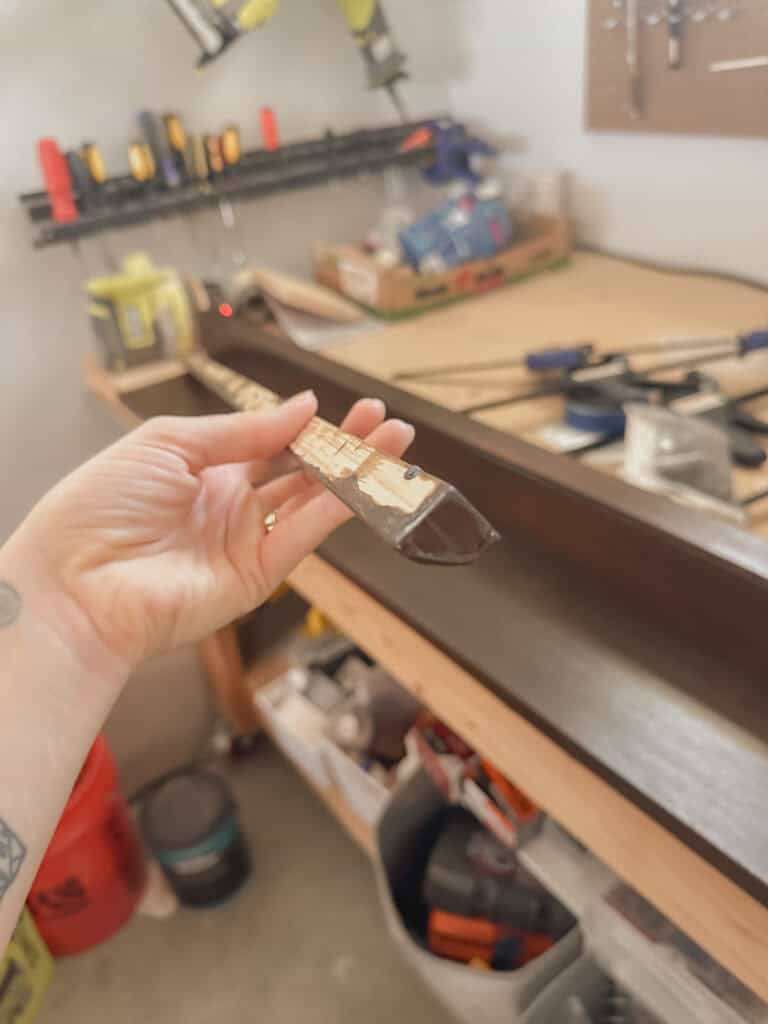
Wipe off excess glue with a damp towel.
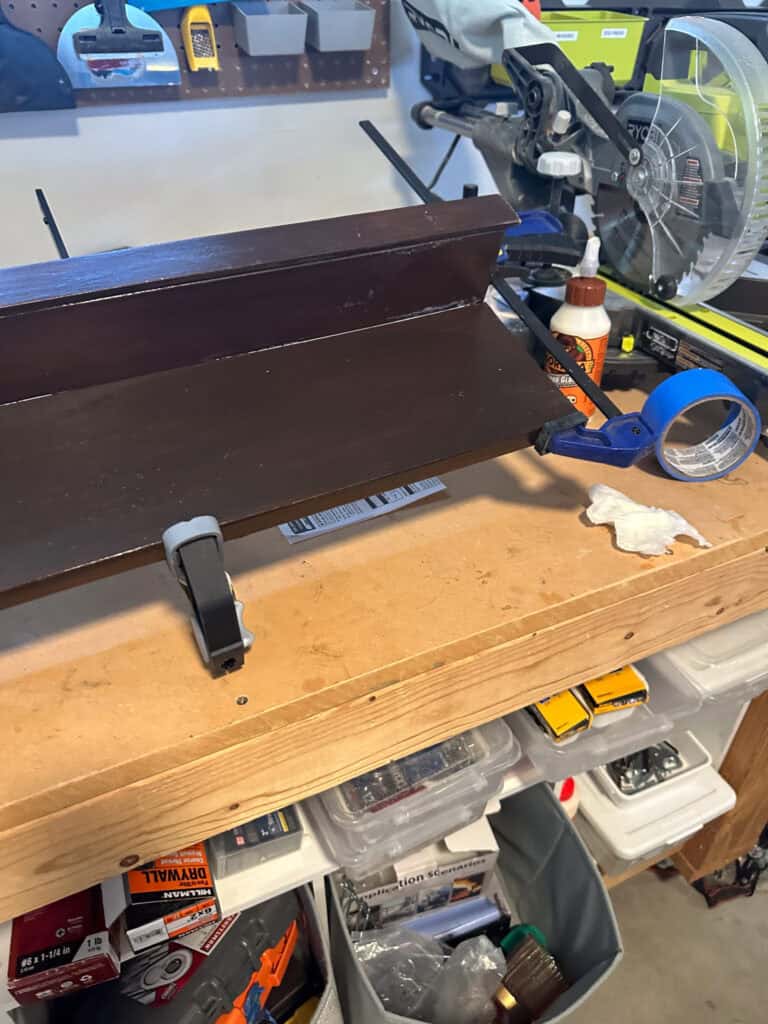
Add quarter-round trim to the 90-degree angle of the shelf for an added decorative touch that also adds a little strength.
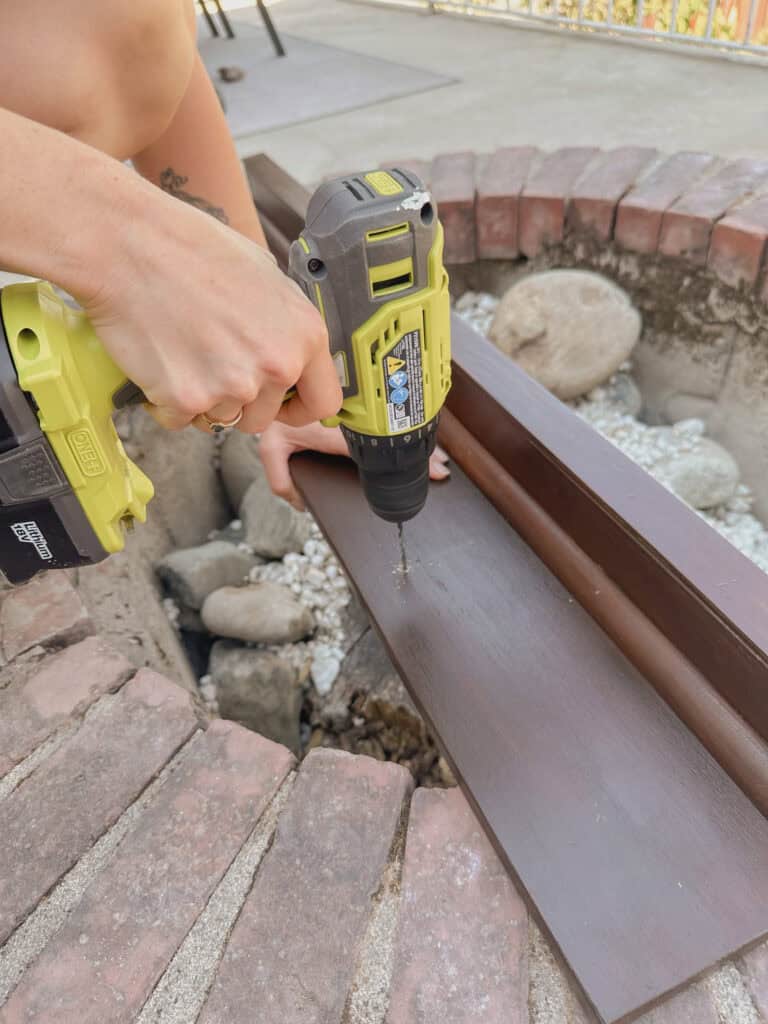
Step 5: Mounting the Wood Shelf with Hooks
Use a stud finder to locate studs and mark where you’ll drill. I pre-drilled six holes (three sets of top and bottom) evenly across the length of the shelf.
If you’re using drywall anchors, drill those first.
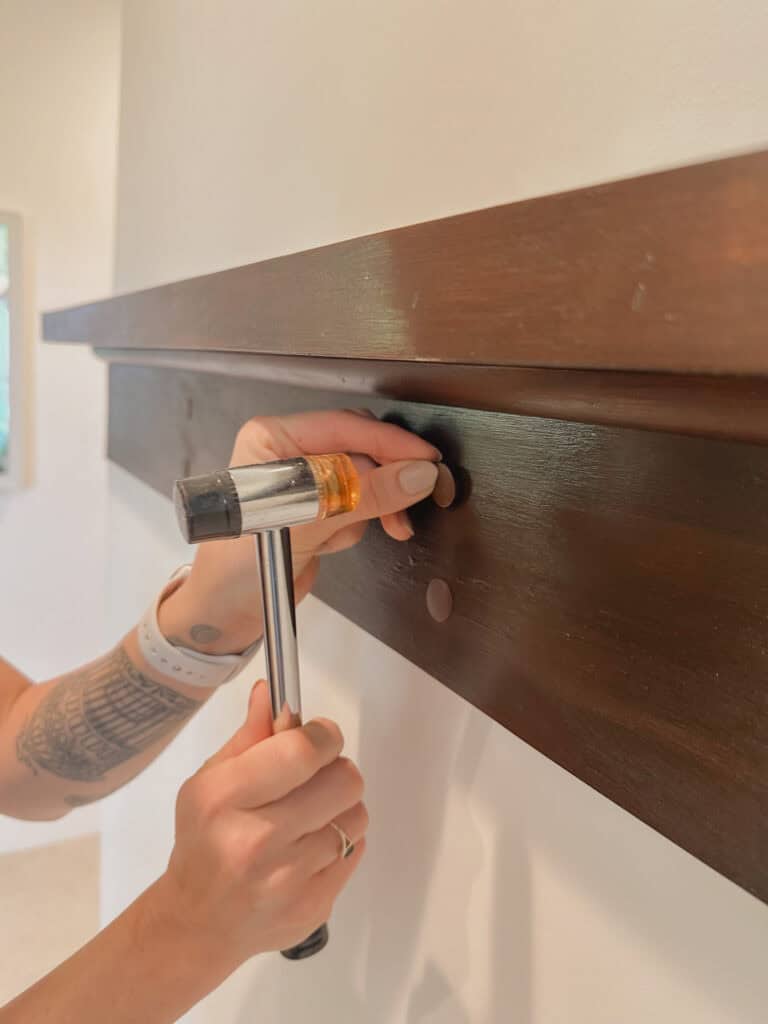
To make your screws sit flush, use a spade bit to countersink them before tightening. Once everything is secure and level, pop on your screw caps for a clean finish.
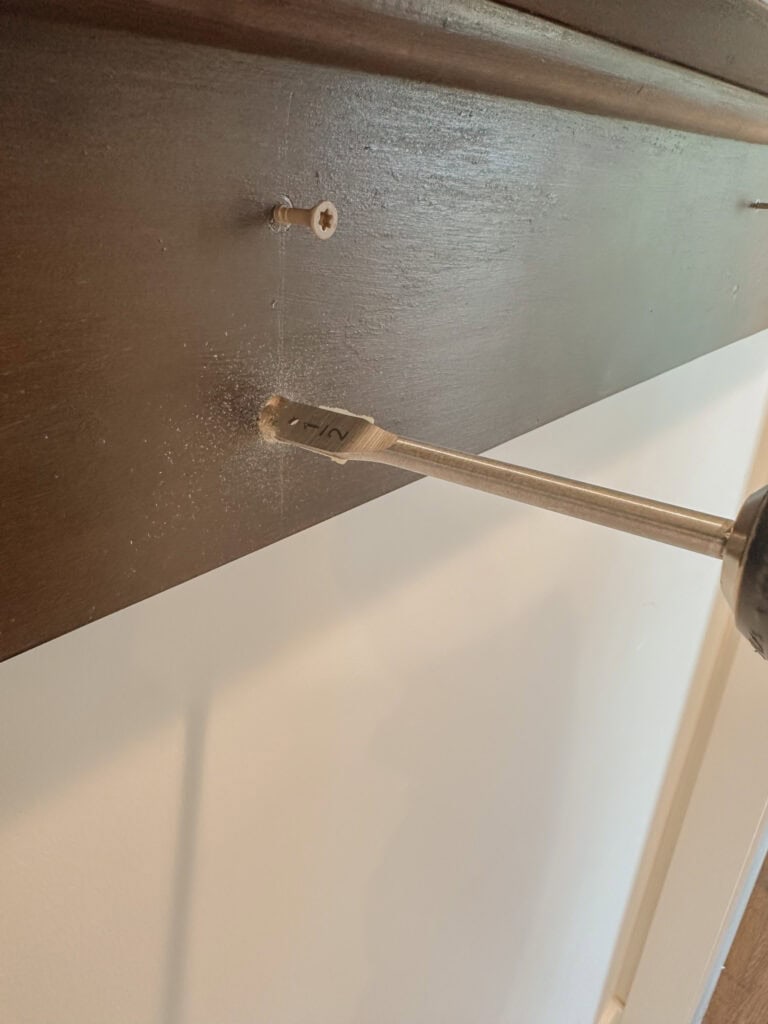
Add screw cap covers to hide the hardware.
If you cannot locate studs and need to use drywall anchors, I wrote a quick post on how to install them that you can read below.
Step 6: Add Your Shaker Pegs
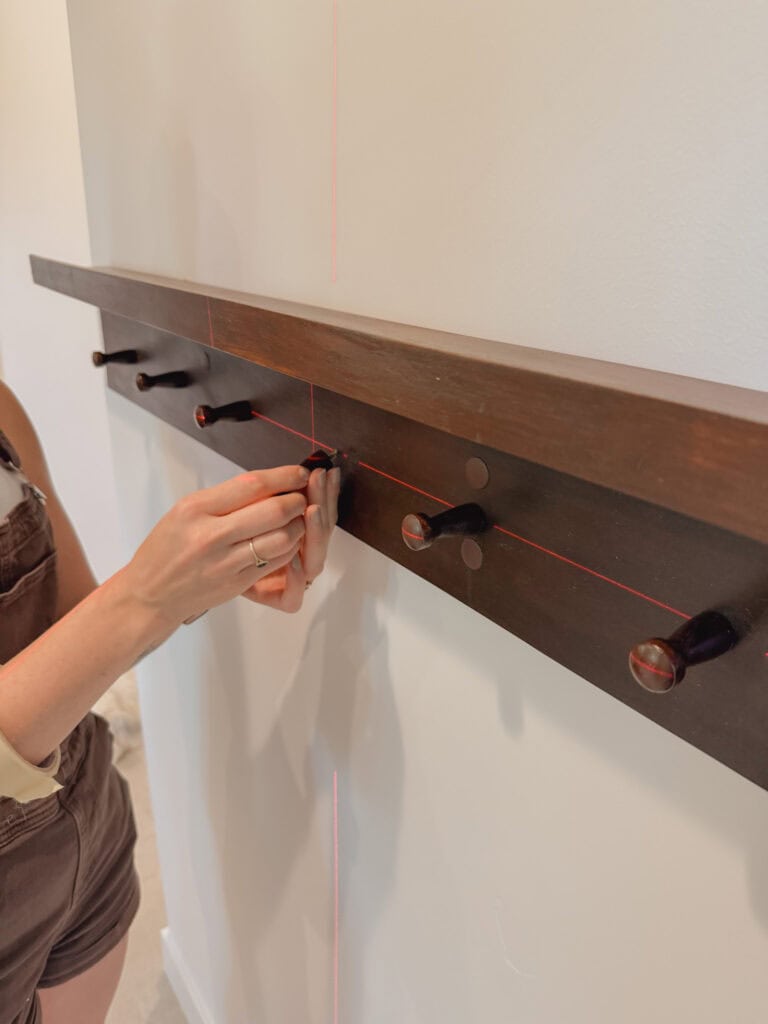
Mark your peg spacing — mine start 6 inches from each edge with 7 inches between pegs. I used a laser level to make sure they were, well, level.
Drill pilot holes slightly smaller than your peg screw diameter, then twist or screw in each peg until snug.
That’s it! You now have your very own DIY wood shelf with hooks.
Styling Ideas for Your Wood Shelf with Hooks
This shelf is such a versatile decor piece. Try styling it with:
- Small framed art or seasonal prints
- A vase of flowers or greenery
- Hanging baskets for storage
- Hats, aprons, or linens
- Holiday touches like stockings, bells, or garland
It’s a simple way to add warmth, function, and character to your home — especially in kitchens, mudrooms, or entryways.
I styled it with on my favorite simile DIYs this fall, this adorable DIY checkered frame with a Halloween print I got off Etsy. Read the tutorial for cute and quick craft below!
The Finishing Touch Our Kitchen Needed
I’m so proud of how this DIY wood shelf with hooks turned out. It was the missing piece our kitchen needed to feel finished — adding just the right mix of warmth, texture, and function. If you decide to make one, tag me or leave a comment below. I’d love to see how you style yours!

Join the List
Stay up to date & receive the latest posts in your inbox.