How to Transform Plastic Ball Ornaments into Stunning Brass Ornaments with Rub ‘n Buff
If you’ve been eyeing gorgeous brass ornaments for your Christmas decor but don’t want to splurge on expensive ornaments, this DIY is for you. With a little creativity and a magical product called Rub ‘n Buff, you can turn inexpensive plastic ball ornaments into elegant, high-end-looking brass ornaments that elevate your Christmas tree and holiday displays.
This tutorial will walk you through everything you need to know to create your own faux brass ornaments, from gathering supplies to perfecting your technique. Along the way, I’ll share tips to ensure your project turns out beautifully, even if you’re new to DIY.
As an Amazon Associate, I receive a small commission (at no additional cost to you) for qualifying purchases on items purchased through the links in this post.
Why Choose Brass Ornaments for Your Holiday Decor?
Brass is a design classic, offering a timeless warmth that complements nearly any holiday theme. Its vintage yet modern appeal pairs beautifully with evergreen garlands, fairy lights, and other metallics like gold and silver. Whether your style leans traditional, minimalist, or eclectic, brass ornaments add a touch of luxury and depth to your decorations.
But here’s the catch: authentic brass ornaments can be pricey, especially if you’re decking out an entire tree. That’s where DIY comes in. By using Rub ‘n Buff—a wax-based metallic finish—you can easily create your own custom brass ornaments for a fraction of the cost. Plus, you’ll have the satisfaction of making them yourself.
Supplies You’ll Need For Faux Brass Ornaments
Before getting started, gather the following items:
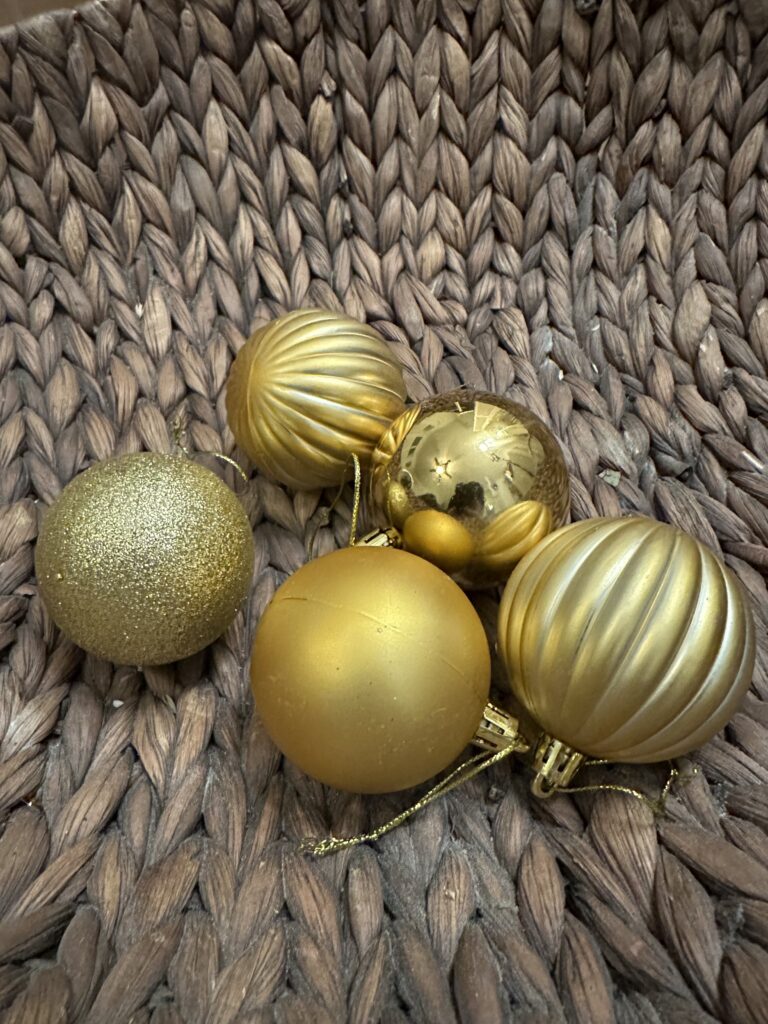
- Plastic ball ornaments: Smooth-surfaced ones work best for a polished brass look, but textured ornaments can also be used for a more vintage, distressed finish.
- Rub ‘n Buff: Choose the shade European Gold for the perfect brass effect. Antique Gold or Gold Leaf are also pretty
- Sponge brush: Ideal for smooth application and buffing.
- Paper plate: For holding small amounts of Rub ‘n Buff.
- Disposable gloves: To keep your hands clean and free of waxy, hard to remove residue.
- Face mask or respirator: An N95 mask works well to avoid inhaling fumes. This stuff has a strong odor!
- Ventilated workspace: A must for working with Rub ‘n Buff, as it has a strong odor.
Step 1: Safety First
Rub ‘n Buff is a game-changer for DIY projects, but it does have a strong smell and contains potentially harmful chemicals you don’t want on your skin or in your lungs. Here’s how to stay safe:
- Put on gloves to protect your hands from stains and irritation.
- Wear an N95 mask or respirator to avoid inhaling fumes.
- Work in a well-ventilated area, such as near an open window or outside.
Taking these precautions ensures your project is both fun and safe.
Step 2: Prepping the Ornaments
Before applying Rub ‘n Buff, make sure your ornaments are clean and dry.
- Remove any dust or debris with a damp cloth or paper towel.
- If your ornaments have glossy finishes, lightly sand them with fine-grit sandpaper to help the wax adhere better.
This step ensures your brass ornaments will have a smooth, even finish.
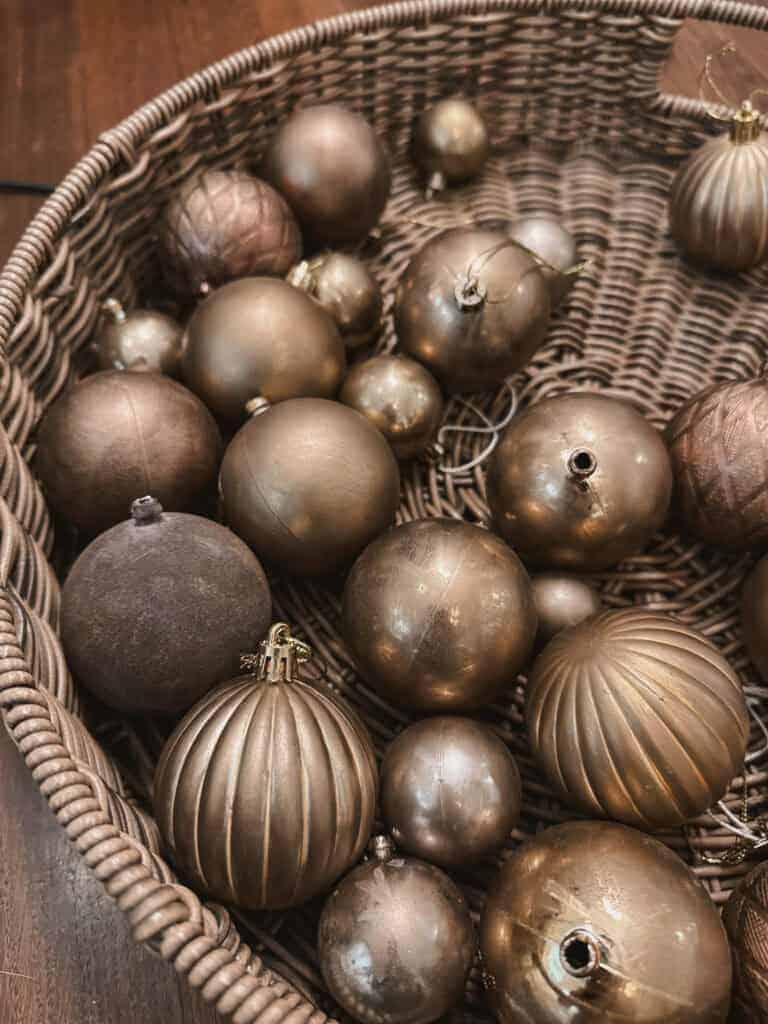
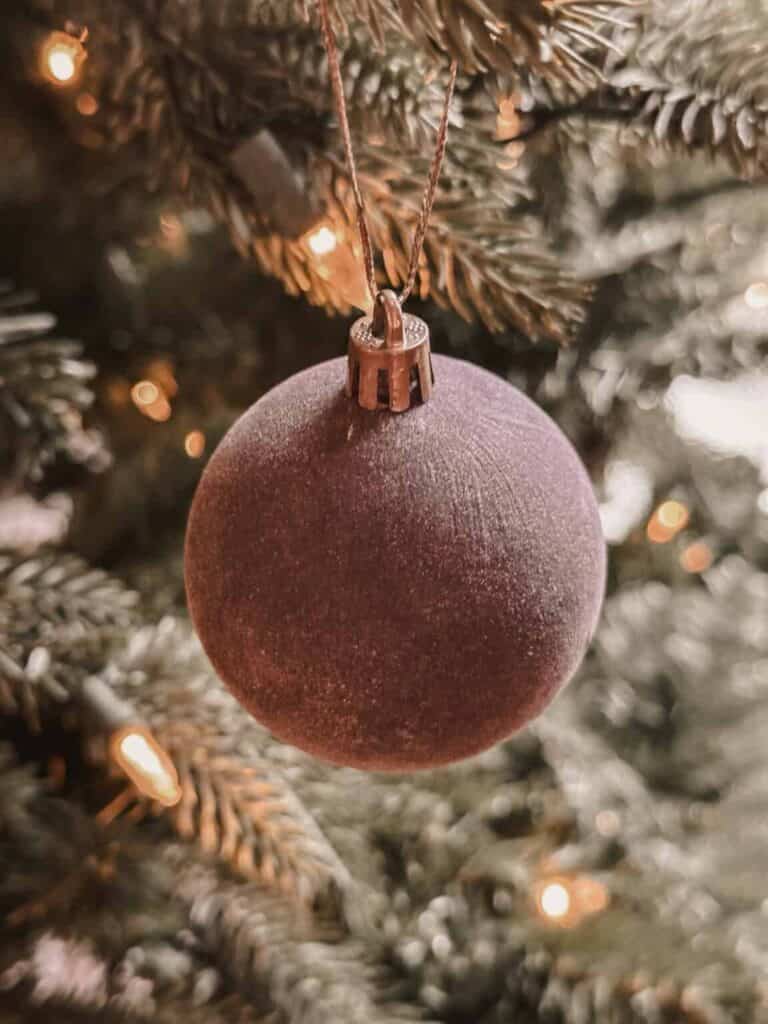
This is what my gold plastic ornaments looked like before applying Rub n’ Buff.
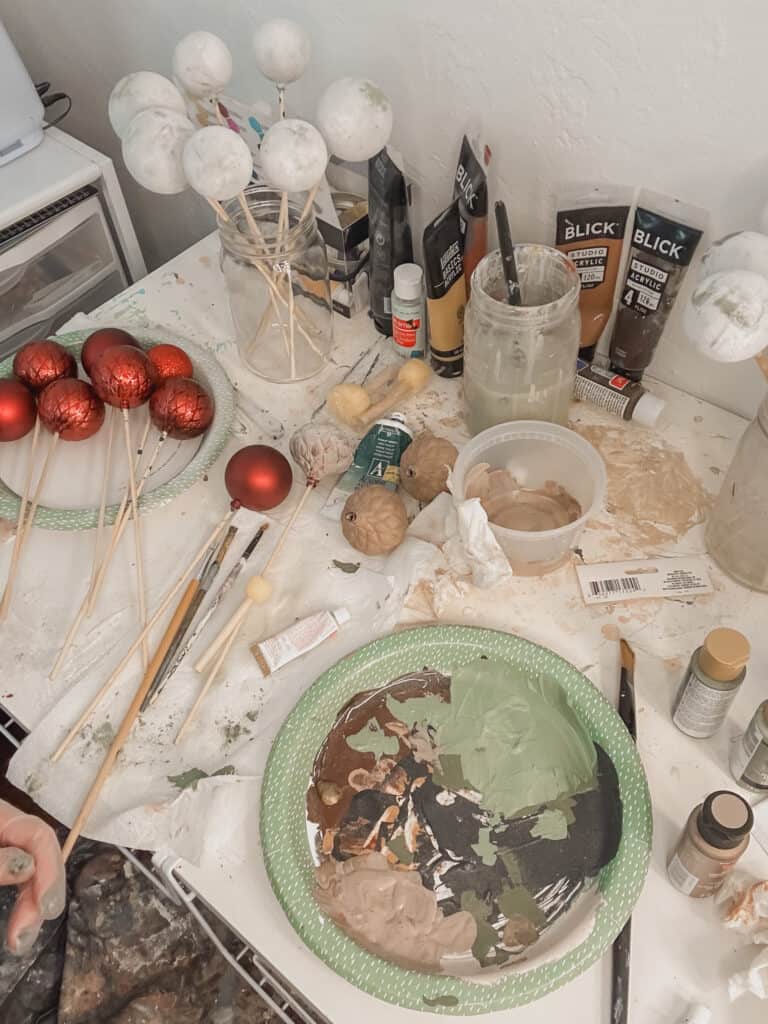
Step 3: Applying the Rub ‘n Buff
You’re ready to start applying the brass finish! Follow these steps to transform your ornaments:
- Squeeze a small amount of Rub ‘n Buff onto a paper plate. A pea-sized amount goes a long way, so start small and add more as needed.
- Dip the sponge brush lightly into the product.
- Tap and swirl the sponge brush onto the ornament’s surface, starting with light layers.
- Use small, circular motions to buff the wax into the ornament, ensuring even coverage.
Rub ‘n Buff dries somewhat quickly, so work in sections and move swiftly to spread it out before it sets. If you want a more distressed look, leave some areas less covered to mimic the patina of aged brass. You can dapple the brush on the surface to create this effect.
Step 4: Let Them Dry
Rub ‘n Buff is quick-drying, but allowing ample curing time ensures the finish is durable.
- Dry to the touch: In about 1-2 hours.
- Fully cured: For the best results, let your ornaments cure overnight before handling or hanging them.
Patience pays off here—your ornaments will look more polished and hold up better over time.
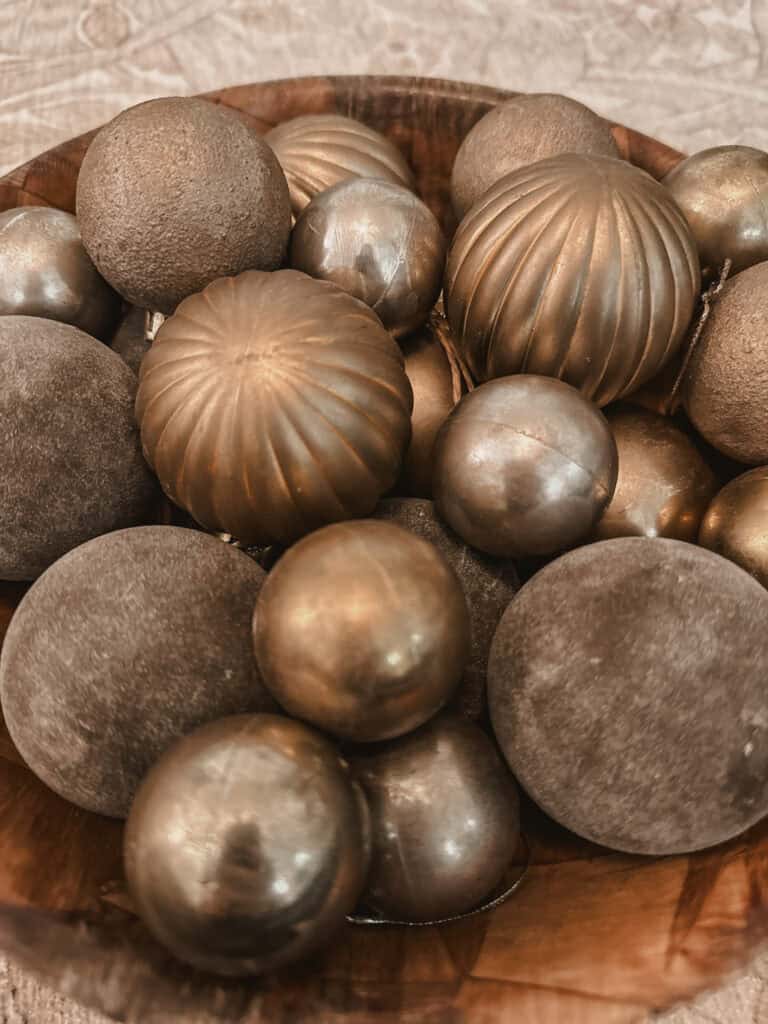
Step 5: Styling Your Brass Ornaments
Once your ornaments are dry, they’re ready to shine! Here are a few ideas for incorporating them into your holiday decor:
- On the tree: Combine your brass ornaments with twinkling fairy lights, greenery, and complementary metallics like silver or gold for a layered, sophisticated look.
- In a centerpiece: Place them in a bowl or tray alongside pinecones, candles, and greenery for a festive table display.
- As gifts: Add a personal touch by using your handmade brass ornaments as part of your holiday gift wrapping.
Pair them with flocked ornaments for a vintage Christmas vibe. If you want to learn how to make flocked ornaments, read this article for the full tutorial!
Tips for a Flawless Finish
To ensure your brass ornaments turn out beautifully, keep these tips in mind:
- Start light: It’s easier to add more Rub ‘n Buff than to remove excess, so begin with thin layers.
- Experiment with textures: Use different application techniques—like dabbing with a sponge or cloth or adding streaks—for a more antique or distressed look.
- Mix shades: Layering shades like Antique Gold and European Gold can create depth and mimic the variation in real brass.
- Seal if needed: If your ornaments will be handled often, consider sealing them with a clear spray finish for extra durability.
Why Rub ‘n Buff Is a DIY Essential
Rub ‘n Buff isn’t just for ornaments—it’s a versatile product that can transform furniture, hardware, picture frames, and more. Its highly pigmented formula adheres well to a variety of surfaces, creating a rich metallic finish that’s far more convincing than spray paint.
Unlike traditional paints, Rub ‘n Buff has a soft sheen that mimics the look of real metal, making it ideal for projects like this one.
Budget-Friendly and Customizable
One of the best parts of this project is its affordability. A tube of Rub ‘n Buff costs around $8-10 and can cover multiple ornaments (and more). Plus, since you’re DIY-ing, you can customize the shade and finish to match your personal style or holiday theme.
And most importantly, brass ornaments are so so pretty.
Final Thoughts on DIY Brass Ornaments
Transforming plastic ball ornaments into gorgeous brass ornaments with Rub ‘n Buff is an easy, budget-friendly way to elevate your holiday decor. The process is simple, the results are stunning, and you’ll love the personalized touch these DIY ornaments bring to your tree.
Whether you’re new to DIY or a seasoned pro, this project is perfect for anyone looking to add a little extra sparkle and sophistication to their Christmas decorations. Ready to give it a try? Grab your supplies, follow the steps, and let your creativity shine!
Have you tried making your own brass ornaments? Leave a comment with your tips and tricks! Follow me on Pinterest for home and holiday inspiration and Christmas craft ideas! Happy crafting!


Join the List
Stay up to date & receive the latest posts in your inbox.