DIY Christmas Orange Garland: Creating Traditional Holiday Magic with Dried Citrus
A Christmas orange garland is a bright, beautiful, and DIY-friendly way to add cheer, color, and natural beauty to your Christmas decor. The tradition of decorating with oranges during Christmas dates back centuries, carrying rich symbolism and historical significance. In medieval Europe, oranges were rare and precious gifts, often placed in Christmas stockings as a special treat. The fruit represented the gold that Saint Nicholas supposedly dropped down chimneys into stockings, while the circular shape and warm color symbolized the sun during dark winter days. For many cultures, oranges also represented prosperity and good fortune for the coming year.
Today, we’re honoring this beautiful tradition with a step-by-step guide to creating stunning dried orange garlands and ornaments. These natural decorations fill your home with subtle citrus fragrance while adding organic warmth to your holiday decor.
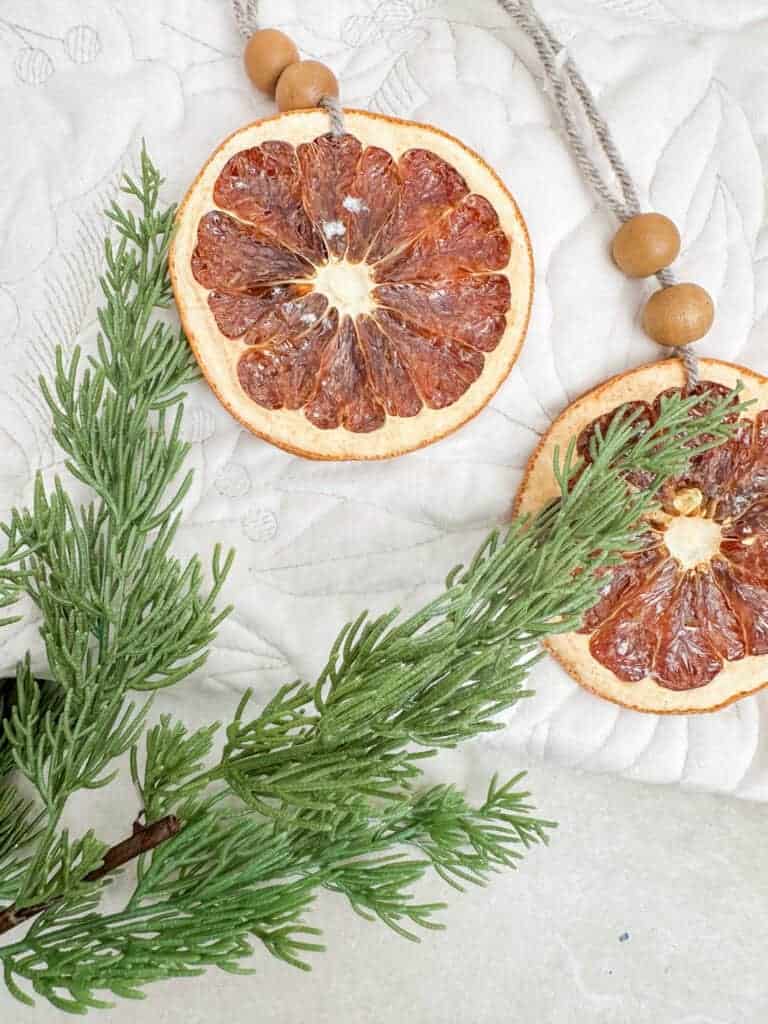
Why Are Oranges Associated With Christmas?
As previously stated, the tradition of using oranges during Christmas has deep roots across various cultures, often for similar yet distinct reasons. While the origins discussed above focus on Western traditions, many Christmas practices also trace back to pagan cultures.
Before you click away, let me clarify. In our predominantly Christian Western culture, the term “pagan” is often viewed negatively. In reality, “pagan” refers to the myriad cultures that existed in the pre-Christian world, many of which centered around the observation and reverence of the natural world. A pagan is generally defined as someone who worships nature or follows a religion based on natural elements.
In this context, oranges are linked to the pagan celebration of Yule, which celebrates the return of the sun during the winter solstice. Dried orange garlands brighten the otherwise dull winter months and symbolize the promise of spring’s return.
With its varied history, this tradition persisted through the Great Depression in the United States, where oranges were often gifted in stockings alongside small treats and nuts. Although these items may seem commonplace today, they were considered luxuries during that period of extreme hardship. For a deeper exploration of this history, you can read more in this article from Country Living.
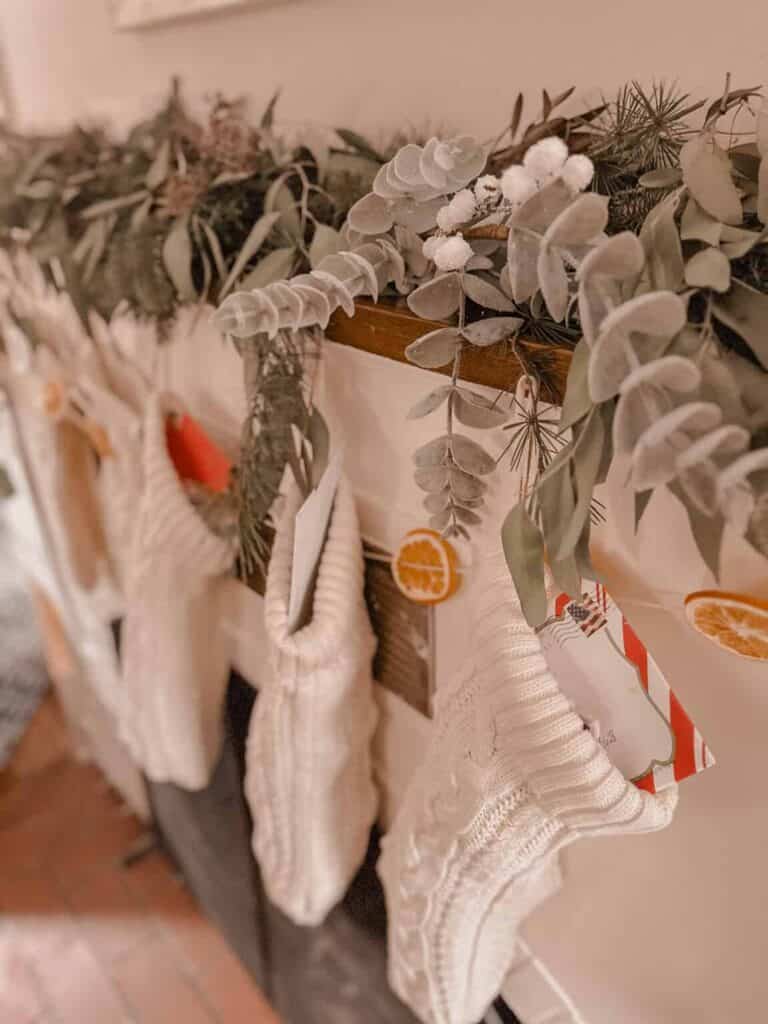
Additionally, in various cultures, oranges have come to symbolize good luck, wealth, and abundance for the coming year. Personally, I enjoy celebrating the changing seasons by crafting with local herbs and flora. The oranges and grapefruits, along with eucalyptus branches used for my mantel display, are sourced from my own yard, adding a personal touch to my holiday decor.
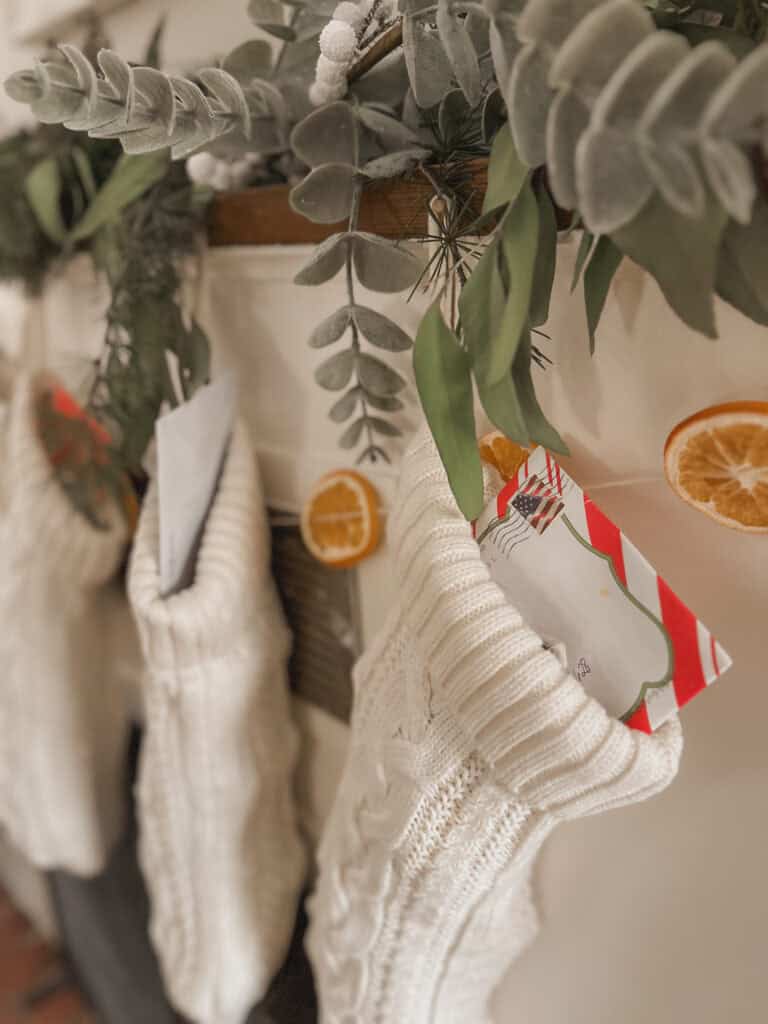
What You’ll Need to Make a Christmas Orange Garland and Ornaments
Making a Christmas orange garland is a simple project that can be done in parts throughout the day. Cut them up in the morning and dehydrate them all day, then string them in the evening, ideally while watching your favorite Christmas movie and sipping tea or cocoa. Although not an essential part of the process, it is highly recommended.
For the Basic Garland
- 10-15 medium-sized oranges
- Sharp knife or mandoline slicer
- Dehydrator or oven
- Paper towels
- Twine or natural jute cord
- Large needle or small drill
- Cutting board
- Cookie sheets (if using oven method)
- Parchment paper
For Orange Slice Ornaments
- Dried orange slices
- Wooden beads (Or whatever beads you want)
- Velvet ribbon in forest green or burgundy
- Jute or twine
- Cinnamon sticks (optional)
- Pine sprigs (optional)
* I also used Ruby Red grapefruits for some of the ornaments because I thought the gorgeous deep pink flesh would be gorgeous on the tree and it was!
Preparing Your Oranges
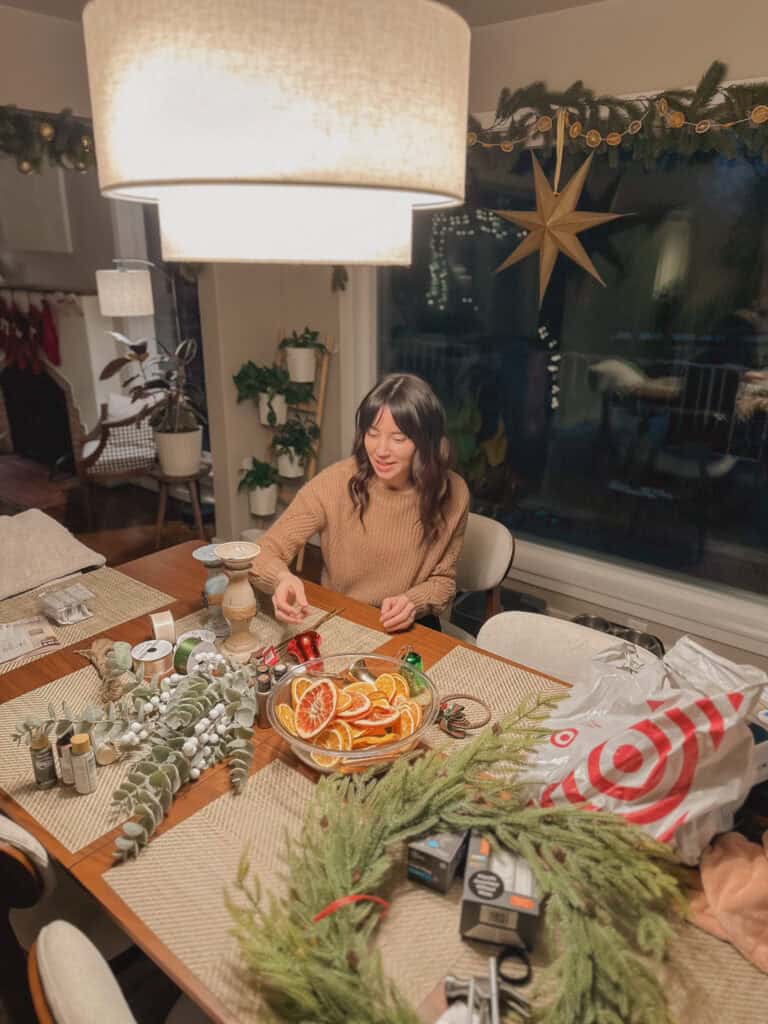
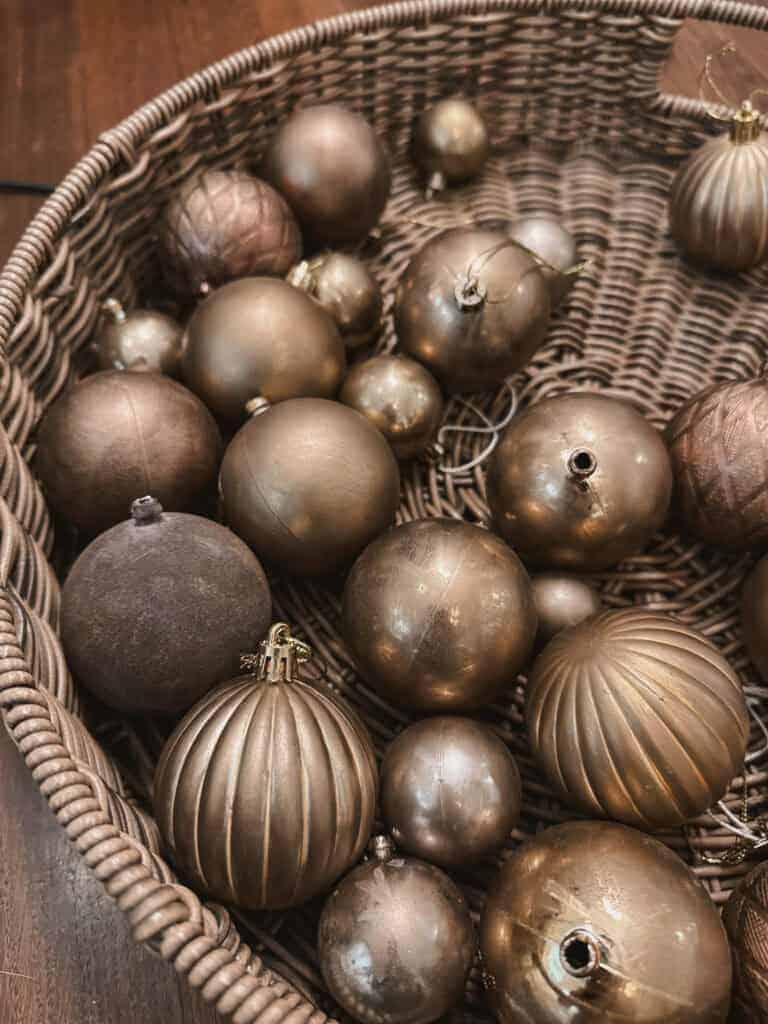
I made these my Christmas orange garland at the same time I made some faux-brass Christmas bells and candleholders. If you want to see that process and get inspired for another easy Christmas DIY craft, check out the post below!
Slicing Tips
- Wash and dry oranges thoroughly
- Cut off both ends of each orange
- Using a sharp knife or mandoline, slice oranges into 1/4-inch rounds
- Aim for consistent thickness—this ensures even drying
- Pat slices gently with paper towels to remove excess moisture
Pro tip: Choose firm, ripe oranges without blemishes for the most attractive dried slices.
Drying Methods For Christmas Orange Garland and Ornaments
Oven Method
- Preheat oven to the lowest setting (usually 170°F/75°C)
- Line baking sheets with parchment paper
- Arrange orange slices in a single layer
- Place in oven for 4-6 hours (this will depend on your oven, the thickness of your orange slices, and their water content)
- Flip slices every hour for even drying
- Check frequently after 4 hours—slices should be dry but not browned
Dehydrator Method
- Arrange slices on dehydrator trays
- Set temperature to 135°F/57°C
- Run for 6-8 hours
- Check periodically—slices should be completely dry but still maintain some color
Note: Properly dried slices should feel like paper—flexible but completely dry to the touch.
Testing for Dryness
- Slices should be completely dry with no sticky areas
- Hold up to the light—they should be translucent
- Bend gently—they should be flexible without breaking
- No moisture should be visible when pressed
Creating Your Garland
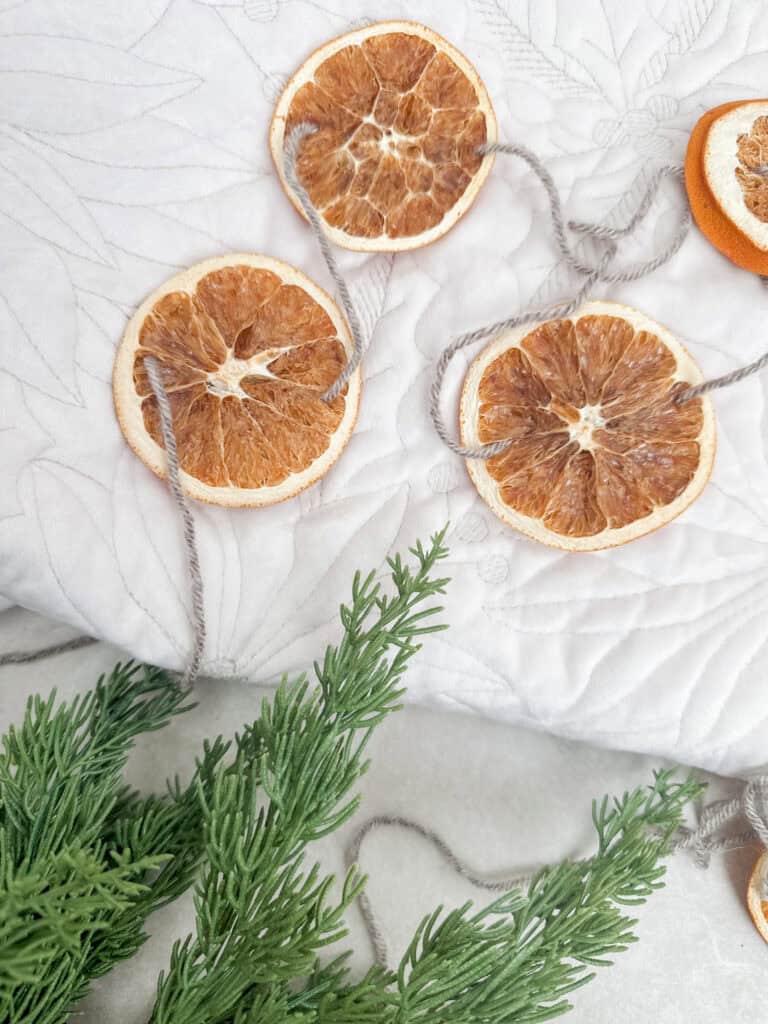
Basic Stringing Method
- Allow slices to cool completely
- Cut twine to the desired length plus 12 inches for hanging
- Tie a large knot at one end
- Thread large-eyed needle with twine
- Pierce orange slices through the center on both as in the picture above, or just in the center on top
- Space evenly along the twine
- Add a knot at the end for hanging
Spacing and Design
- Traditional: Equal spacing between slices (2-3 inches)
- Clustered: Groups of 3-4 slices with larger gaps between
- Layered: Overlapping slices for a fuller appearance
- You can also add beads, dried cranberries, or other natural decor elements
Elevated Orange Slice Ornaments
Transform single orange slices into sophisticated ornaments with these creative combinations:
Classic Nordic Style
- Thread twine through one orange slice
- Add two or three natural wooden beads above
- Create a loop with a velvet ribbon
- Tie off with a small bow
Botanical Beauty
- Layer two orange slices
- Insert small pine sprig between slices
- Add cinnamon stick
- Secure with natural twine
- Finish with forest green velvet ribbon
Modern Minimal
- Thread a single large slice with black or white baker’s twine
- Add geometric wooden beads
- Create asymmetrical design
- Finish with a simple knot
Styling Your Christmas Orange Garland and Ornaments
Garland Placement Ideas
- Drape across mantels
- Wind through Christmas tree branches
- Hang on banisters
- Frame doorways and windows
- Layer with pine garland- I hung faux pine garlands and orange garlands on our mantle, dining room window, and large arched opening between our living and dining room.
- Suspend from chandeliers, door frames, or mirrors
Ornament Display Options
- Cluster on tree branches
- Hang from window frames
- Add to gift-wrapping
- Create wall arrangements
- Incorporate into wreaths
Care and Storage of Christmas Orange Garland and Ornaments
This will be my second year making these, and I wasn’t sure how last year’s would hold up. I worried they would get gross in storage. I am happy to report that when I pulled them out of storage today, they were just as beautiful as last year and they smelled amazing.
During the Season
- Keep away from direct sunlight
- Avoid humid areas
- Handle gently to prevent breaking
- Refresh the scent by gently warming it with a hair dryer
Post-Season Storage
- Clean dust with a soft brush
- Store in an airtight container
- Add a silica gel packet or sponge to prevent moisture
- Keep in a cool, dry place
- Layer between acid-free tissue paper
Troubleshooting Common Issues
These are very DIY friendly, but here are a few potential issues or concerns:
Preventing Mold
- Ensure slices are completely dry before storing
- Check for sticky spots before finishing
- Store in climate-controlled space
- Add moisture absorbers to storage containers (I skipped this and mine were fine, but you could easily cut up a sponge and store it with your garland to be sure)
Maintaining Color
- Avoid high heat when drying
- Check frequently during the drying process
- Store away from direct light
- Consider adding natural preservatives like clove oil
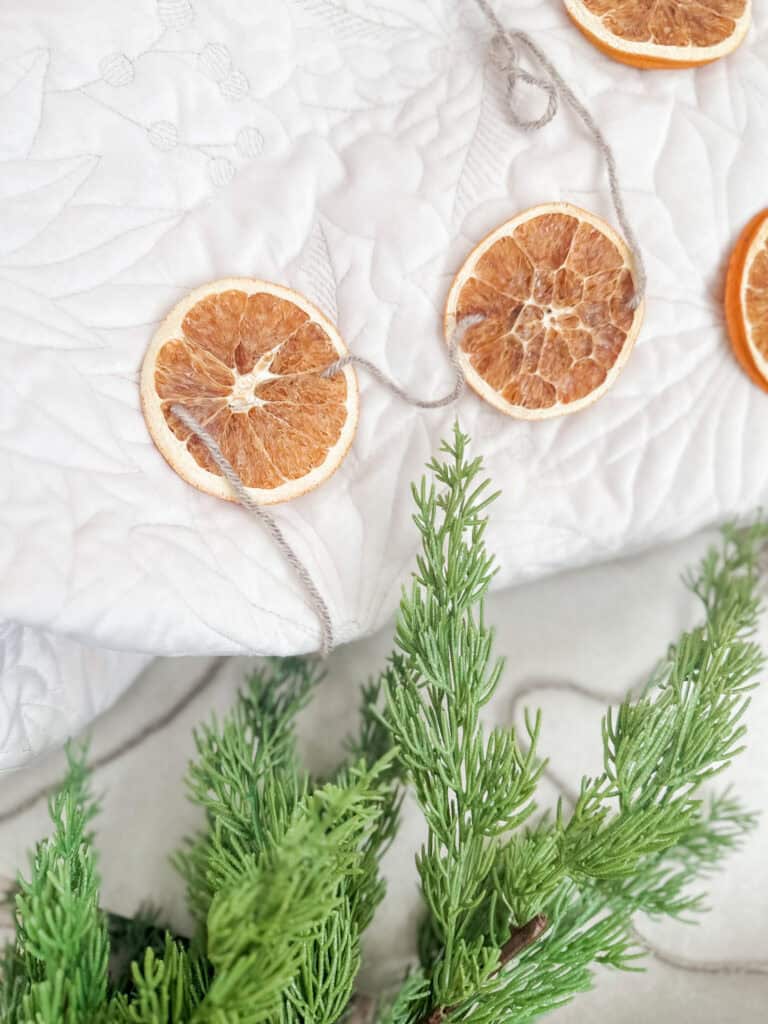
Creative Variations of this Christmas and Yule Classic
As with all DIY decor, the creative process is in your hands. You can add your personal style to these in a number of ways. Here are a few ideas to get you started:
Mixed Citrus Garlands
- Combine with dried lemon or grapefruit slices
- Add lime slices for color variation
- Include blood oranges for deeper tones
- Layer with miniature mandarins
Scented Versions
- Thread with whole star anise
- Alternate with cinnamon sticks
- Add dried bay leaves
- Incorporate small pine cones
The Natural Touch
These dried orange decorations bring more than just visual appeal to your holiday decor—they add a natural, organic element that connects us to the traditions of the past. The subtle citrus scent and warm golden glow create an inviting atmosphere that perfectly complements both traditional and modern holiday styles.
The beauty of natural materials lies in their imperfections. Each slice will dry slightly differently, creating unique patterns and variations that add character to your creations. Embrace these subtle differences as part of the handcrafted charm of your decorations.
Are you adding orange garlands to your holiday decor this year?
Looking for more natural Christmas decor ideas? Follow me on Pinterest where I share all my DIY and decor ideas!



Join the List
Stay up to date & receive the latest posts in your inbox.
0 Comments