How to Make Your Vintage Christmas Decor: Brass Christmas Bells and Candleholders
There’s something undeniably magical about vintage Christmas decor. Especially the soft brass tones that are often found in vintage Christmas decor. Those warm, golden tones and perfectly aged patinas add instant character to holiday decor, but authentic vintage pieces often come with hefty price tags. Today, I’m sharing my favorite trick for creating stunning faux brass Christmas bells and candle holders that capture that coveted vintage brass charm—without the antique store prices.
As an Amazon Associate, I receive a small commission (at no additional cost to you) for qualifying purchases on items purchased through the links in this post.
Please forgive the less-than-ideal photo quality in this post. I casually took these pictures last year before I started this blog. But I loved this simple DIY decor idea and wanted to share. I am still celebrating Halloween now, but very soon I’ll start working on Christmas decor and new DIY ideas. So stay tuned!
The Hunt: Sourcing Your Base Pieces
The beauty of this project lies in transforming humble materials into elegant vintage Christmas decor. Here’s what to look for:
- Plastic, metal, or ceramic Christmas bells from craft stores or dollar stores
- Basic glass, metal, ceramic, or plastic candle holders from thrift stores
- Avoid pieces with too much texture or modern patterns
- Look for classic, simple shapes that mimic vintage designs
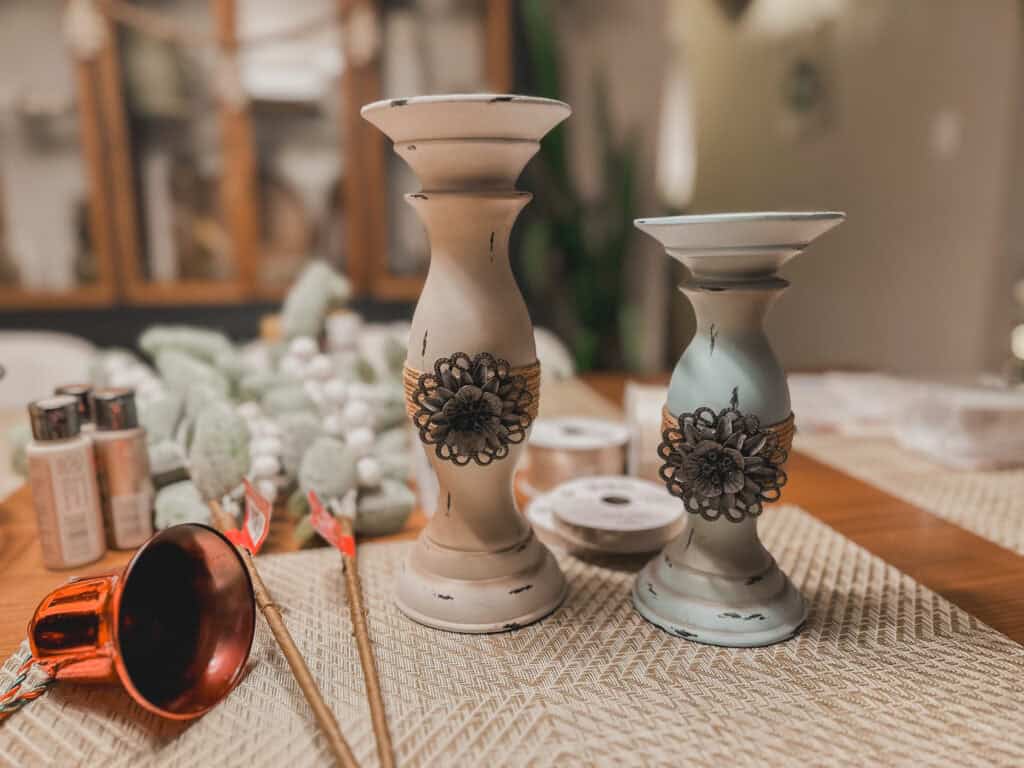
I found these aluminum bells and very farmhouse-style candle holders at the thrift store. They are not my style, but I liked the shape and know I could easily give them a little makeover to suit my decor style.
Pro tip: Post-holiday clearance sales are perfect for stocking up on plastic bells and other decor for next year’s projects.
Materials Needed
- Your chosen bells and candle holders
- White, yellow, brown acrylic paint
- Rub ‘n Buff in Gold Leaf or European Gold (the color I used)
- Clean, lint-free cloths
- Fine-grit sandpaper (220 grit)
- Clear matte sealer (optional)
- Velvet ribbon in earth tones
- Battery-operated taper candles
Alternatively, you can use gold/ brass spray paint instead of acrylic paint and Rub’n Buff. Although I prefer the buffed-on, real metallic look that Rub’n buff gives.
Thrifted to Vintage Christmas Decor Idea
Vintage Christmas decor has a lived-in, organic feel. So imperfections and variances in color or pattern are not only okay, they are celebrated.
Prep Work
- Clean all pieces thoroughly with soap and water
- Use acetone nail polish remover to remove sticky residue from tags if necessary
- Lightly sand surfaces to create a grip for the paint (if base material is wood or ceramic)
- Wipe down with a tack cloth or microfiber cloth to remove dust
The Base Layer
Acrylic paint:
- Set up a workstation with paint, a palette (a paper plate works too), paint brushes, a jar of water, and a paper towel. You might also want to use something to protect your surfaces like a plastic tablecloth or cardboard
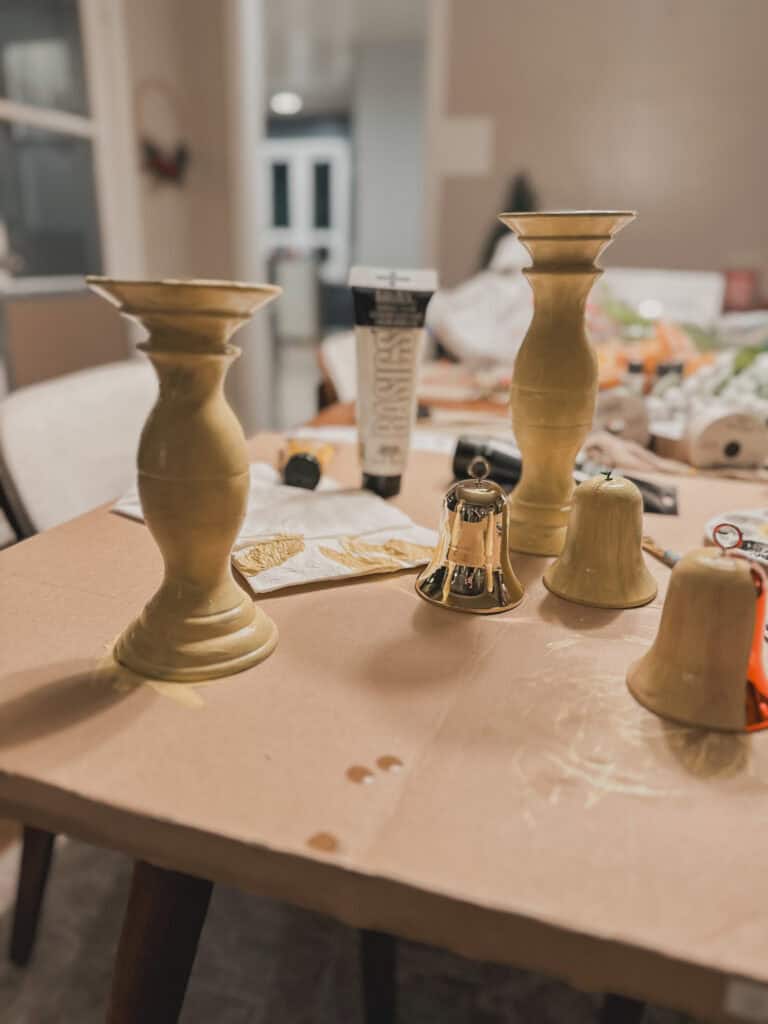
- Mix your white, yellow, and brown acrylic paint until you have a dull mustard color. Approximately one part white to 2 parts yellow (cadmium yellow: to 1 part light brown (raw sienna)
- Apply a thin layer on the entire surface and let dry
- apply a second thin layer and let dry
Spray paint:
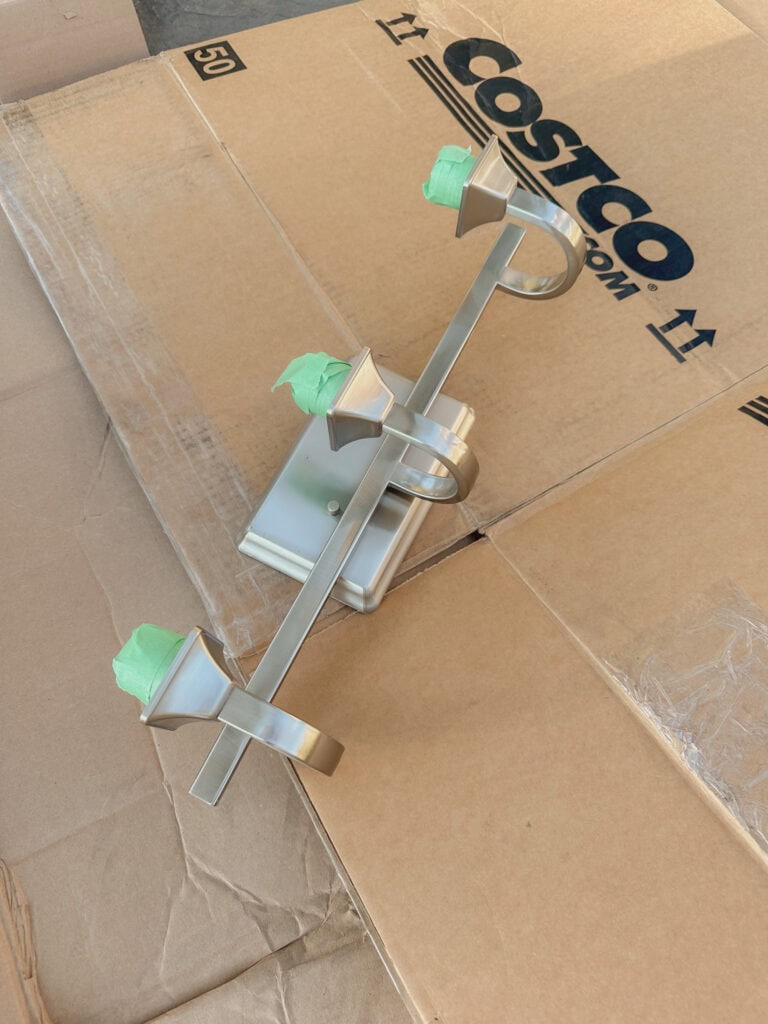
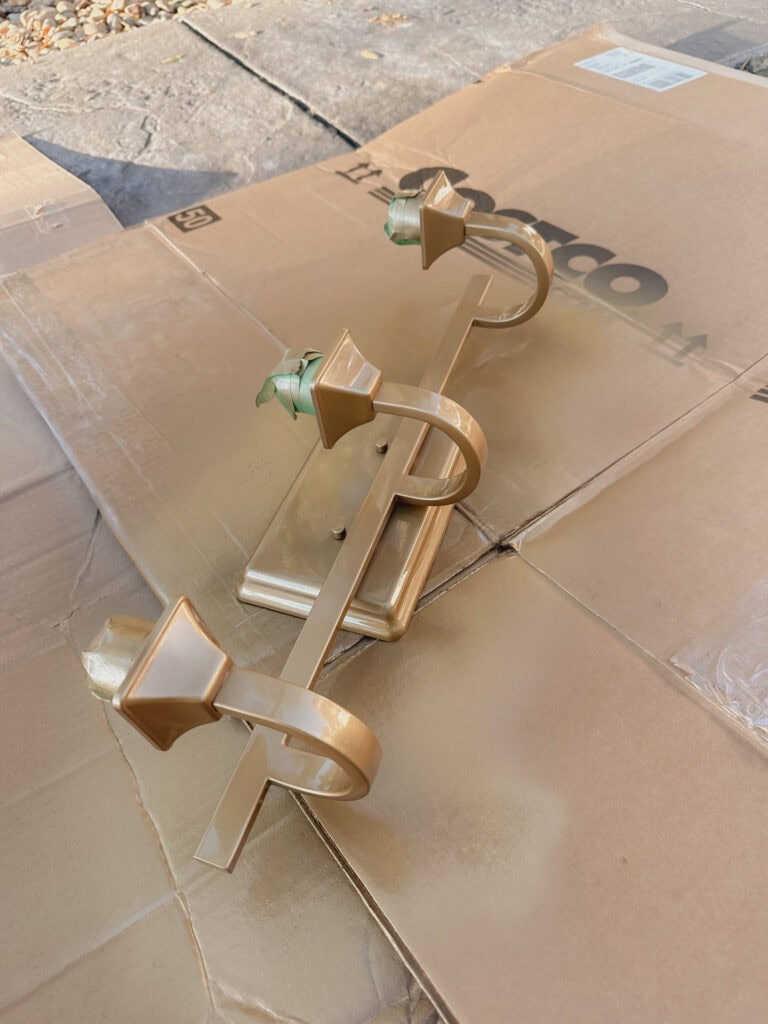
- In a well-ventilated area, apply 2-3 light coats of gold spray paint
- Allow each coat to dry completely (usually 20-30 minutes)
- The goal isn’t perfection—slight variations add character
My favorite brass-effect spray paint is the color Champagne Bronze by Rust’Oleum. I used this to spray paint the fixtures in our basement bath.
Creating the Aged Brass Effect
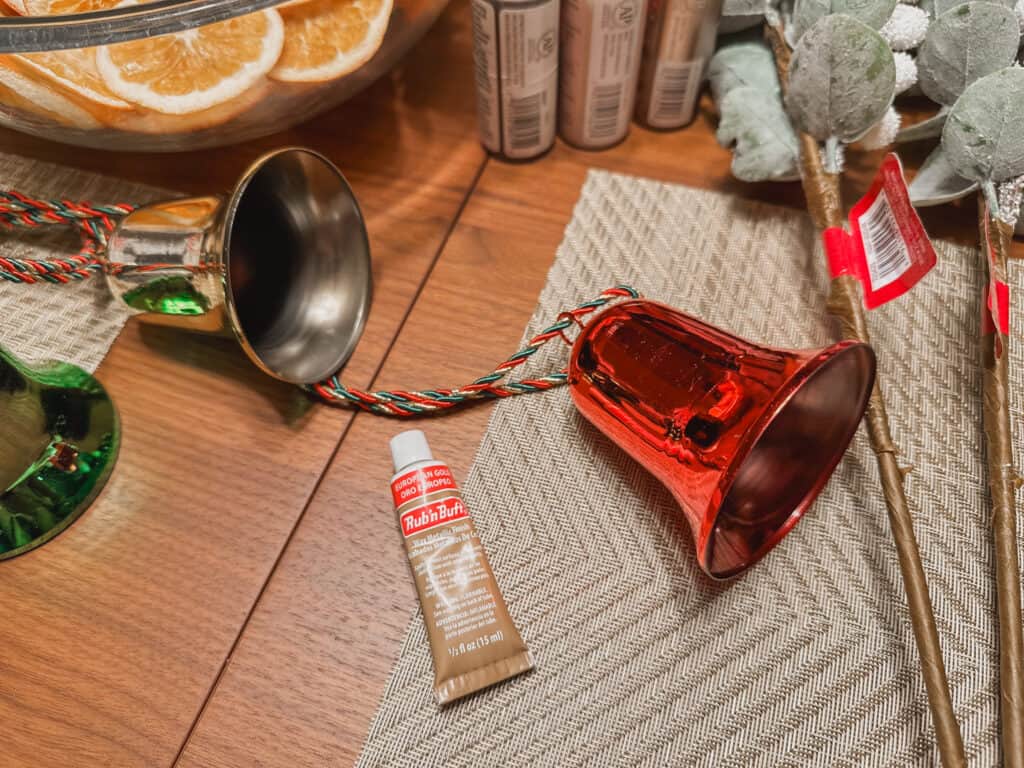
- Once the base paint is completely dry, apply Rub ‘n Buff sparingly with a stiff brush
- Work in small sections, buffing as you go. Work the Rub ‘n Buff in by buffing with small circles
- Focus on raised areas and edges where natural aging would occur
- Build up layers gradually—you can always add more. It will darken with subsequent applications
- For authentic aging, leave some areas lighter than others
- Follow package instructions with Rub’n Buff. Wear gloves if needed and refrain from touching until it has cured
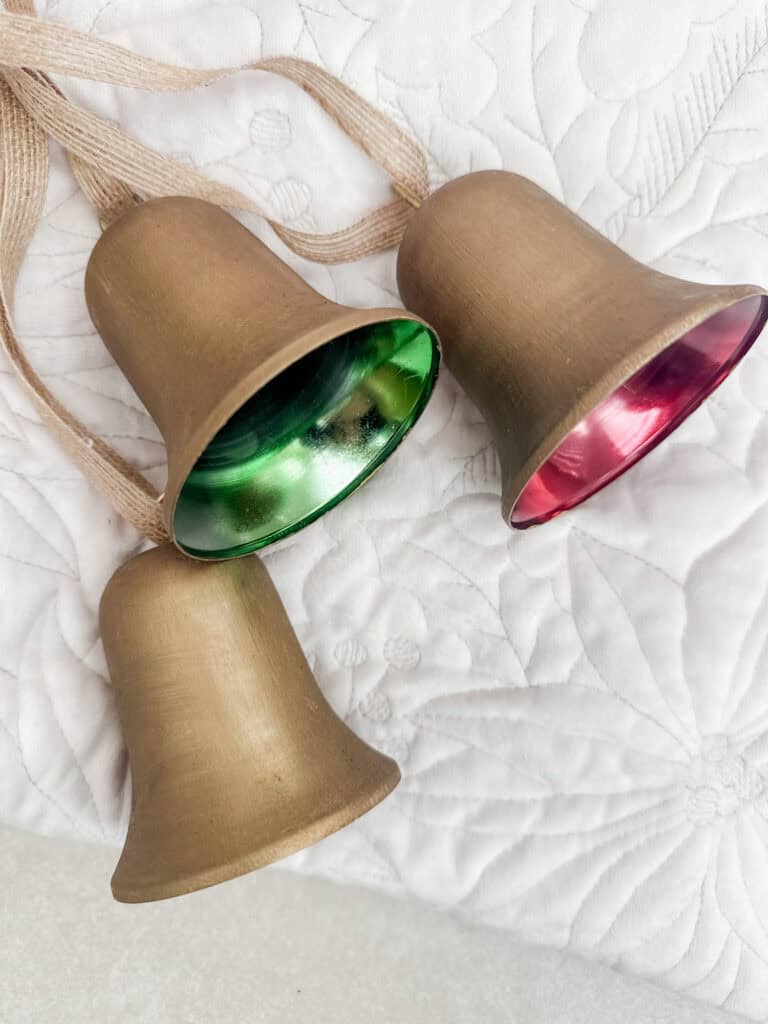
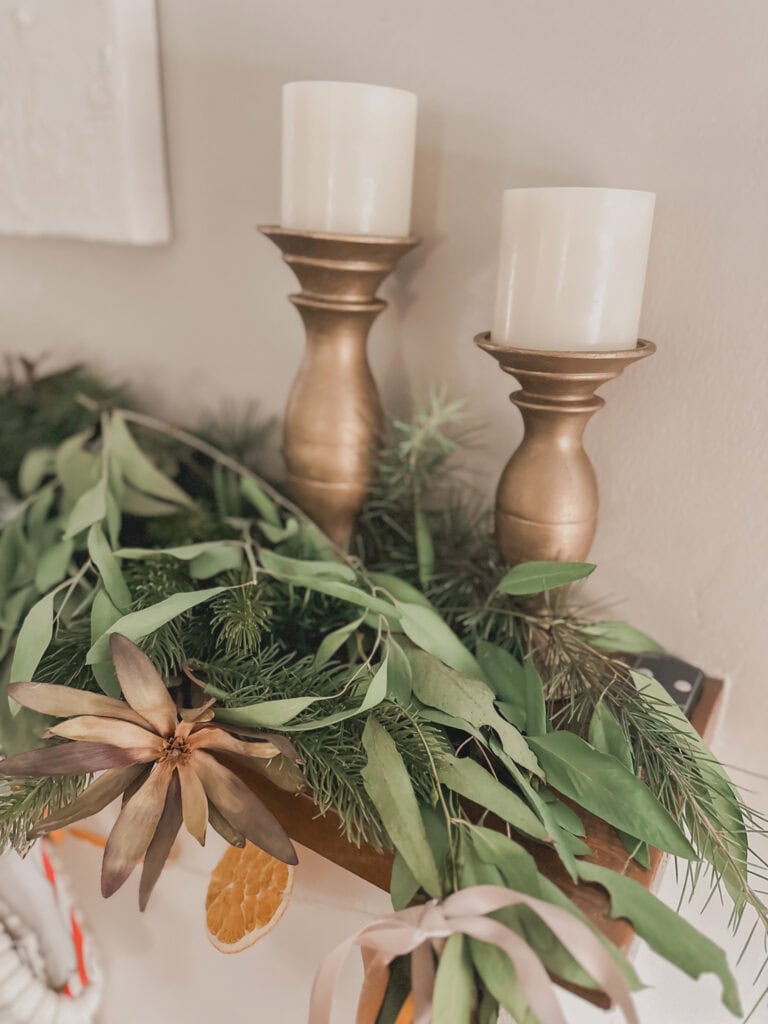
Note: Real brass develops natural variations over time. Embrace slight inconsistencies in your finish—they add authenticity.
Sealing Your Vintage Christmas Decor Craft
While optional, a clear matte sealer helps protect your finish:
- Apply one light coat of clear sealer
- Allow to dry completely before handling
- Avoid glossy sealers as they can diminish the aged effect
Styling Your Vintage-Inspired Brass Christmas Bells
The key to showcasing your transformed bells and candleholders lies in thoughtful arrangement and quality ribbons. Here’s how to create that effortlessly elegant look:
Mantel Styling Ideas
- Hang and layer bells at varying heights using ribbons in earth-toned velvet, jute, or other natural or vintage-inspired ribbon
- Mix 2-3 complementary ribbon shades like sage green, ivory, and warm beige, or the classic, red, white, and green, or neutral white, beige, and brown- whatever you like
- Create asymmetrical groupings of 3-5 bells
- Allow ribbons to drape naturally for an organic feel
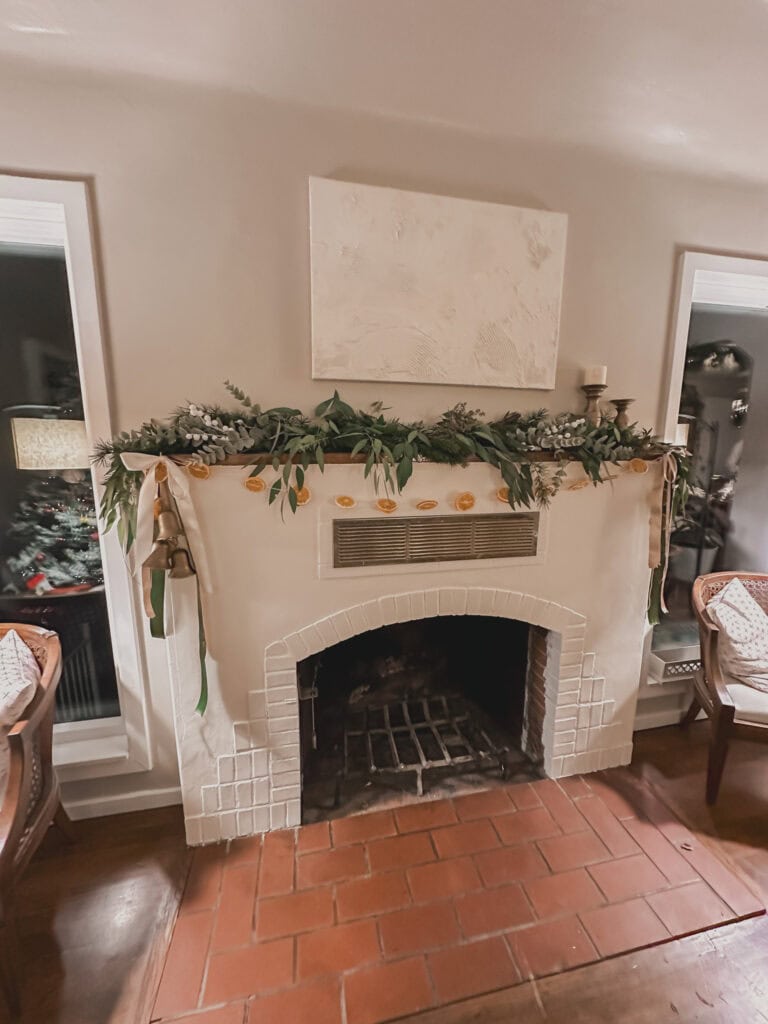
We moved into our new home a few weeks before Christmas last year and we were about to paint the walls, so I had very little decor up.
I also decided to paint the fireplace before putting up my Christmas decor. The previous owners painted the plaster a dark charcoal/blue tone that felt a little too dark in the space. I painted it with a warm white. And I know some people hate painted brick, but this brick was old and dirty, marred with lots of paint drips and soot. I love how it turned out.
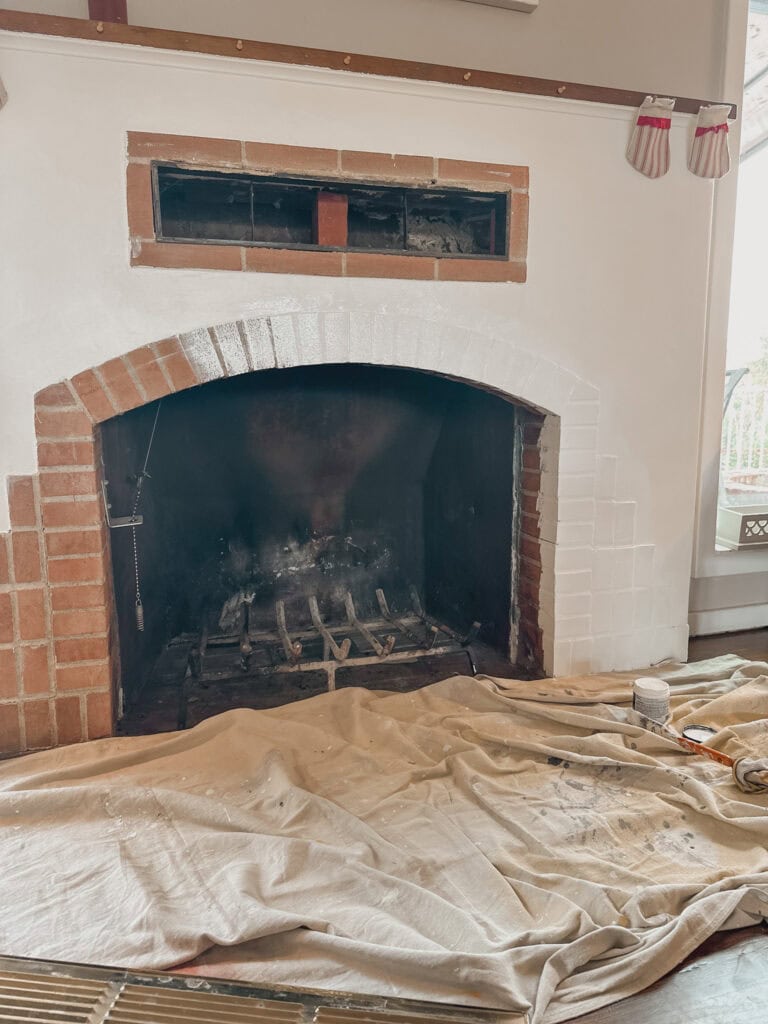
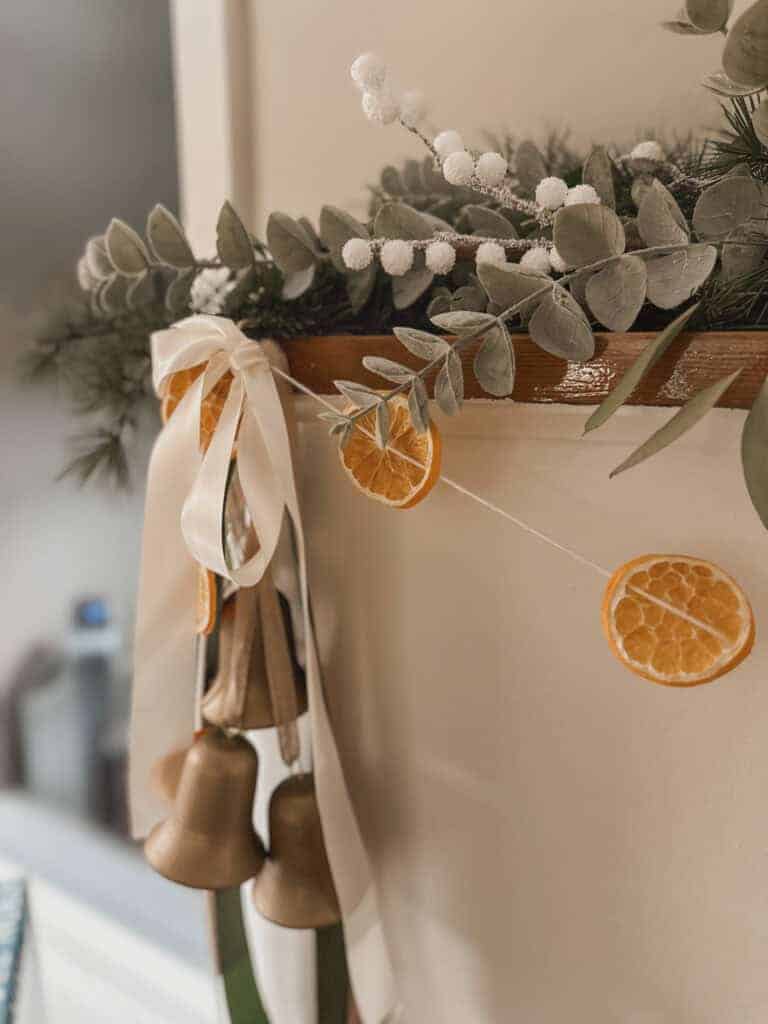
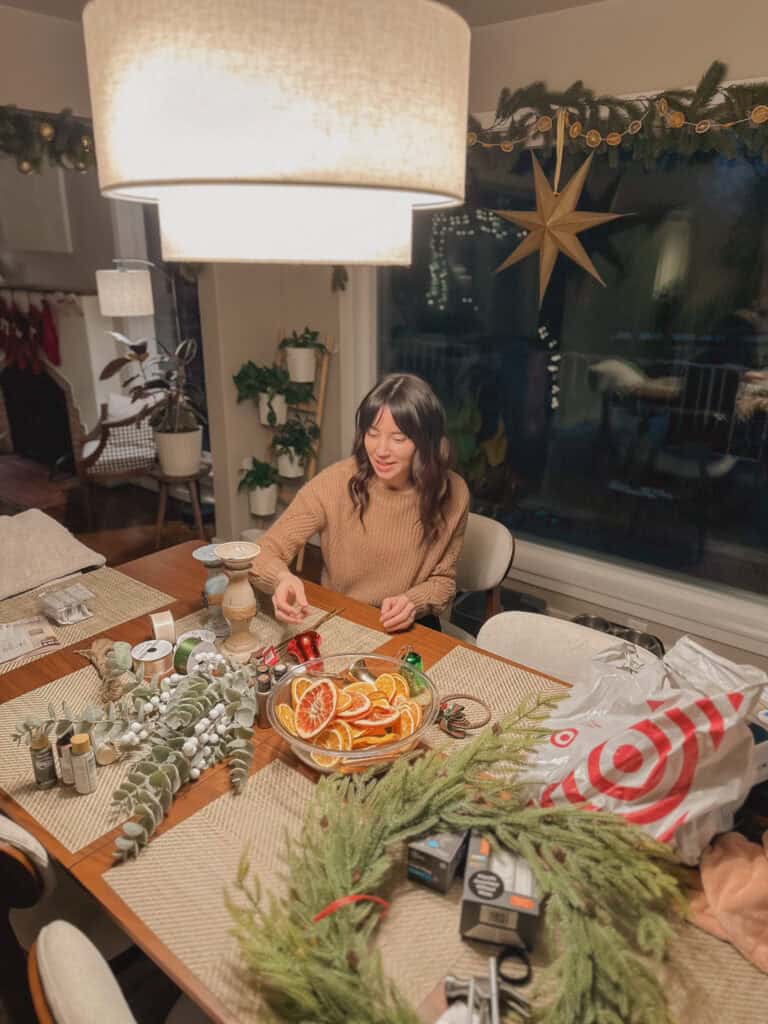
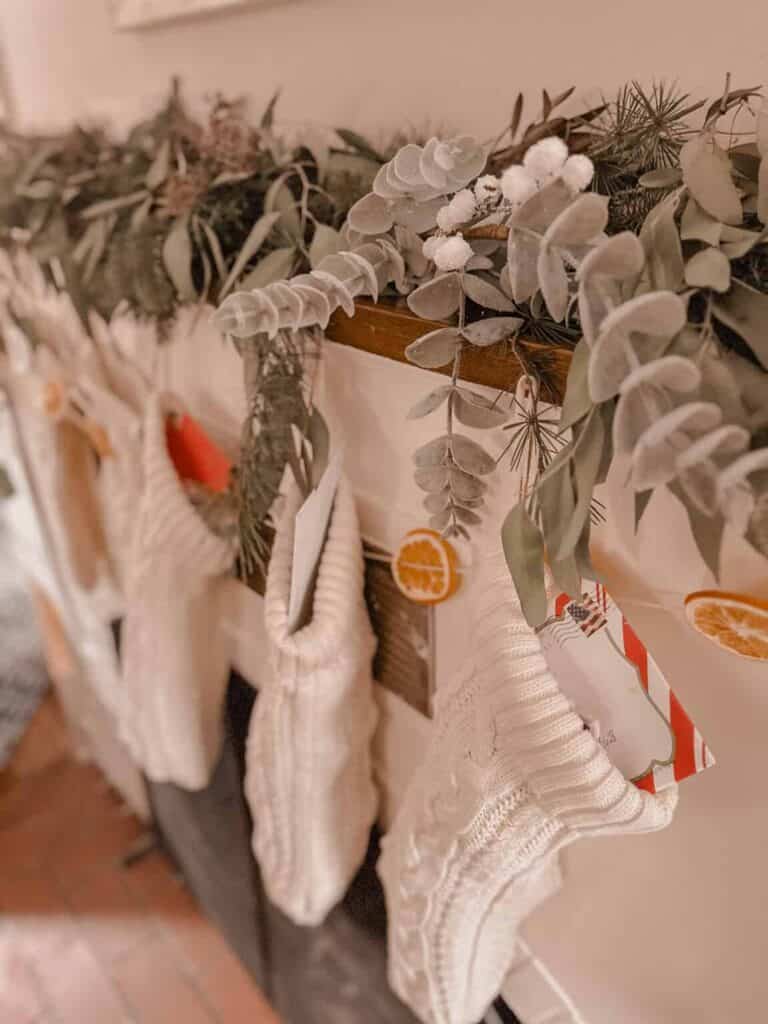
I styled our mantel with a combination of fresh or faux cedar/ pine sprigs and boughs, eucalyptus branches from our tree, and dried orange garlands. These faux brass vintage Christmas bells fit right in. Excuse the photo quality-this was last year before the blog and before we painted the room white, so it was really dark!
Ribbon Selection Tips For Vintage Christmas Decor Vibe
- Choose velvet ribbons in 1-inch and 1.5-inch widths
- Look for matte finishes rather than shiny varieties
- Stick to a palette of no more than three coordinating colors
- Consider these shade combinations:
- Sage green, cream, and bronze
- Forest green, ivory, and champagne
- Moss green, ecru, and golden beige
- the classic, red, white, and green
- modern neutral white, beige, and brown
Safe and Stunning: Battery-Operated Candles
Style your brass candleholders with a worry-free lighting feature with battery-operated candles. With kids and dogs around, I don’t often light real candles, but I love the ambient light of them. The solution is battery-operated candles.
Selecting the Right Flameless Candles
- Choose LED taper candles with a warm white glow
- Look for options with realistic flame movement
- Select candles with timers for convenience
- Consider remote-controlled versions for easy operation
Creating Visually Interesting Ambient Displays
- Group candle holders in odd numbers
- Vary heights for visual interest
- Place near mirrors to amplify the warm glow
- Consider adding a touch of fresh greenery at the base
Care and Storage of your Vintage Christmas Decor DIY
To preserve your DIY vintage brass pieces:
- Store wrapped in acid-free tissue paper
- Avoid extreme temperature changes
- Clean with a soft, dry cloth only
- Touch up with Rub ‘n Buff as needed
The Finishing Touch
The beauty of these DIY vintage brass pieces lies in their versatility. While perfect for Christmas, their classic finish works well throughout the winter season and can even transition into year-round decor. I have kept mine out all year. By investing a little time in this transformation process, you’ll create pieces that look like they’ve been passed down through generations—at a fraction of the cost of authentic vintage finds.
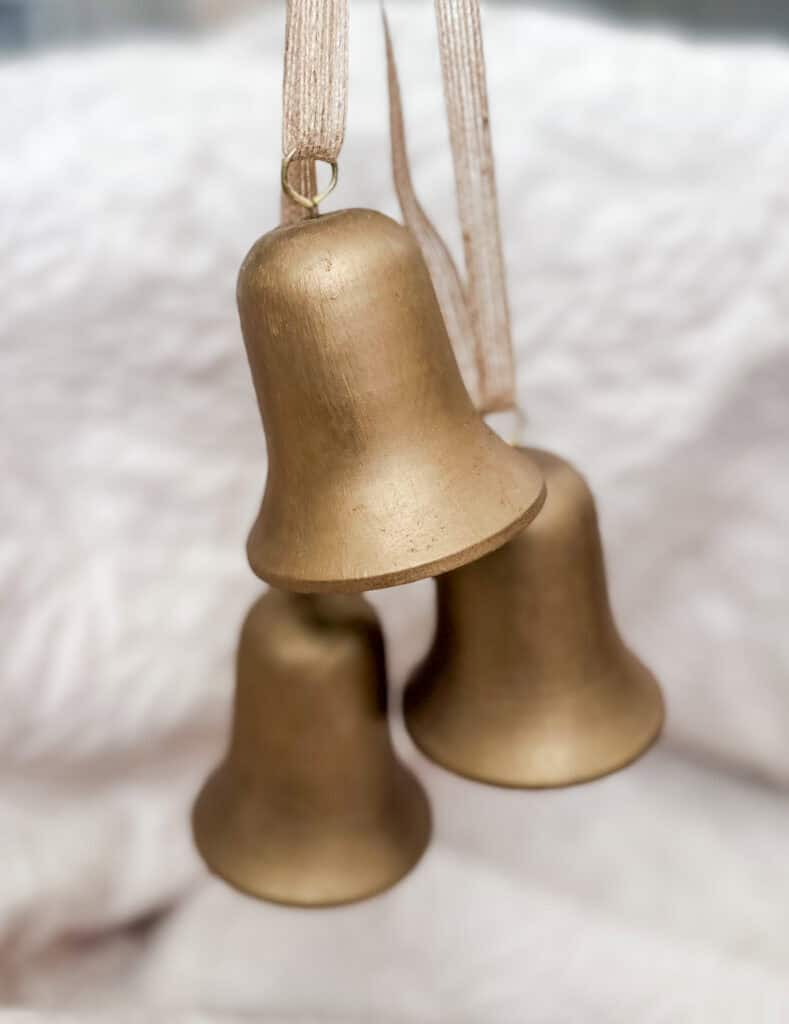
The goal isn’t perfection but character. Each piece you create will have its unique patina and charm, adding to that coveted vintage Christmas aesthetic we all love.
Looking for more vintage and creative Christmas inspiration? Follow me on Pinterest for weekly updates on holiday decor and DIY craft projects.



Join the List
Stay up to date & receive the latest posts in your inbox.
0 Comments