Easy DIY Bathroom Vanity Makeover on a Budget
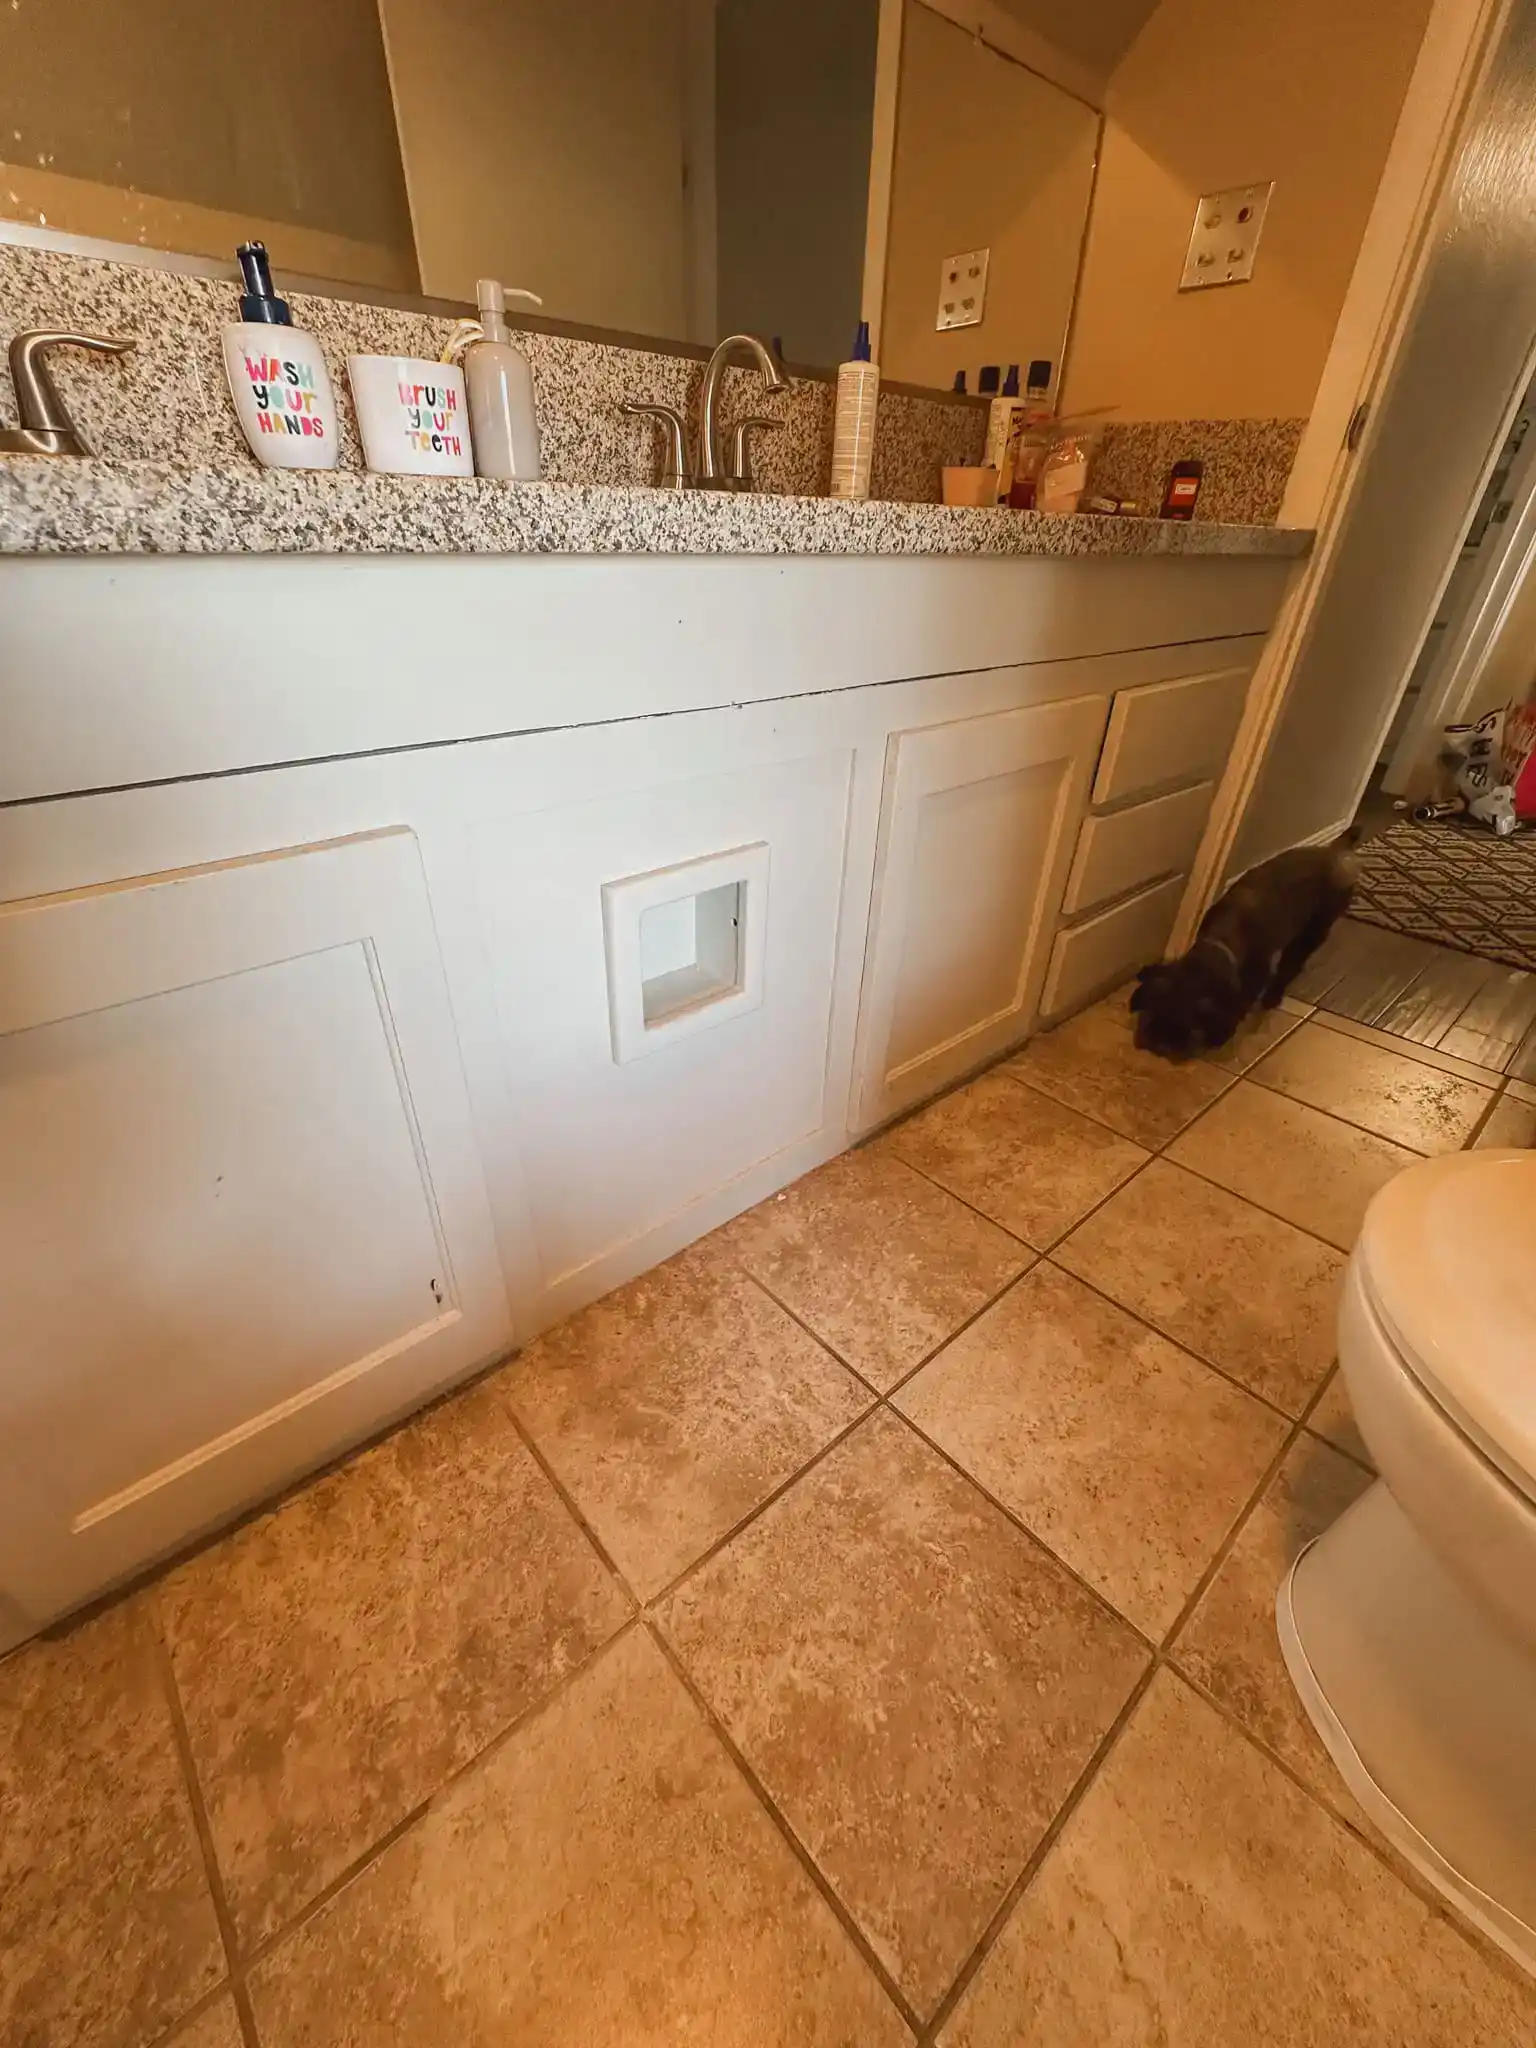
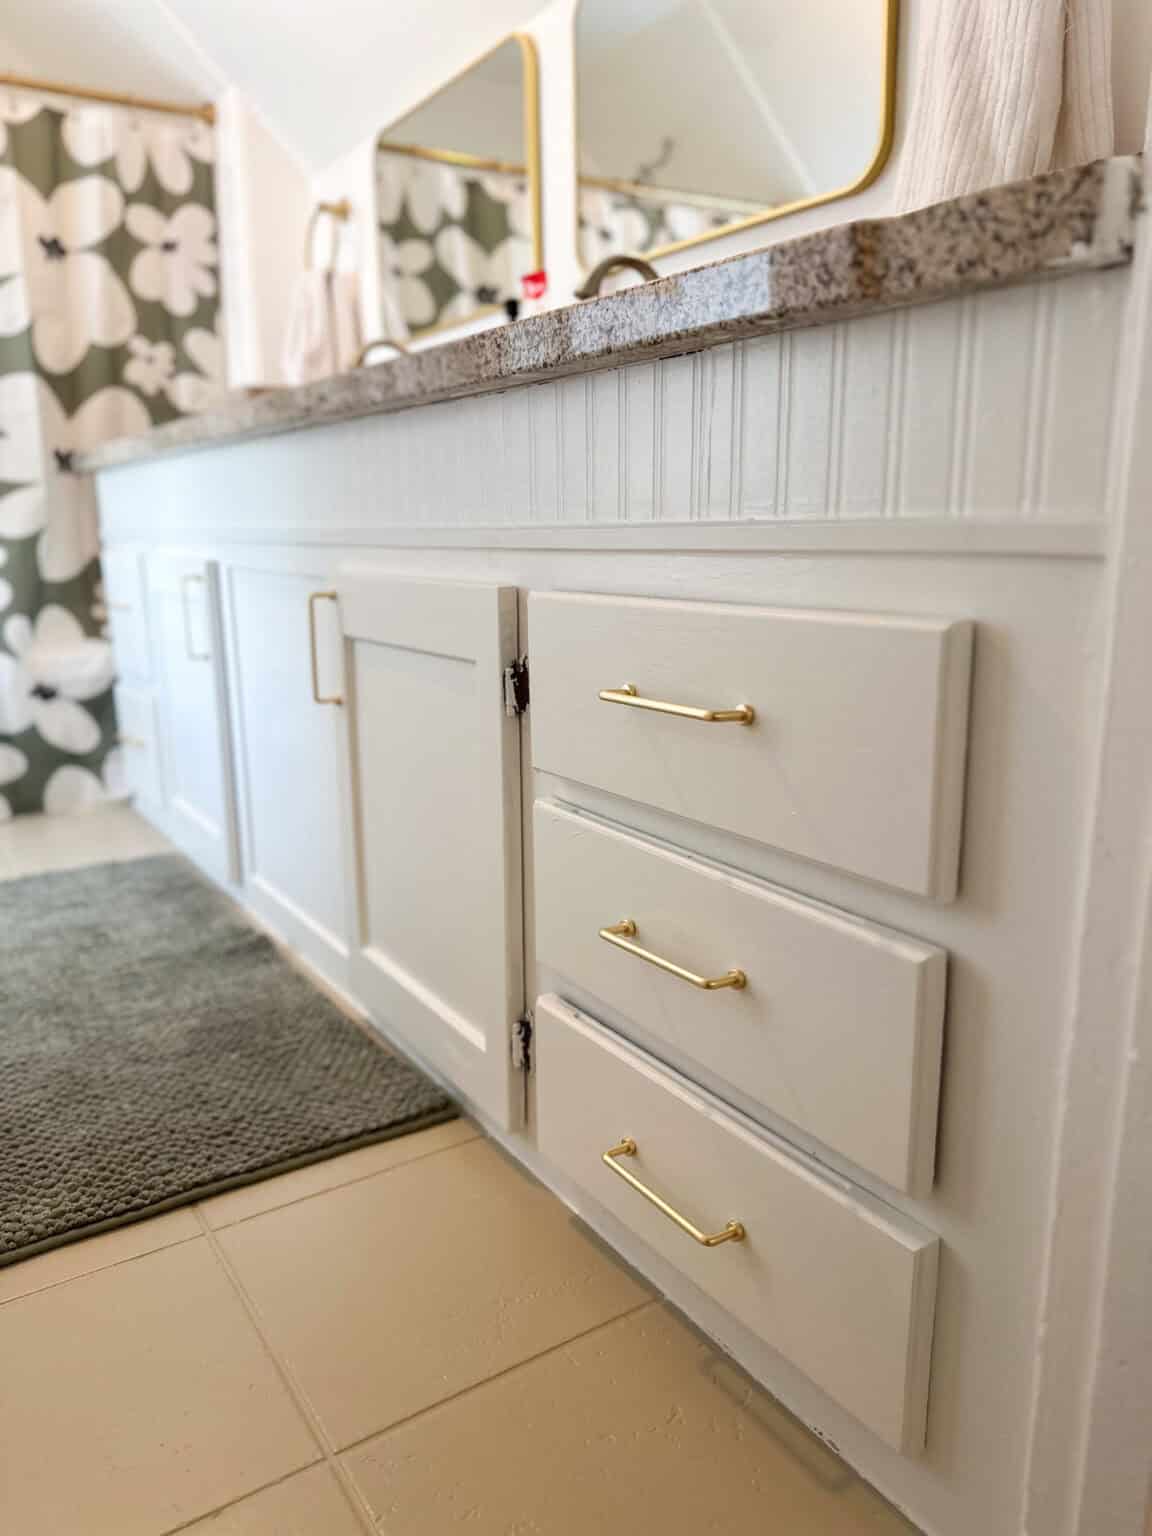
Updating a bathroom vanity can have a big impact on the overall look of a bathroom. But a new vanity can easily cost anywhere from several hundred to a couple of thousand dollars. Sometimes it makes sense to buy new, and sometimes all your vanity needs is a little TLC! In this article, I’ll walk you through the steps of this vanity makeover in our upstairs bathroom. And I’ll share a new obsession that I discovered along the way! Read on to see how I went from this to this in a little more than a day and for less than $50!
As an Amazon Associate, I receive a small commission (at no additional cost to you) for qualifying purchases on items purchased through the links in this post.
This Old House
Our recently-purchased, 80-year-old home has a storied past with lots of DIY updates over the years. From what we can piece together from the previous owners and the materials used, we believe this bathroom was installed somewhere between the 1980s to 90s.
This quirky and small attic bathroom is shared by our three kids. Its super low ceiling is 6’4 at the highest point, and its severe slant creates some seriously challenging design issues. Namely, where to hang mirrors and towel racks! Because of the slanted ceiling, the top of the mirror is only 59 inches above the floor. This means anyone over 4’10 or so can’t see themselves in the mirror while standing. That is just one of the many quirks in this tiny bathroom. We’d love to do a full renovation, but that is not currently in our budget. I recently did a budget DIY makeover to brighten up the space in the meantime. If you want to see the full makeover, read the post below!
Before the Vanity Makeover
The vanity, which appears to have been hand-built on site, has several big issues. Including broken drawers, a strange open space, and a not-so-functional toilet paper holder- to name a few. But most significantly, the vanity is attached bathtub with concrete (one of those lovely and strange DIYs by past homeowners) and the bathroom tile is cut around it. So replacing the vanity during the makeover wasn’t an easy option.
So with few other options, it was time to make do with with we have and update the existing vanity with some paint and some creative fixes.
Here’s to hoping that my DIY fixes won’t someday be a nightmare for the home’s next owner!
What You’ll Need for a Vanity Makeover
This vanity is very unique and has several issues. Chances are, yours will be different you might not need all the following materials. For example, you might not need wood putty if your vanity is in good shape. And you might not need a piece of trim if you aren’t adding the beadboard finish.
- Multi-purpose cleaner
- Cleaning cloths
- Vacuum or a small broom and dust pan to clean out the drawers
- Pre-painting surface prep cleaner
- Wood putty and putty knife (if there are chips, cracks, dents, or any kind of damage to the vanity). If you are changing the hardware on your vanity, you might need to remove the existing hardware and patch holes.
- Sandpaper in a medium grit (around 80-150 grit) and fine grit (around 180-220 grit)
- Cabinet Enamel Paint in the color of your choice. * I used wall paint for this project, plus polyurethane, just because I had it on hand, and I didn’t care enough about this ugly broken vanity to buy cabinet enamel. But I HIGHLY recommend you do NOT use regular wall paint when painting cabinetry. It will chip and scratch, and the poly will yellow over time. I am hoping this vanity will be gone in a few years, so I didn’t bother, but you should!
- Paint application- I like to use a 2-inch angled brush for details and then a 4-inch or smaller high-density foam roller to even it out.
- Paint tray, drop cloth to protect floors, and painting clothes you don’t mind getting messy
- Hardware
Supplies Specific to This Project
- If you want a similar look to my finished vanity, you’ll want to grab this faux beadboard wallpaper
- And piece piece of trim cut to the size of your vanity to neatly end the beadboard
- If you are adding hardware for the first time or relocating the hardware, you’ll need an electric drill. You’ll also need twist drill bits for pre-drilling holes for hardware and screwdriver bits for installing it.
The Initial Clean and Decluttering
To start your vanity makeover, begin by clearing the countertops and emptying the drawers. If this is a kid’s bathroom and your kids are anything like ours, at this point, you might need to take a few minutes to really contemplate why there is a doll head missing most of its hair, taped to a Lego airplane in a bathroom drawer.
When you’ve come to the conclusion that kids are just beautiful little bundles of weird, feel free to resume your decluttering process.
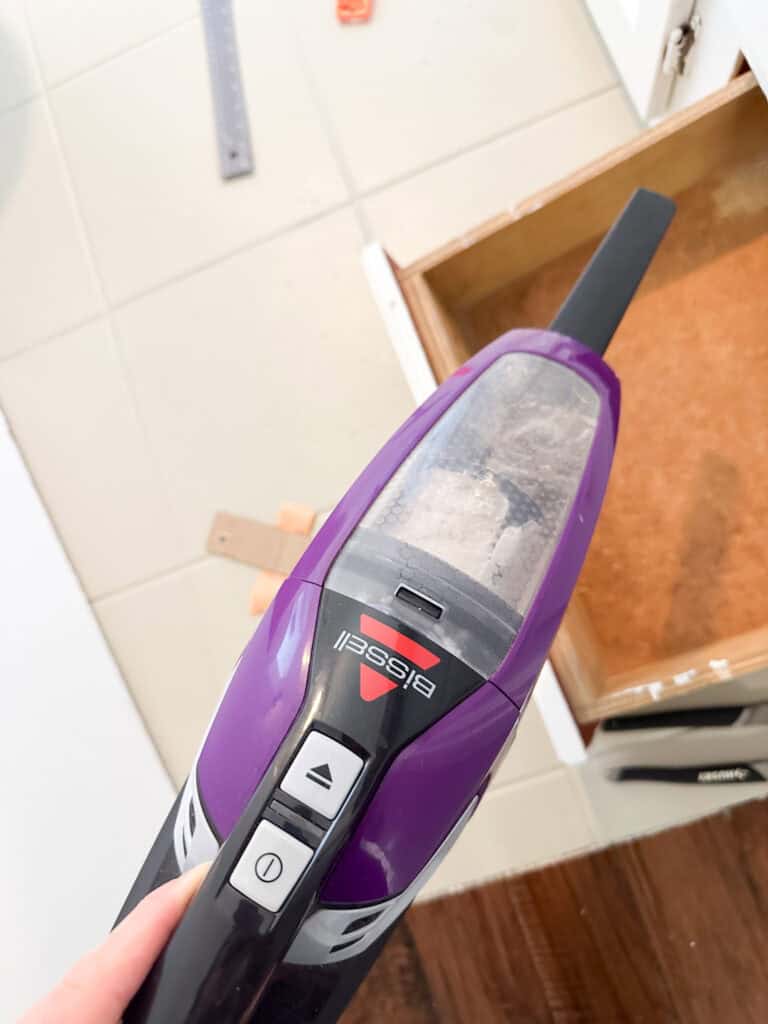
Use a handheld vacuum to clean out the inside or the drawers. Then use a multipurpose cleaner and degreaser to clean the surface of the cabinet doors, drawers, and face frame.
My go-to cleaner around the house is Mrs. Meyers Clean Day Multi-Surface Cleaner.
Lastly, I cleaned the vanity one more time with a pre-painting degreaser and cleaner to get the surface ready for paint. I used Simple Green Ready-To-Use Surface Prep Cleaner which I believe is only available at Sherwin Williams stores. If you don’t live near one, you can use TSP or other similar products. This kind of cleaner can be a little heavy in terms of fumes, so follow safety precautions!
Repair and Prep For A Vanity Makeover!
If there are any scratches, splits, dents, or imperfections of any kind in the vanity, now is the time to fix them. Fill any imperfections with wood putty and a putty knife. To do this, use the putty knife to fill the imperfections to just over level. Allow the wood putty to harden. How long this will take will depend on how thickly it was applied and the ambient temperature in the room. Once try to touch, use a medium then fine-grit sandpaper to smooth.
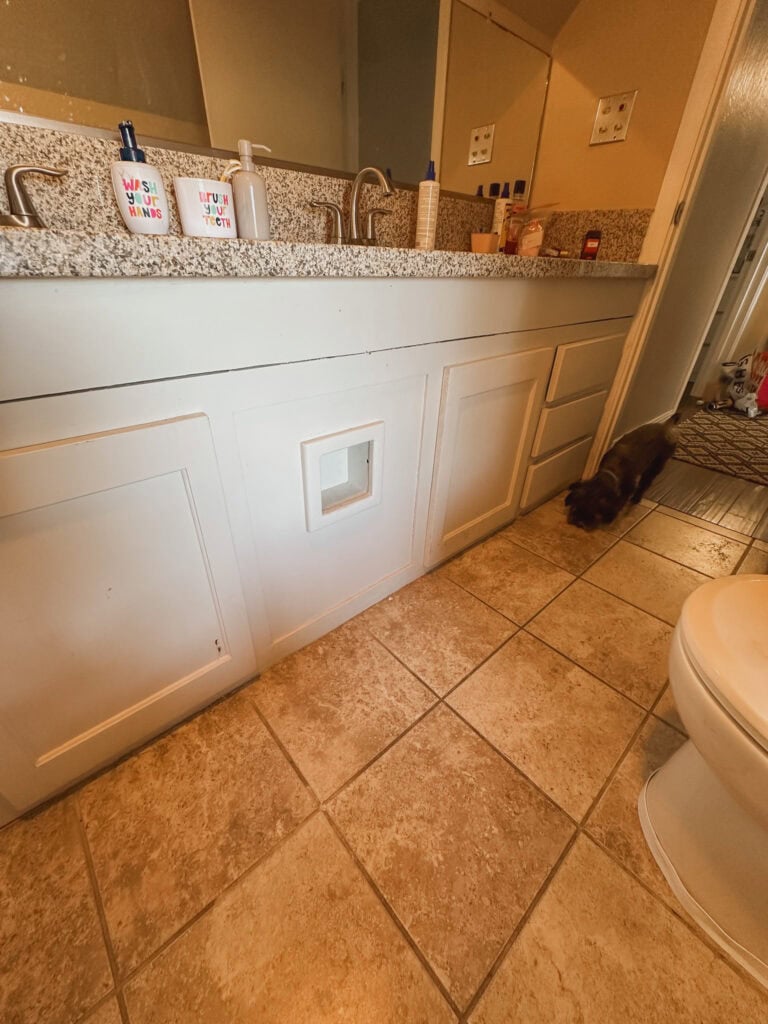
This vanity had a very small and very impractical toilet paper holder. It didn’t fit an average, modern-size roll. And it was across from the toilet, far enough that it was hard for my stepkids to reach. Because it wasn’t functional and looked bad, I decided to get rid of it.
Easy Way to Patch Holes
Listen, if this were a vanity that I intended to keep for years to come, I probably would have gone about this differently and used wood paneling to cover the hole and then added trim to frame it. But this vanity is ugly, impractical, and will be replaced in a few years when can renovate this bathroom.
So, for now, I did something I have done many times before when patching walls. I used cardboard, hot glue, and joint compound. This next part of this process is so specific to my strange vanity, so I am going speed through this part, but the process might help you patch something in the future.
Using Cardboard and Joint Compound to Patch Holes
First, I used a pry bar to remove the old toilet paper holder and quickly sanded the edges. After removing the old toilet paper holder, I used it to create the patch by tracing it on cardboard to get the size of the opening.
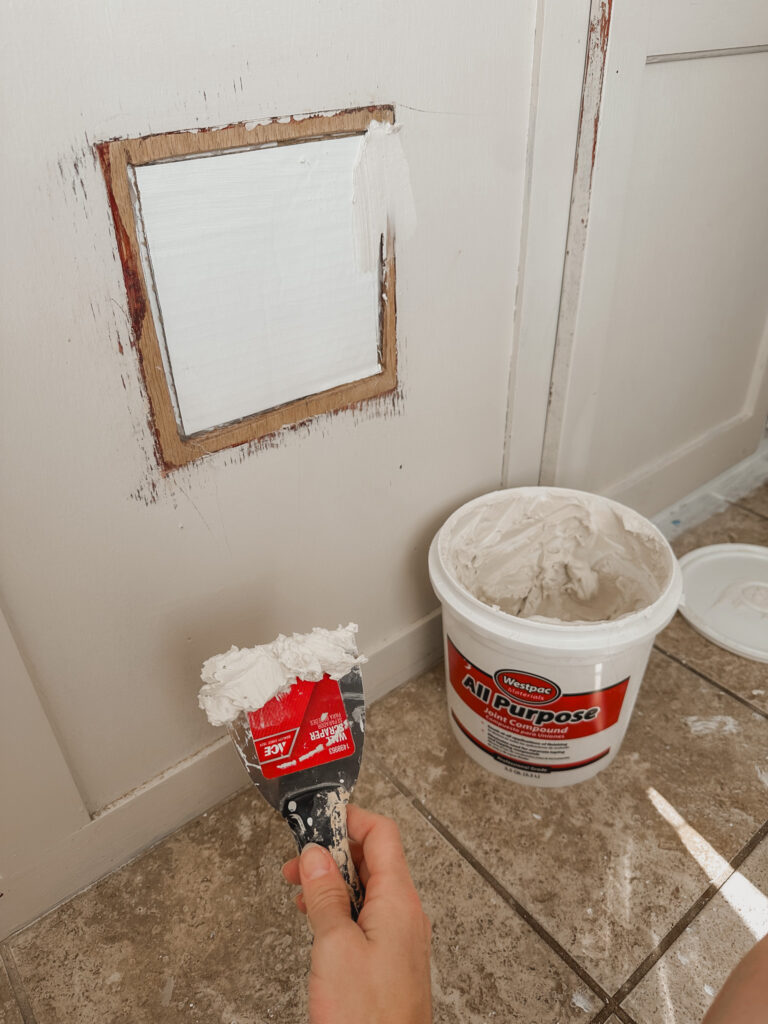
I added about an inch and a half on every side of the rectangle to allow space for glue so it could be attached to the wood from the back.
I bent the cardboard and fit it in the hole and punched a hole big enough for two fingers in the middle. Next, I glued the edges with hot glue and pulled the patch toward me until the glue dried.
The patch wasn’t flush with the surface so created a second patch to fit inside the cut-out area, which covered the hole I punched in the first piece of cardboard.
This cardboard patch fit right inside the opening. I attached it with a little more hot glue. One cardboard patch was secured. It was time for joint compound.
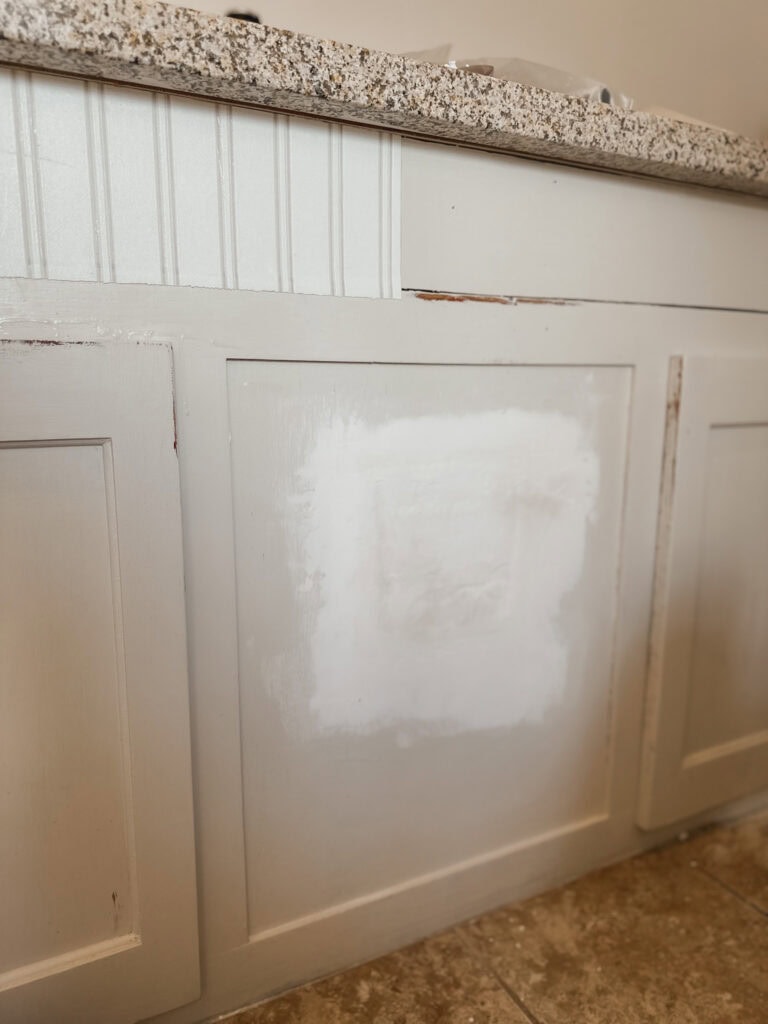
At this point, I applied joint compound to fill the gaps and level. Just a note, when using joint compound, wear a respirator- this stuff doesn’t have a noticeable smell, but it has serious safety warnings.
Apply in thin layers and allow around 1-2 hours to dry before applying the next layer. Apply thin layers until the joint compound sits just above level and wait until it fully dries. Then sand until smooth.
Adding the Wallpaper
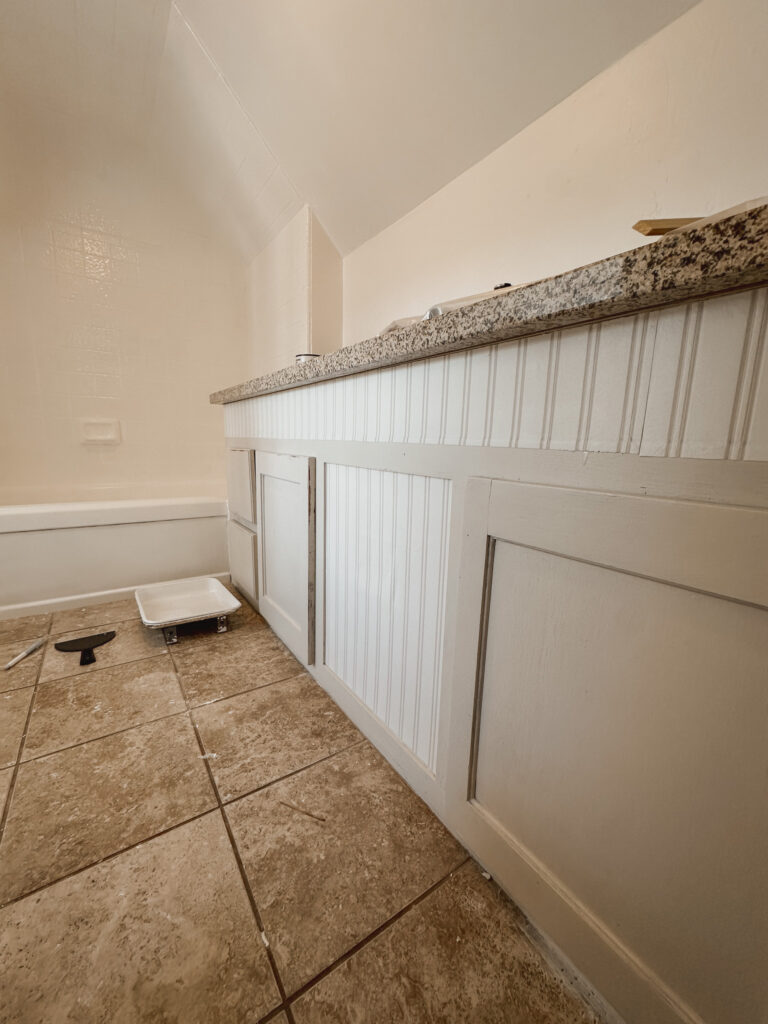
This faux bead board wallpaper is about to become my whole personality. We live in a beautiful old Tudor-style home that was renovated in the early 2010s, and everything was painted sad, boring grey. I am slowly bringing my particular mix of organic modern and eclectic modern vintage decor into our home. And this wallpaper is a budget-friendly way of getting the beadboard paneling look I love, without having to cut or transport large sheets of paneling.
This was especially handy for this project as I was working in tight spaces with uneven surfaces. I wouldn’t have been able to get a tight fit with a real bead board.
It worked perfectly to fill to fill the 1/2-inch wide gap between the top and the bottom of the vanity. And it’s paintable!
The faux beadboard wallpaper was really easy to apply. First I measured the space I wanted to cover and then cut strips of wallpaper. Per the instructions, I fully submerged the wallpaper strips in water, then set them aside, and waited a few minutes for the glue to activate. Then I was able to start applying the wallpaper. I started on one side of the vanity and simply pressed the wallpaper on the surface with my hands. I then went back over the surface with a plastic drywall spatula, firmly pressing the paper to the surface.
Finding Your Technique
Be cautious and experiment with the pressure and angles of the spatula. This wallpaper has a sort of foam-like texture. Try to avoid leaving lines and imprints on the paper. But don’t worry too much about this, any imperfections will be hard to see in the end and will be almost entirely concealed by paint.
Have a slightly damp rag handy to clean off the excess glue that will drip as you press the paper to the surface.
Make sure you line up your next section correctly to keep even spacing between the lines. Repeat these steps until you’ve covered the area.
I love this finished look in the vanity makeover and can’t wait to use this wallpaper everywhere around our house!
Adding the Trim
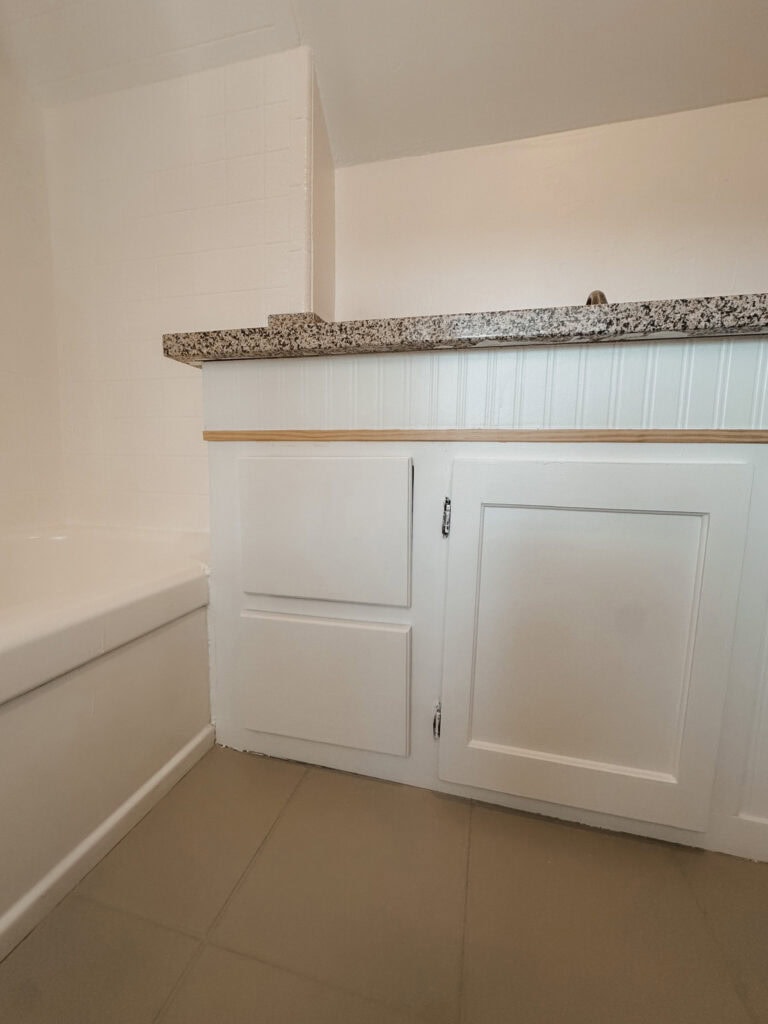
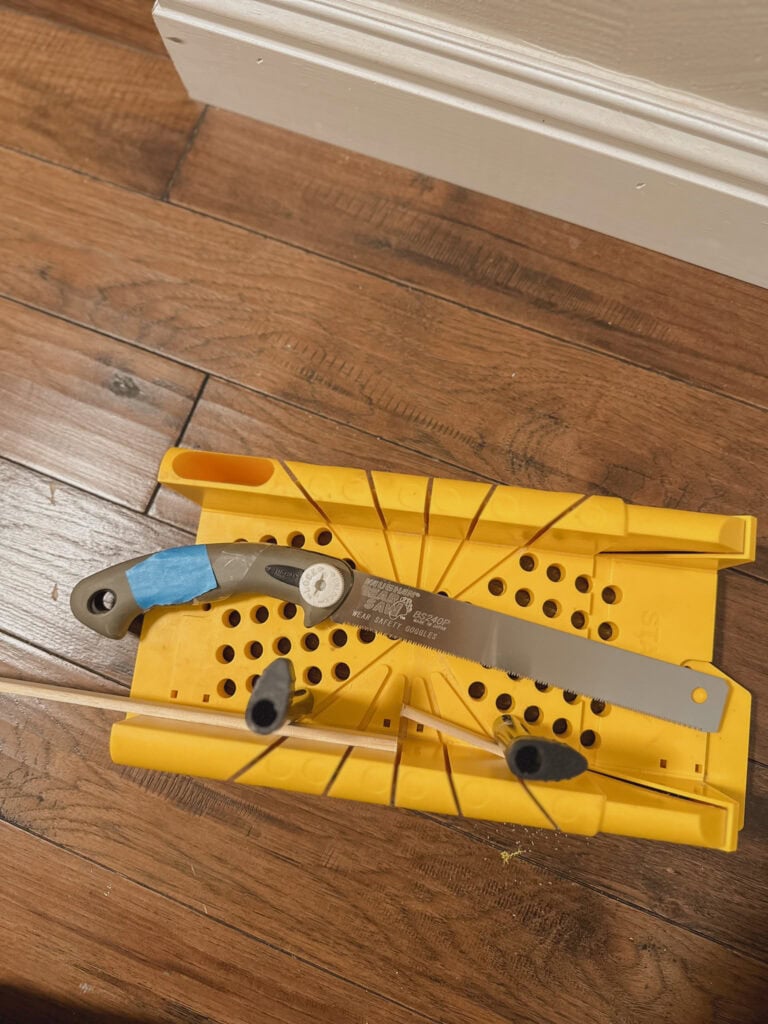
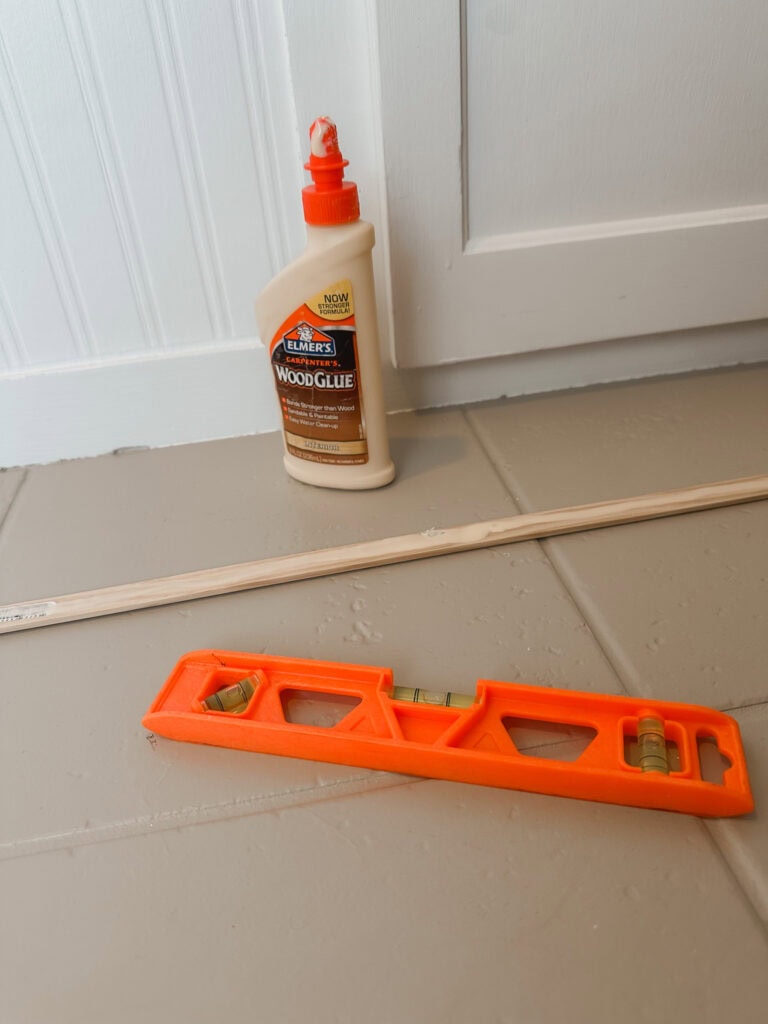
After applying the wallpaper to cover the gap and the upper portion of this vanity, I used a piece of trim to neatly finish it. I cut the trim to size with my all-time favorite hand saw. I seriously love thing this and use it all the time. It was recommended to me by my college sculpture professor and it has held up perfectly for about 10 years. I applied wood glue to the back and checked the placement with a level.
Paint: Little Effort, Big Payoff For a Vanity Makeover
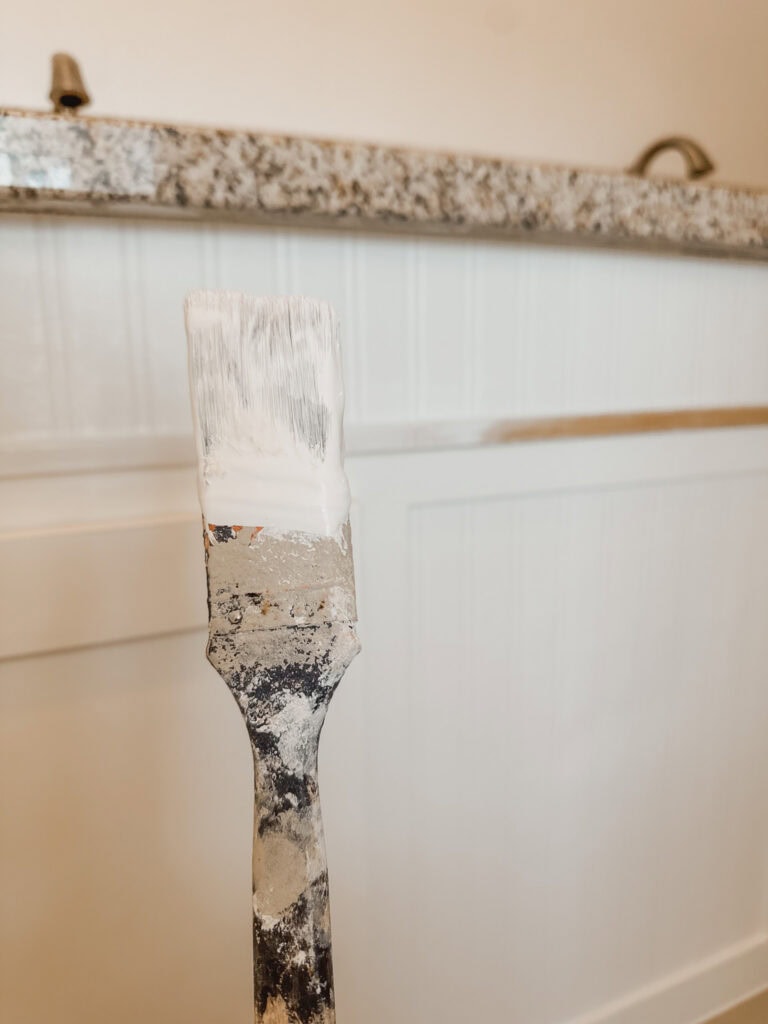
I planned to paint the vanity green, and I still might. But for now, I painted it white because I had the paint on hand. And because I wasn’t entirely sure which shower curtain and bath mats I would end up using, and didn’t want the colors to clash.
It’s hard to see the original color, but it was a cool-toned dingy grey/off-white. I just wanted to brighten up a bit so I used Pure White by Sherwin-Williams.
For the walls in this bathroom, I used Chantilly Lace by Benjamin Moore. SW Pure white has a decided grayer undertone compared to the bright neutral white of Chantilly Lace.
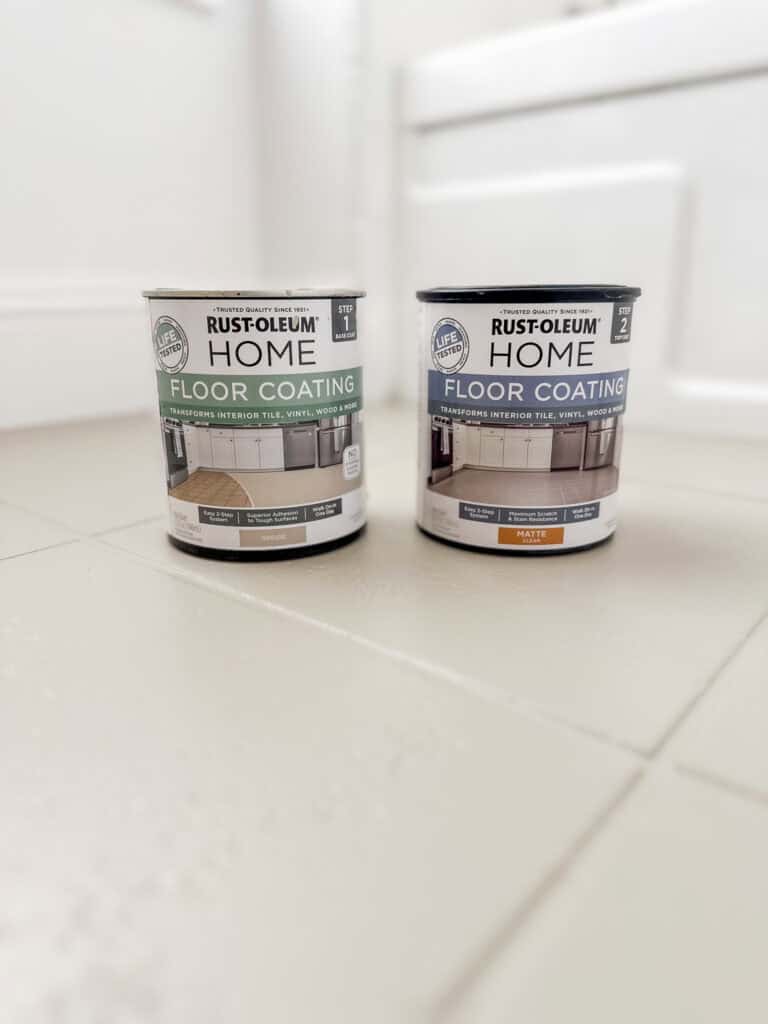
I chose SW Pure White because I was planning to use a greige paint color for the floors and I wanted to color of the vanity to relate to both the brightness of the wall color and the cool tones of the grey floor.
Note About Painting Cabinetry
Painting cabinetry properly is an arduous task that involves removing hardware and hinges from the doors and drawers, then stripping, sanding, and repainting. This usually involves taking the doors and drawers to a large space where they can be set out or hung while painting, and a ton of time and effort. I did this lengthy process for the cabinets in our primary bedroom at our old house, and although it took a long time, the finish was worth it in the end. Well, it was, but then we moved a few months later.
Soon, I plan to paint the cabinets and drawers in our current primary bathroom and the connected closet. And since that bathroom and closet are used daily and will have a greater impact on the home value overall, I’ll take my time and do that project right.
The cabinetry in the bathroom and the adjacent closet is nice and only a few years old, but it is dark grey (with dark grey walls too, that I need to paint!). On top of that, the closet is very poorly lit with one weak light source so it is very difficult to see clothing. Especially for me, since my wardrobe is more than 80% black.
For that vanity makeover, I will need to do the entire and proper process of stripping the finish, sanding, and hopefully staining the wood if I can it to a nice finish.
With Certain Projects and Paints, a New Coat Might Be All You Need
This project, however, was a quick vanity makeover in an upstairs bathroom that is rarely used and exclusively used by kids, so perfection was not the aim here. Also, the vanity was previously painted in a flat finish paint so I wasn’t worried about new paint not adhering or scratching, which meant I didn’t need to strip the paint or sand. I used a glossy finish paint this time to hopefully make it a little easier to wipe down.
I left the doors and drawers on and taped the countertop and floor. The hinges were already speckled with decades of paint, so I didn’t worry about covering them. For the first coat, I opened all the doors and drawers and painted the face frame, the drawer fronts, and and door fronts. I used my 2 1/2 angled brush to cut out all the small areas, then I used a 4-inch foam roller to smooth. I let that dry for maybe 30 minutes, and then I painted the back of the doors and nooks and crannies. Let all that dry for 2 hours and repeat.
There are new paints made for wood and furniture that claim not to require sanding or stripping. I might try that with the cabinets in our primary bathroom since they seem to have a very thick glossy coating and stripping might be a nightmare. I am considering using Beyond Paint or a really cool product I just ordered and plan to use for a dresser makeover soon, Retique It liquid wood paint.
Time to Install the Hardware
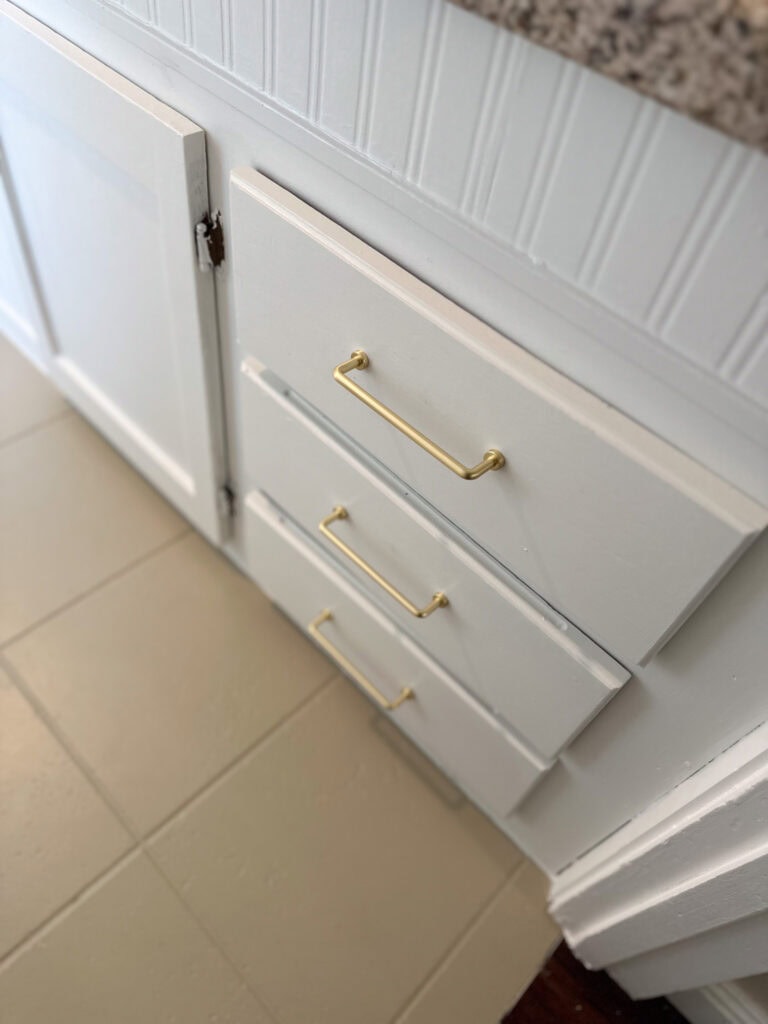
The fun part! I found these darling polished brass handles that matched the rest of the fixtures. This simple addition made a big difference in the look and functionality of the vanity.
The handles have a decent depth, making them easy to grab, especially for little hands. And the finish is pretty and they seem well-made.
I love the look and ease of use of bar pull handles like this, but they are a little challenging to install.
Installing hardware with one screw is pretty easy- drill one hole, install a screw, and attach the hardware. But when working with hardware with two points of attachment, like the bar style I chose, it can be difficult to line up the holes correctly. But I have a pretty easy trick for getting right the first time!
Tips For Installing Hardware That Attaches in Two Places
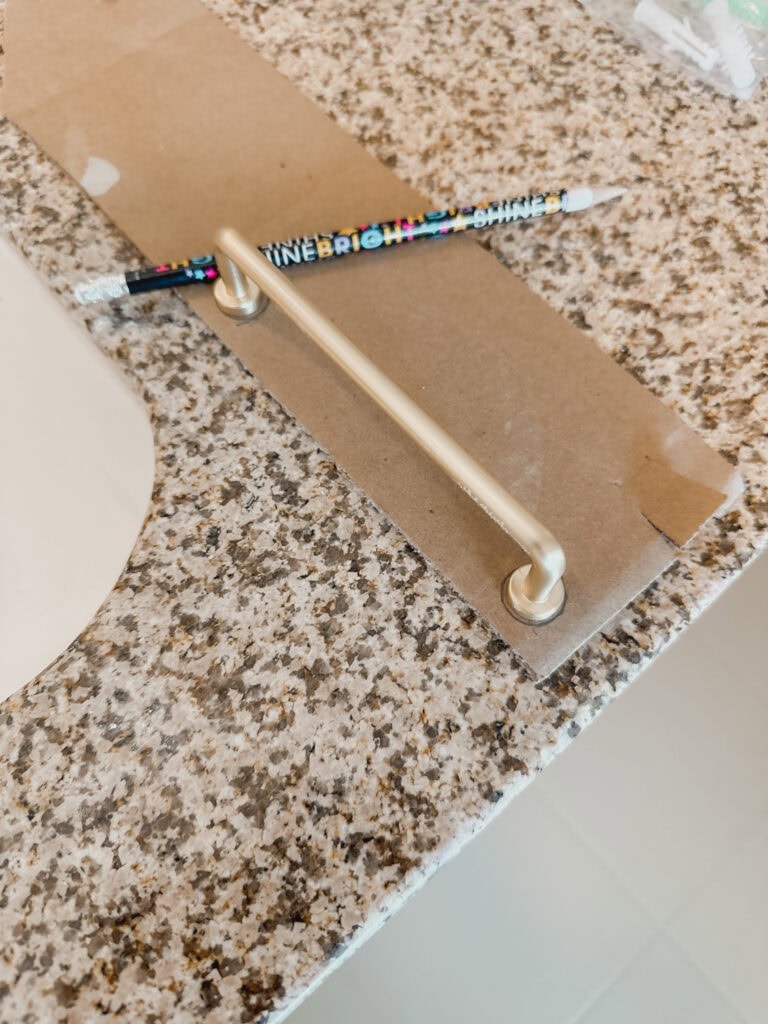
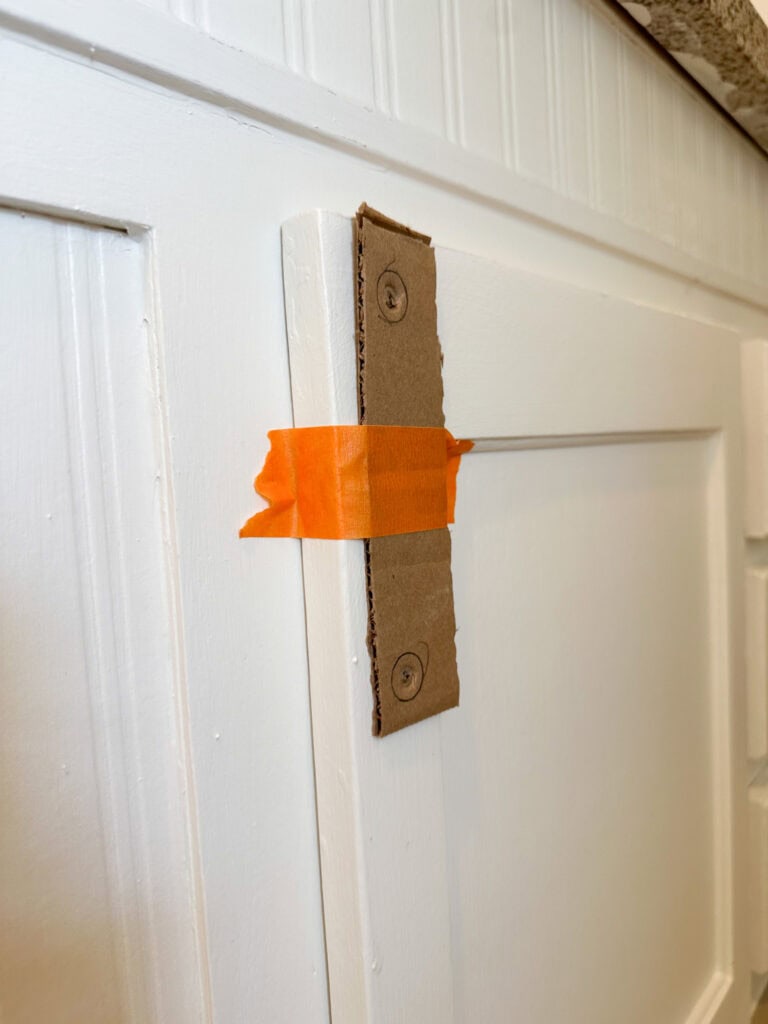
To account for this and get it right the first time without creating unnecessary holes, I like to create a template for my pilot holes using cardboard. This can be done by simply tracing the ends of the bar where the attachment point will be and then marking the center point.
I then use my cardboard template to determine hardware placement. I use painter’s tape and a level to apply the template where I want the hardware and drill through the dot in the center. These pilot holes will help the screw of the hardware go in straight without tearing up the wood or getting stuck. When you are ready to install the hardware, remove the template and insert the screw from the back while holding the hardware on the front. Gently press the drill forward until you feel the threads of the screw catch the hardware.
I like to tighten both ends to 90% and make sure they are straight and then tighten fully. You might need a screwdriver for that but a drill should work.
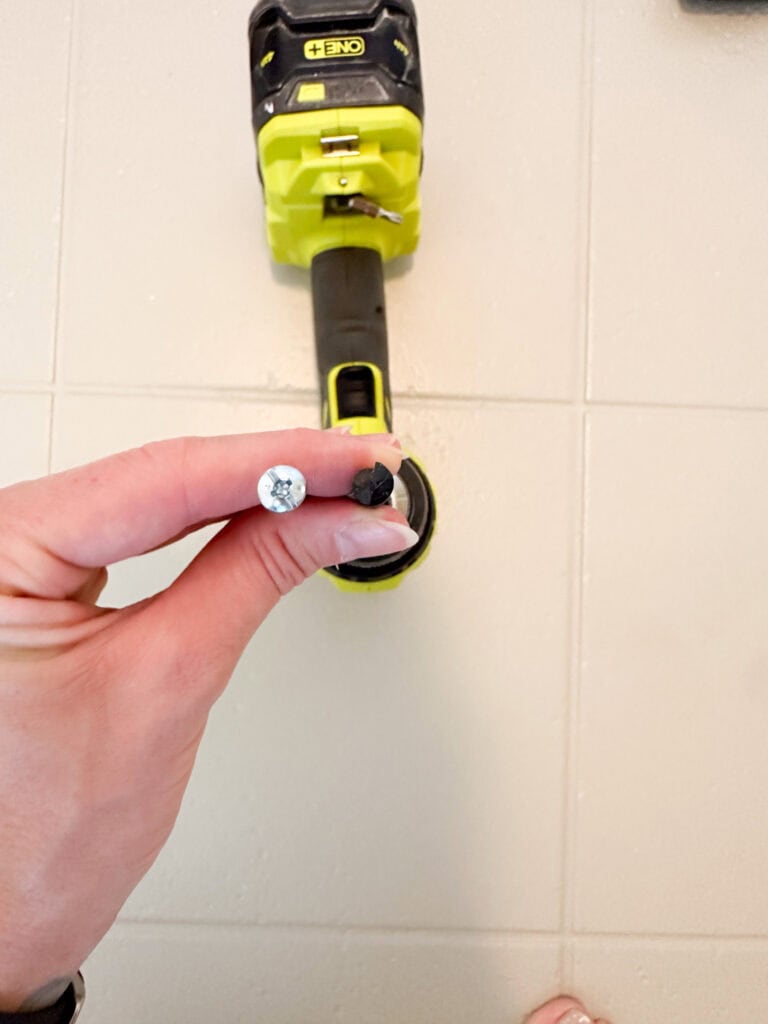
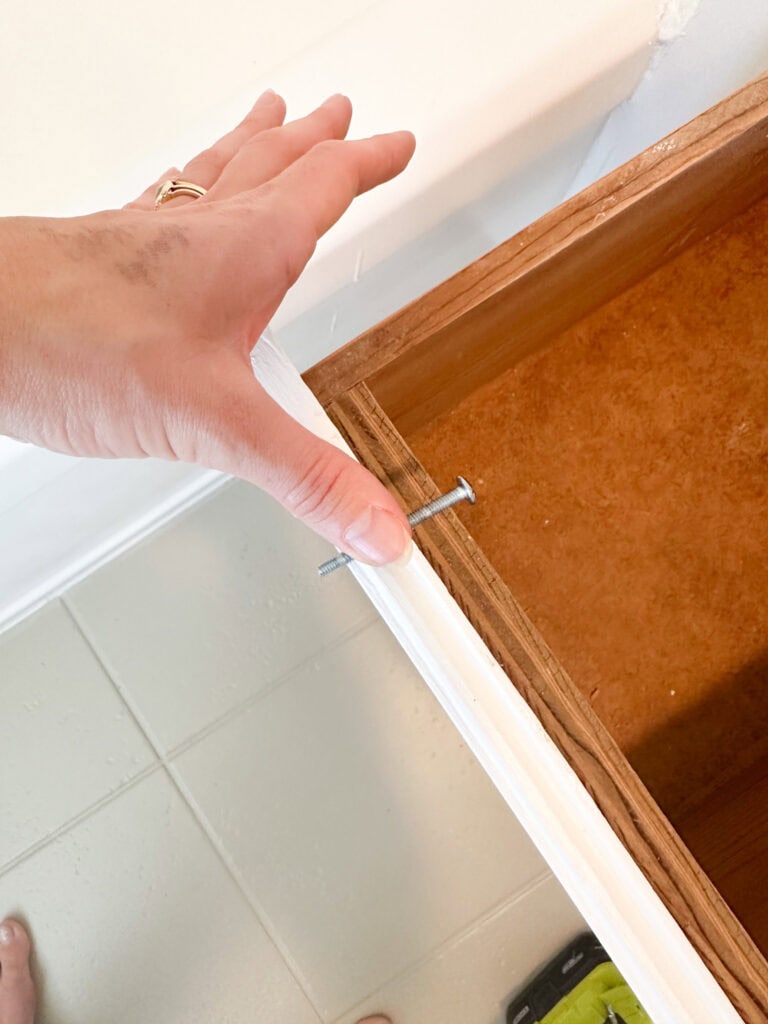
One more problem came up during this vanity makeover while installing the hardware. The screws that came with the hardware weren’t long enough for use on the drawers. The set came with two lengths of screws, but even the longer ones weren’t long enough. The drawer box and drawer face together are almost 2 inches wide so in order to to make this work, I had to countersink the screws into the back of the drawer box.
Countersinking Screws to Make Hardware Work
Countersinking isn’t complicated. You just need to recess the screw far enough into the back of the drawer so it can connect to the hardware on the other side.
The screws that came with the hardware were about 1/4- 1/3 inch too short so I need to sink the screw into the drawer at that depth.
To do that, simply get a twist drill bit that is slightly larger than the size of the screw head and drill in to length you need to recess the screw. By this point, you’ve already determined the placement of your hardware and you should have predrilled pilot holes. Using the pilot hole on the back of the drawer, slowly drill into the drawer back to the length you’ve determined you need to recess the screws. Go slowly, because you don’t want to go all the way through. Quickly sand the area and you are ready to install your hardware.
The Final Result My DIY Vanity Makeover!
This thing was ugly and odd and I had very low expectations, but I am actually so happy with how this vanity makeover turned out! With a little sanding, paint, new hardware, and that star of the show, the faux bead board wallpaper, it’s actually kind of cute and fits in well in our 1940s built home.
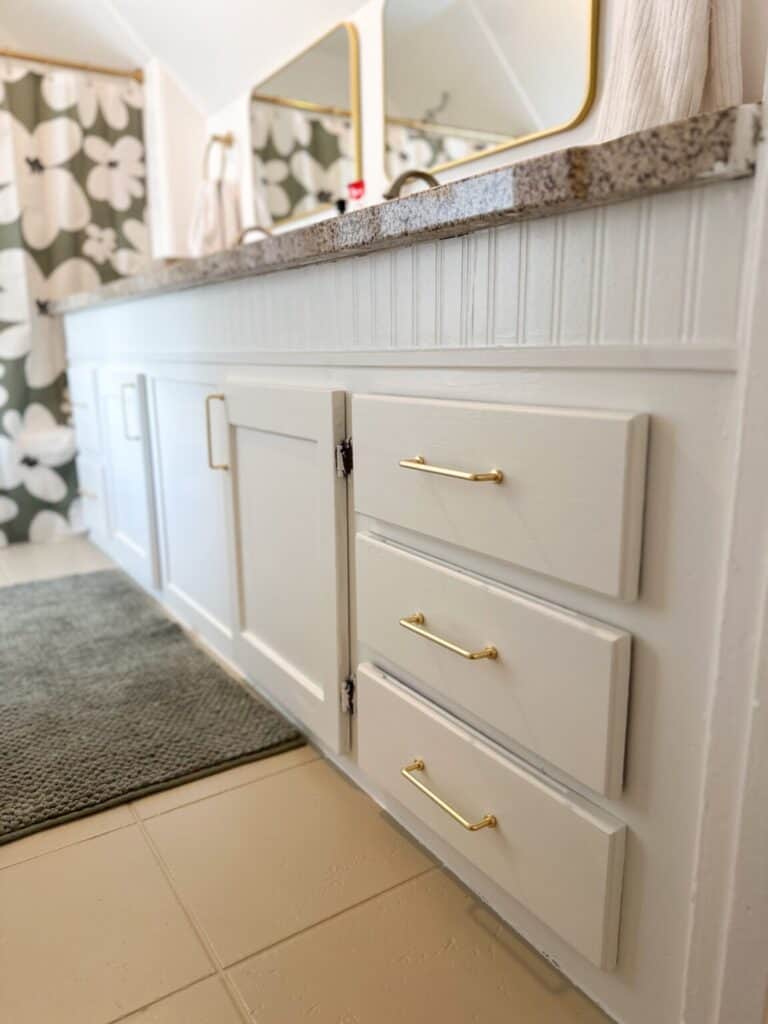
To see what else I updated in this bathroom, read this post about the full bathroom makeover.
Do you have an old vanity you aren’t ready to replace but might want to update on your own? Are you planning a vanity makeover of your own? Please let me know if have tried one of those “no stripping or sanding required” paints and your experience with them in the comments!


Hey people!!!!!
Good mood and good luck to everyone!!!!!