Quick and Easy Steps for Propagating Pothos to Try Right Now
Propagating pothos is an easy and inexpensive way to get more beautiful vining pothos in your home for free! In this guide, I’ll detail how you can quickly and easily add more plants to your indoor oasis!
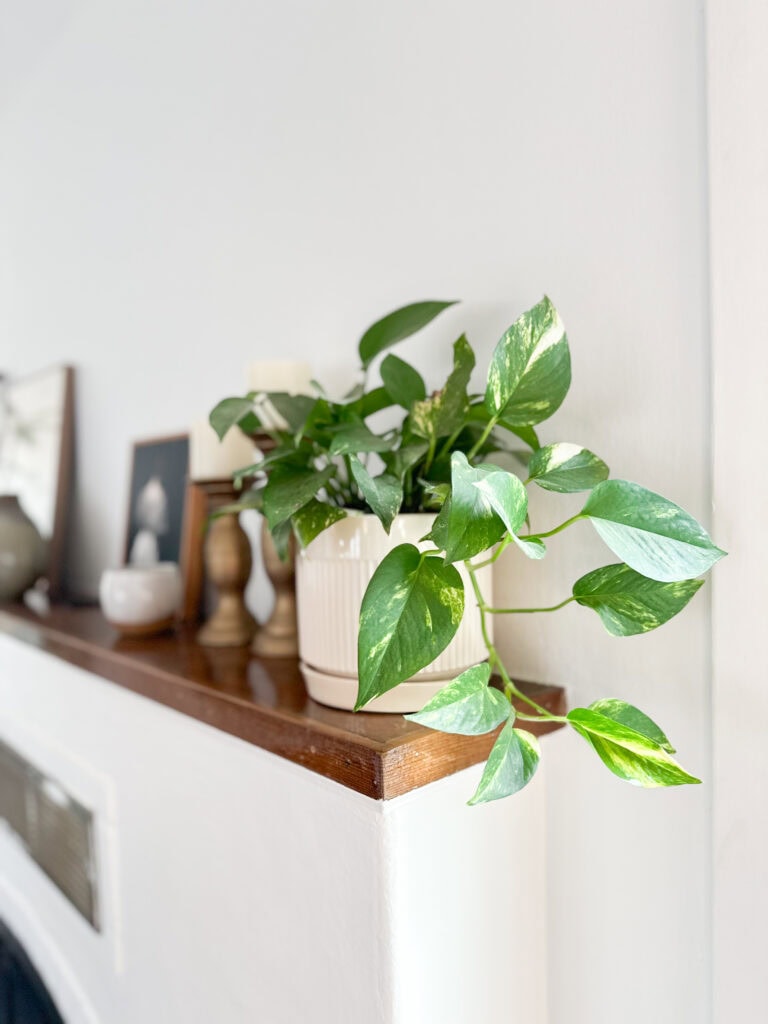
I have a deep love of pothos plants and I appreciate a frugal solution to a home decor problem and propagating pothos is just that!
I started with one pothos plant in 2020 and now I have 12! Typically, I propagate my pothos about two times a year, usually in early spring, and then again in midsummer.
As an Amazon Associate, I receive a small commission (at no additional cost to you) for qualifying purchases on items purchased through the links in this post.
Before we jump in, I want to add that one of the reasons I love propagating pothos is because they are phenomenal little air purifiers! They grow quickly and have many leaves. And plants that have more leaves do more to remove harmful compounds like carbon monoxide from the air and convert it to oxygen. If you want to learn more about how pothos and other houseplants help keep the air in our homes clean (as well as a few more proven perks), read this article 5 Easy Houseplants to Breathe Life Into Your Space.
Propagation Works for All Kinds of Pothos
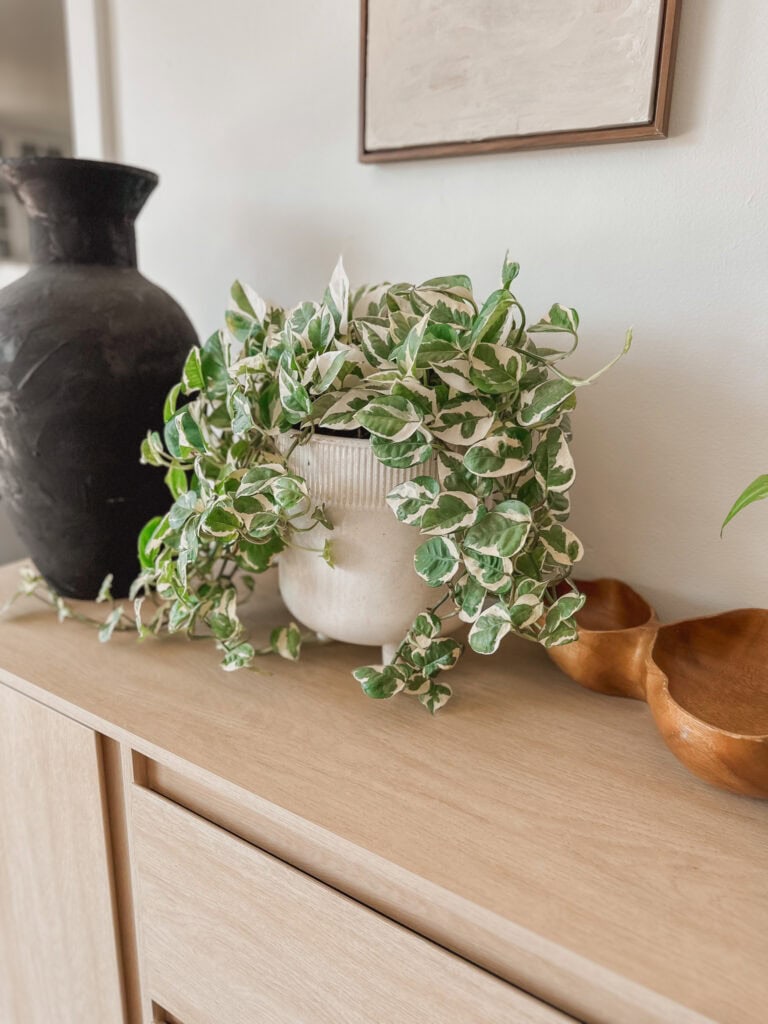
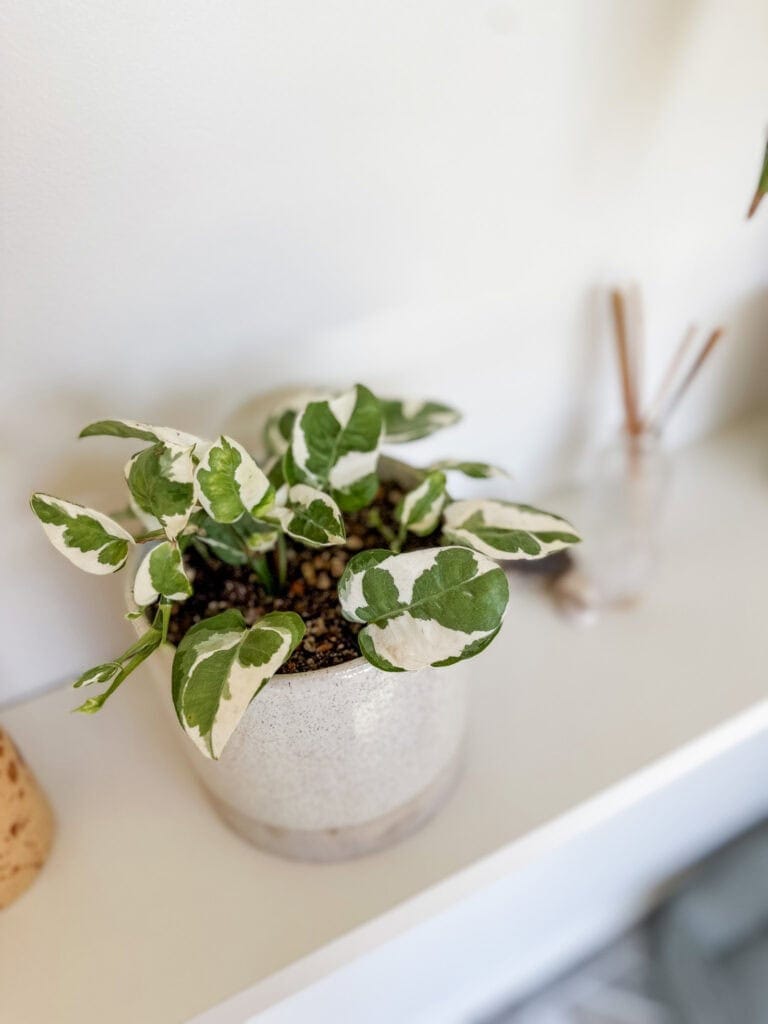
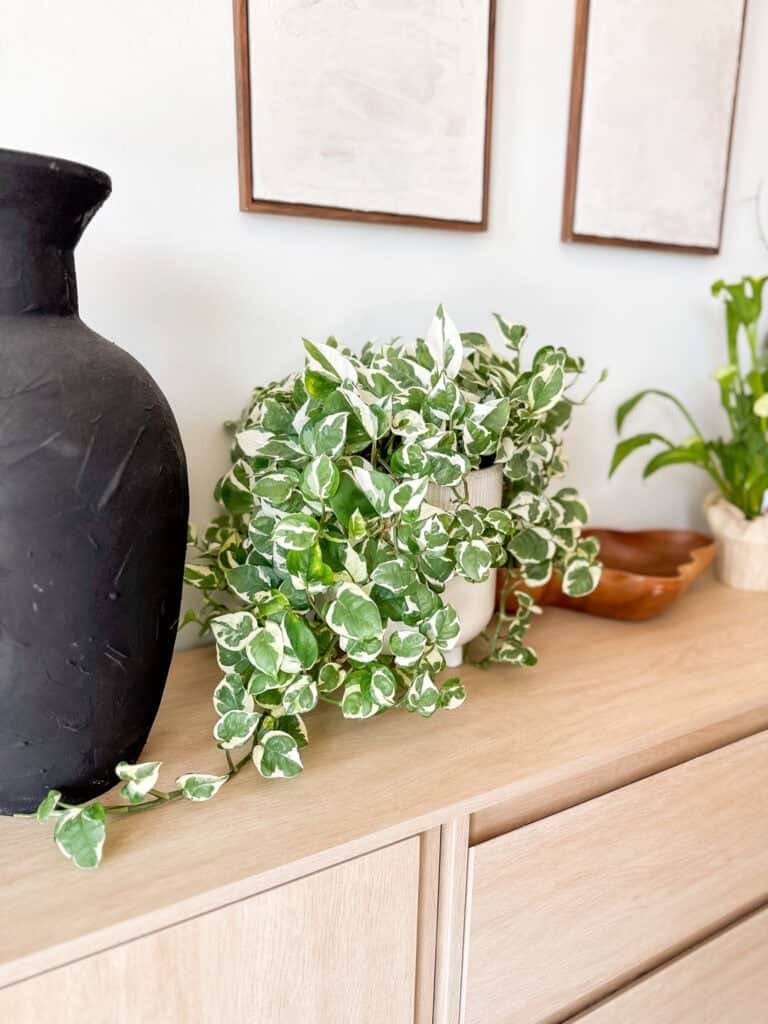
I currently have several varieties of pothos, both variegated and not. I recently adopted the lovely creature pictured below. I initially thought she was a Snow Queen Pothos but I think she is actually and N’Joy Pothos, I am a plant novice and don’t yet know all the varieties of pothos and they seem hard to tell apart. If you know what kind of pothos this is, please let me know in the comments! Whatever she is, when I spotted her at a local nursery, and knew I had to take her home!
I immediately started propagating her gorgeous leaves right when I got home and now have two more baby N’joy pothos growing!
Propagating Pothos
Propagating pothos is simple. It involves cutting the leaves from the vine of a healthy pothos, placing them in water for a few weeks, then transferring them to soil. And the process is also pretty quick!
How Long Will it Take to Propagate Pothos?
I generally like to let the nodes grow about 1 and 1/2 -2 inches before transferring them into soil in small pots. This can take anywhere from 3-6 weeks, depending on the level of sunlight they receive and the overall health of the plant the cuttings were taken from.
Where to Cut Pothos to Propagate?
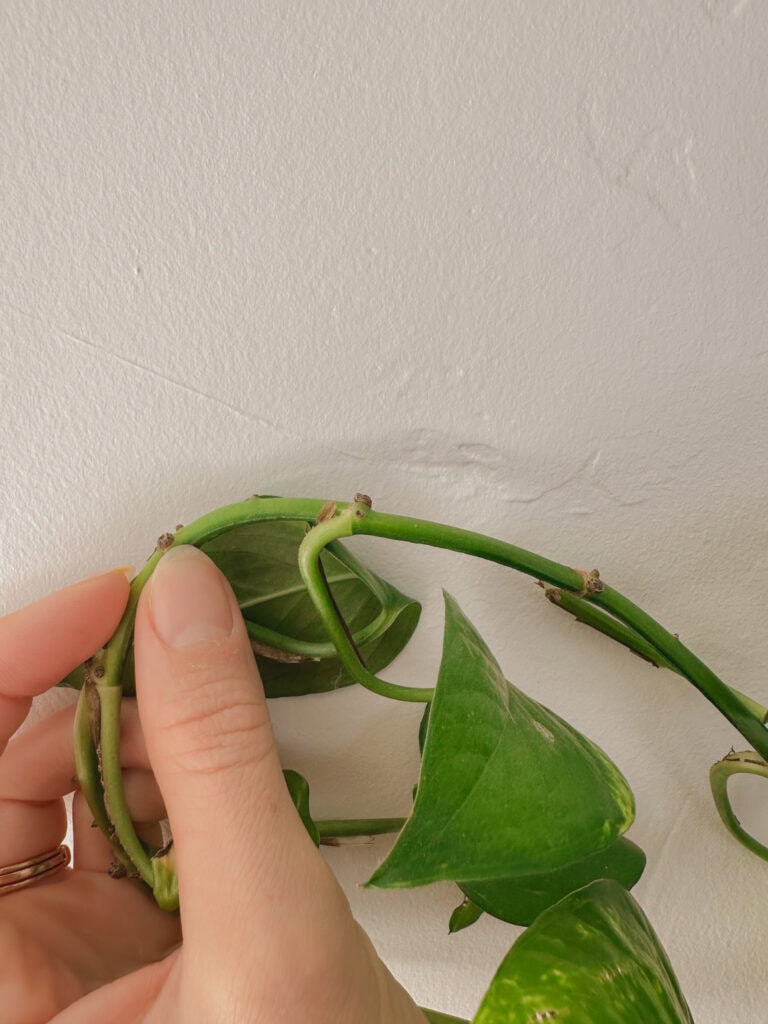
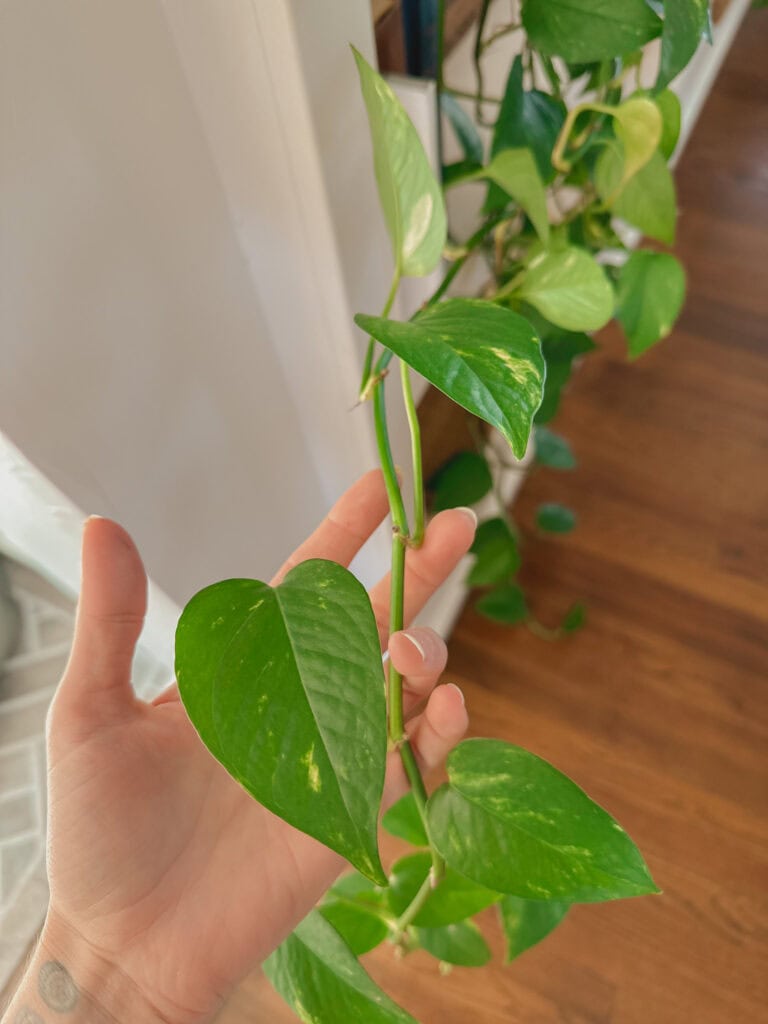
To propagate pothos, cut the vine about 1 to 1 and 1/2 inches away from the node on either side.
The node is the little brown bump at the base of the leaf’s stem. The roots of your new pothos plant will grow from these nodes.
When selecting a vine to cut, I like to stand back and look at the plant to see its overall shape.
From there, I select vines that are growing much longer than others to trim.
I find that doing this makes the plant feel more balanced and fuller.
What You Will Need for Propagating Pothos
- A healthy pothos plant with vines you are willing to trim (don’t worry, this won’t hurt your plant!)
- scissors
- glass jars of any kind or you can buy a propagation station
- Sunlight and water
That’s it!
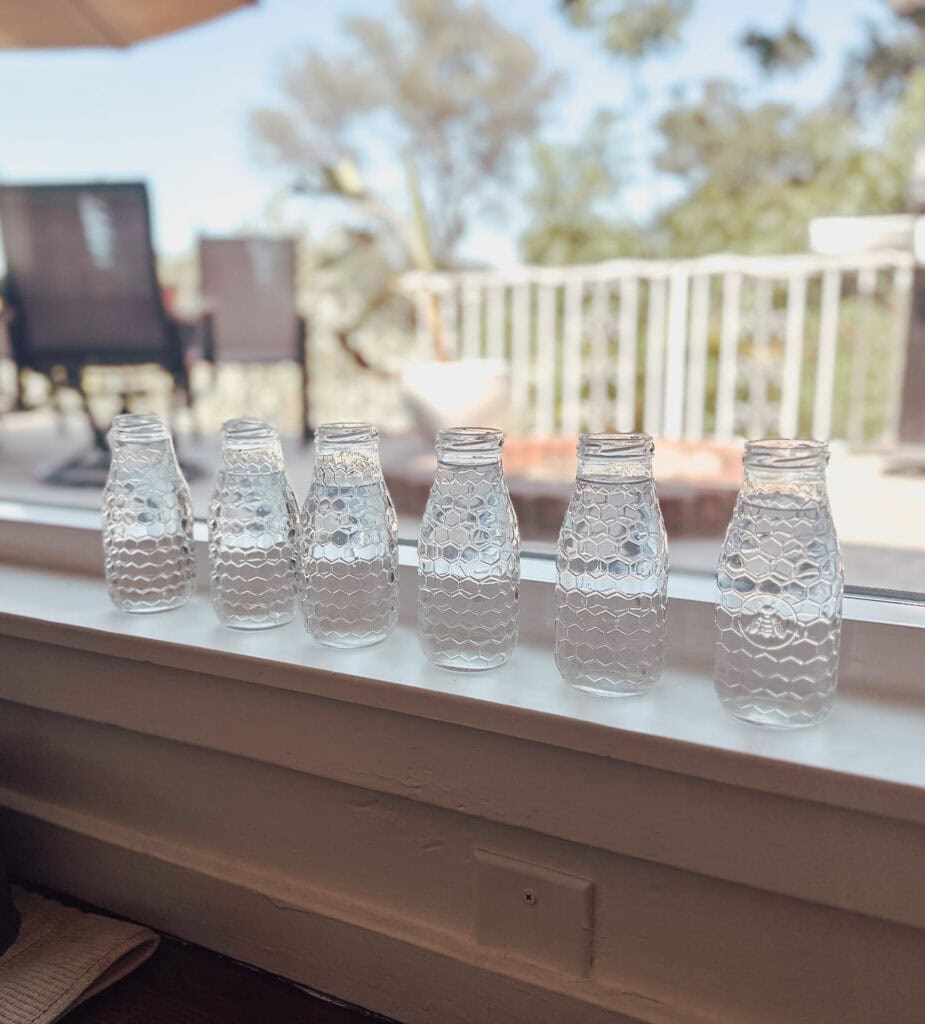
Step one: Ready your jars
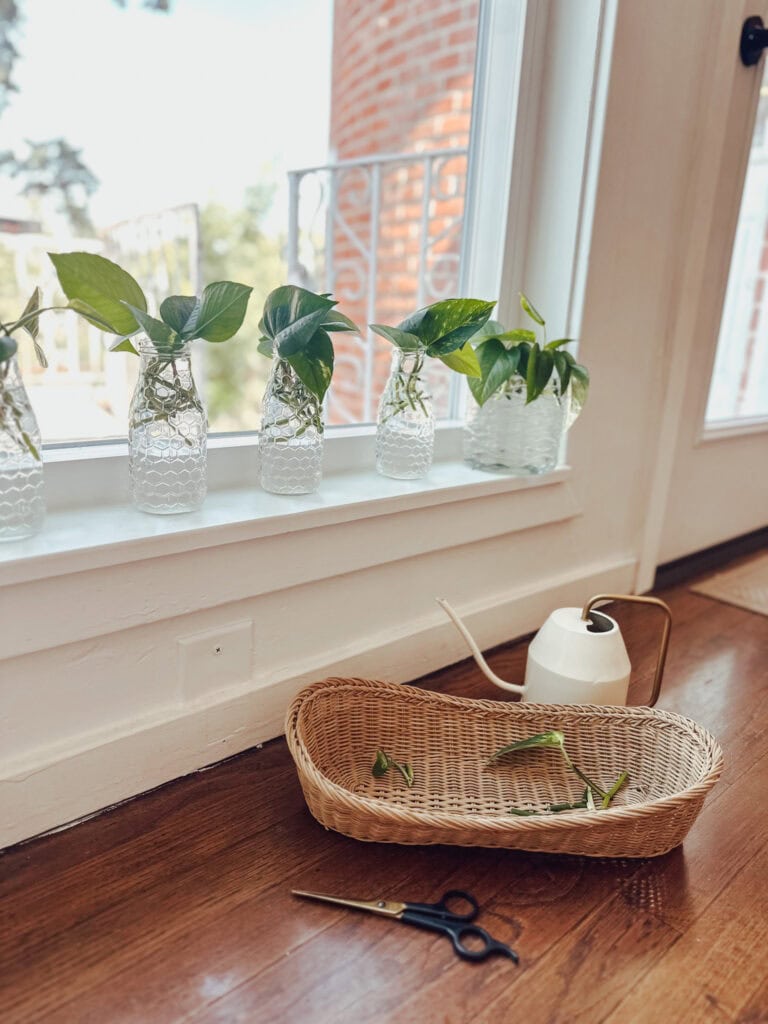
Find 5-10 small glass jars. I use these honey jars that were left behind by a roommate years ago. Baby food jars, and mason jars will also work. This is a great thing to thrift! You could buy a few drinking glasses or jars at your local thrift store. Or you buy or build your own propagation station, something I might try later.
The number of jars you will need is not an exact science. You’ll need enough jars to comfortably fit all the leaves you remove from your plant.
For this size jar, I typically put 6-8 leaves in each jar.
Clean and fill jars 3/4 full with water.
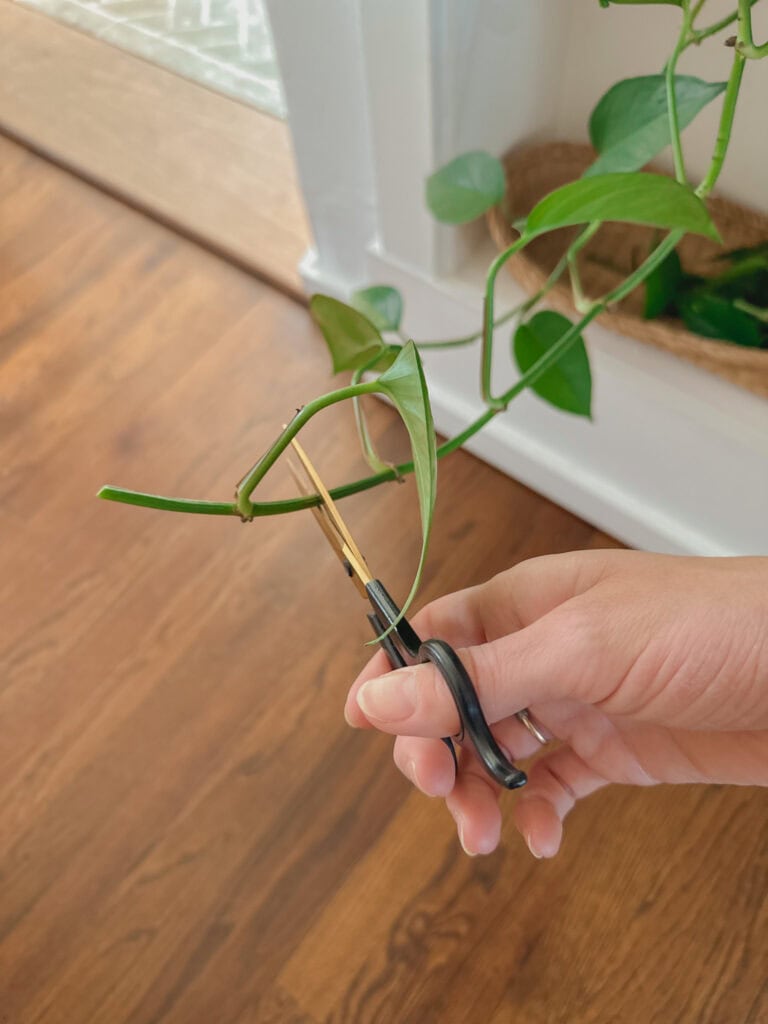
Step Two: Select your vine and trim it with scissors
Select healthy vines with leaf patterns you wish to propagate. I love to find leaves with lots of variegation, because I love the look of them, but you can choose whichever leaves you like.
Variegation refers to varying patterns of the pigments in the leaf. Pothos leaves can range from being all green to mostly white with every variation in between.
Remember to consider the overall shape of the plant when selecting the vine you will cut to keep your plant looking its best!
Step Three: Cut the vine to create the parts to be propagated
I like to start by cutting the vine where I have previously determined to ensure the plant still feels balanced. Then cut between the nodes. Do this down the length of the vine on every leaf.
If several baby leaves are growing from one node, leave those together and treat that cluster as one leaf.
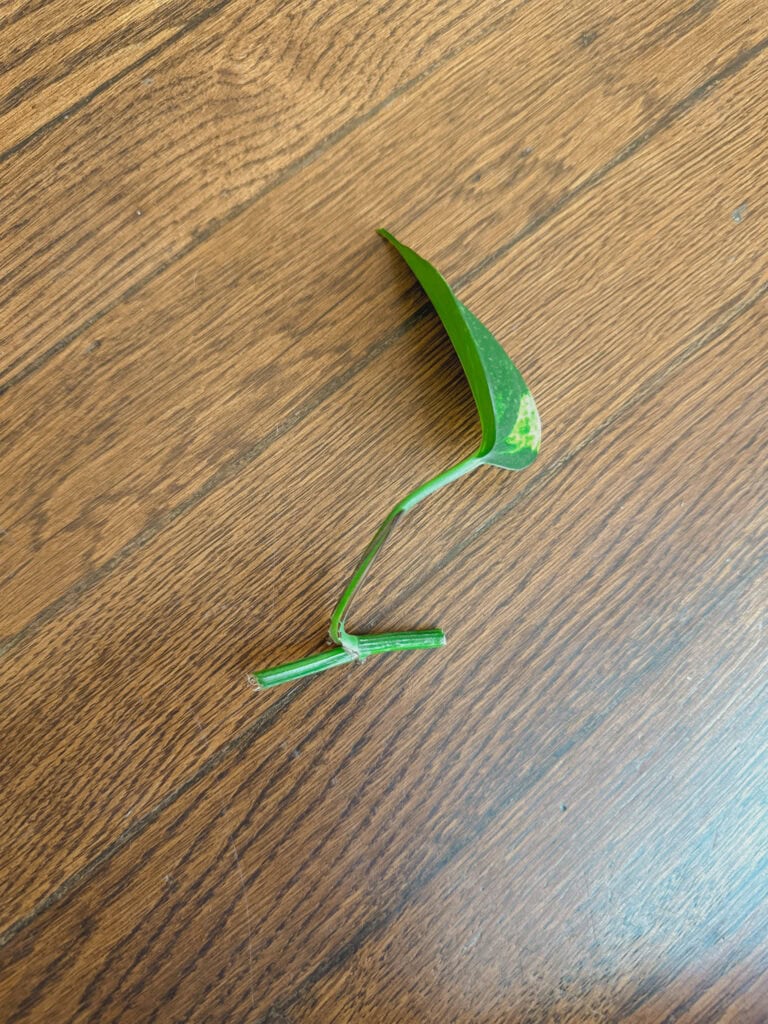
Cut the vine between the nodes leaving about 1 to 1/12 inches on either side of the nodes for the new roots to drop from.
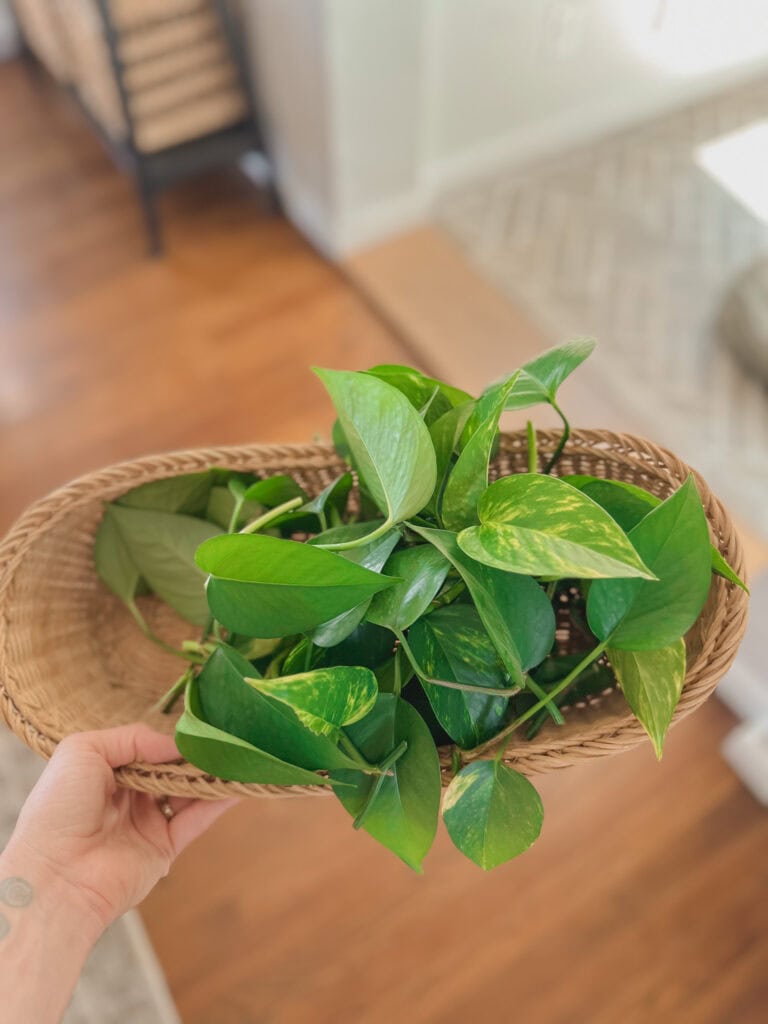
My plants are located all around my house, so when I am propagating plants, I use this thrifted basket which I keep on a shelf in my living room to transport them without hurting them.
Step four: Carefully place the node end in water
Place the node end in your water-filled jars. Put as many as will comfortably fit in your jars.
After placing all the leaves in jars, fill them to the top with water and place them in the sunlight!
Allow 3-6 weeks for the new roots to appear and grow. During this time, top off the water weekly or as needed to ensure the roots are submerged in water. Replace water if a film forms or discoloration occurs.
Once the roots are about 1 and 1/2 to 2 inches long, they are ready to be planted!
Step five: Plant your newly sprouted plants in potting soil
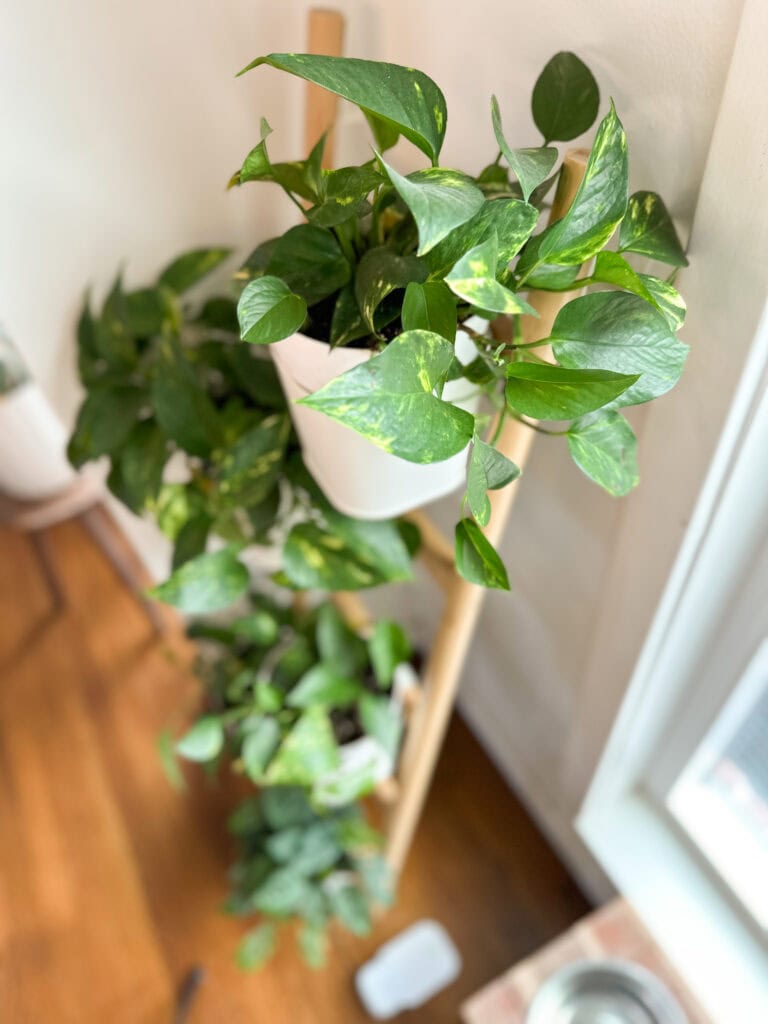
Fill several small pots with indoor potting soil about 3/4 full. I use these little white pots in my plant ladder from Ikea.
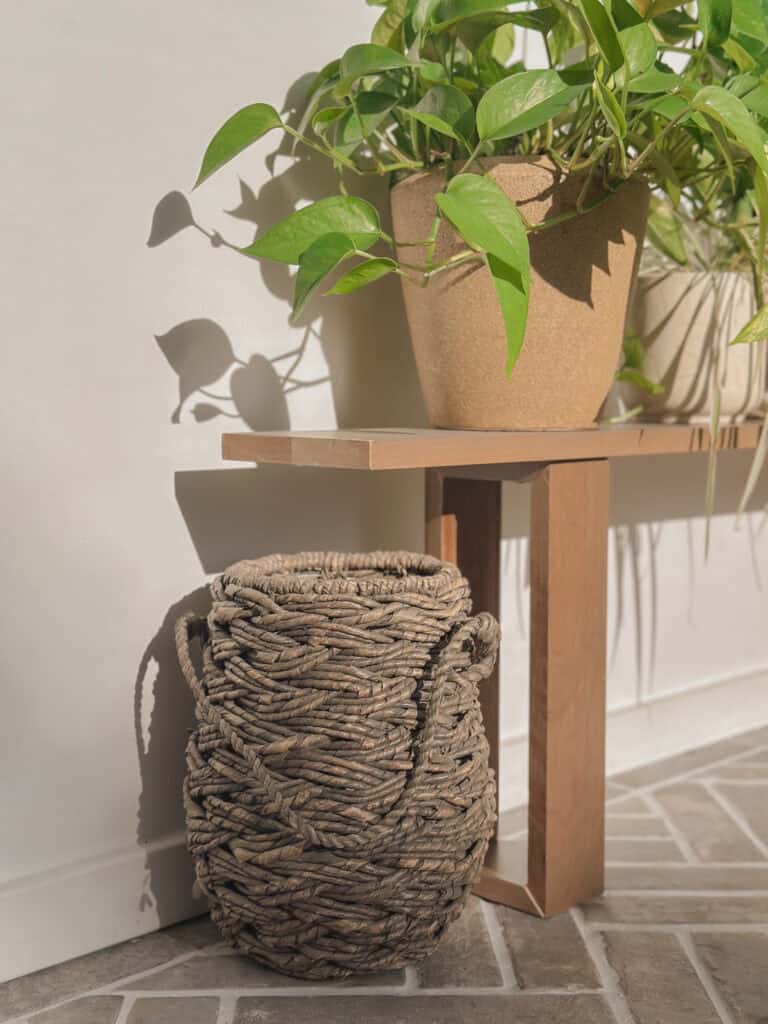
If you don’t have a ladder or plant stand, you might want to get ceramic pots with a little more weight so they don’t get knocked over.
Especially if you are like me and have curious kids and dogs around!
Keep the soil very loose. Gently create small holes with your fingers and guide the roots down into the soil.
Spread the leaves and their roots around the pot, leaving about a half inch around the stem.
From there, place in a spot with good indirect light and water when the soil gets dry. This works out to be about once a week for me, but it will depend on your climate, sun exposure, and the temperature in your home.
I leave my newly planted pothos in the small pots until they start to look fuller and develop vines of their own. This process can take anywhere from a few months or up a year.
At that point, I usually transfer them into a larger ceramic pot and get ready for my next round of propagation.
The plant at the top of the ladder above was propagated about 7 months ago and it is now ready to be transferred into a larger pot. Which is great because I just thrifted this adorable pot!

Enjoy and happy propagating!
Have any more questions about propagating pothos? Ask them in the comments!


Join the List
Stay up to date & receive the latest posts in your inbox.
0 Comments