Easy Halloween DIY: Crafting the Cutest Air Dry Clay Ghosts + Bonus Earring Idea
It was love at first sight when I saw these insanely adorable air-dry clay ghosts on Pinterest. I immediately ordered clay the day I saw them.
If you are looking for a fun, creative, and absolutely darling Halloween DIY project, these little ghouls are sure to get you into the Halloween spirit. Air-dry clay ghosts are quick, relatively inexpensive, and nearly foolproof! These adorable little specters are perfect for decorating your home or giving as gifts. In this guide, I’ll walk you through the process of creating these charming clay ghosts, from gathering materials to adding the final touches. So grab your air-dry clay and let’s get haunting!
As an Amazon Associate, I receive a small commission (at no additional cost to you) for qualifying purchases on items purchased through the links in this post.
Why Air Dry Clay Ghosts
Before we dive into the tutorial, let’s talk about why air-dry clay ghosts are such a great craft project:
- Because they are absolutely adorable!
- Easy to make: No kiln or special equipment is needed!
- Customizable: Create ghosts of all shapes, sizes, and expressions.
- Long-lasting: Once dry, your clay ghosts will last for years.
- Versatile: Use them as decorations around your home.
- Kid-friendly: A great project for crafters of all ages.
Now that you’re excited about making your own air-dry clay ghosts, let’s get started!
Materials Needed for Clay Ghosts
To create your air-dry clay ghosts, you’ll need:
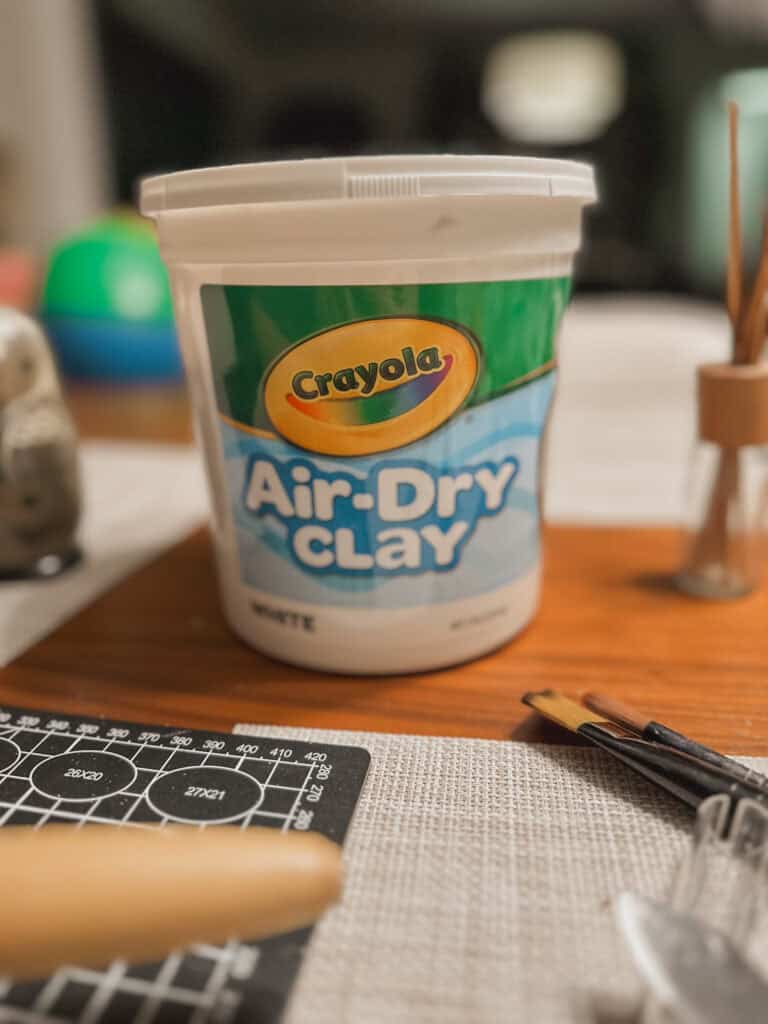
- Air dry clay (white or light gray works best)
- Clay sculpting tools or kitchen utensils for shaping
- Small paint brushes
- Jar for water
- Something to create your armature (the structure that will hold up and shape the clay into the ghost shape). The simplest solution is to use a small bottle (like a spice jar), and a small ball like a ping pong ball, golf ball, or bouncy ball. Stack the ball on top of the small bottle. You might want to tape them together to make it stronger.
- Syran wrap or wax paper to cover the armature and prevent sticking.
- Sandpaper (fine grit)
- Acrylic paint (black for eyes, optional colors for details)
- Clear sealant spray (optional, for added durability)
Step-by-Step Tutorial: Creating Air Dry Clay Ghosts
Brace yourself, these things are seriously adorable, and creating them may cause feelings of extreme giddiness. While making them, I called my husband over at least three times to see how adorable my new spooky friends are.
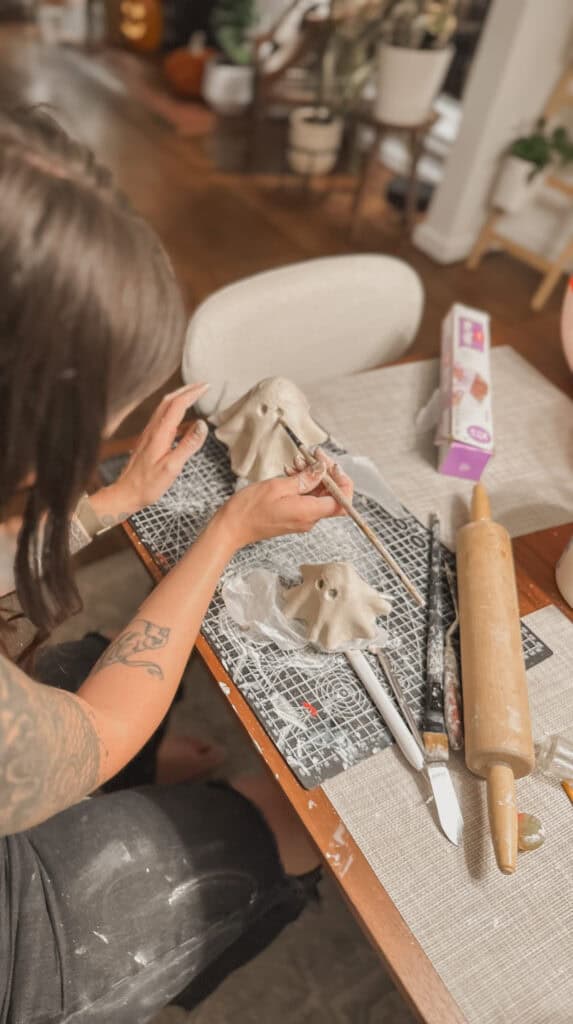
Step 1: Prepare Your Workspace
Before you start sculpting your clay ghosts, set up a clean, flat surface to work on. Cover it with wax paper or a non-stick craft mat to prevent the clay from sticking.
Step 2: Condition the Clay
Take a piece of air dry clay and knead it in your hands for a few minutes. This process, known as conditioning, makes the clay more pliable and easier to work with. If the clay feels too dry, you can add a tiny bit of water to soften it. This will get messy, so an apron might come in handy.
Step 3: Build Your Form
Assemble your ghost sculpture armature and cover it with saran wrap or wax paper.
I used my husband’s Russian nesting dolls because they were the perfect size. So get creative and look around for a half cylinder with a rounded top, or make your own as described above.
Step 4: Shape the Ghost’s Body
Now it’s time to bring your clay ghosts to life! Here’s how:
- Roll the clay into a ball about the size of a golf ball (or your desired ghost size).
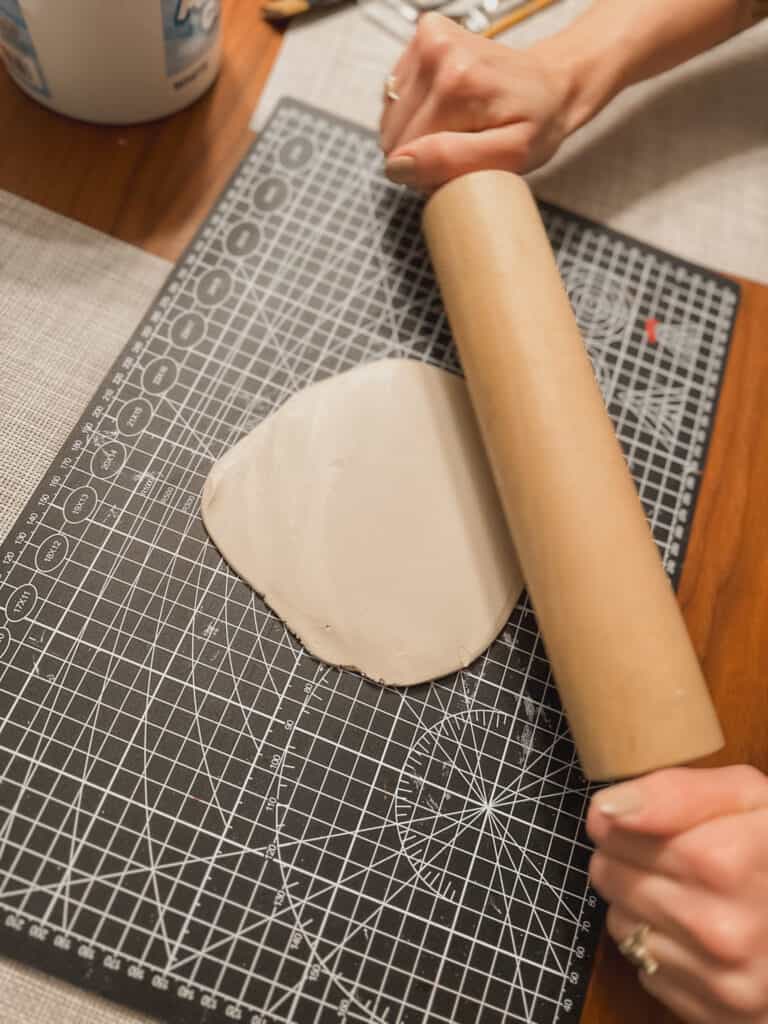
- Roll out your clay until it is about 1/4 thick all over. Try to roll evenly to create an even circle.
- Using a wet paintbrush, smooth the edges of the clay circle. This will be the bottom edge of your ghost’s sheet.
- When flat and smooth, use a thin spatula or painter’s knife to gently lift the clay off the wax paper surface.
- Lay the center of your circle of clay on the center of the round part of your armature (where the ghost’s head will be. Gently press the sides of your clay circle down to create the billowy folds in the fabric.
- Use a smooth round object like a pen, the back of a paintbrush, or whatever you have on hand to create additional wrinkles in the “fabric”. Gently pinch the clay to create folds in the “fabric”. Don’t worry about perfection, just have fun! I’m sure it will turn out beautifully!
- Use a wet paintbrush to smooth out any cracks or imperfections. If your ghost has any serious cracks, you can mix clay and add water to a small patch your ghost. Then use your fingers and a wet paintbrush to blend the patch into the whole.
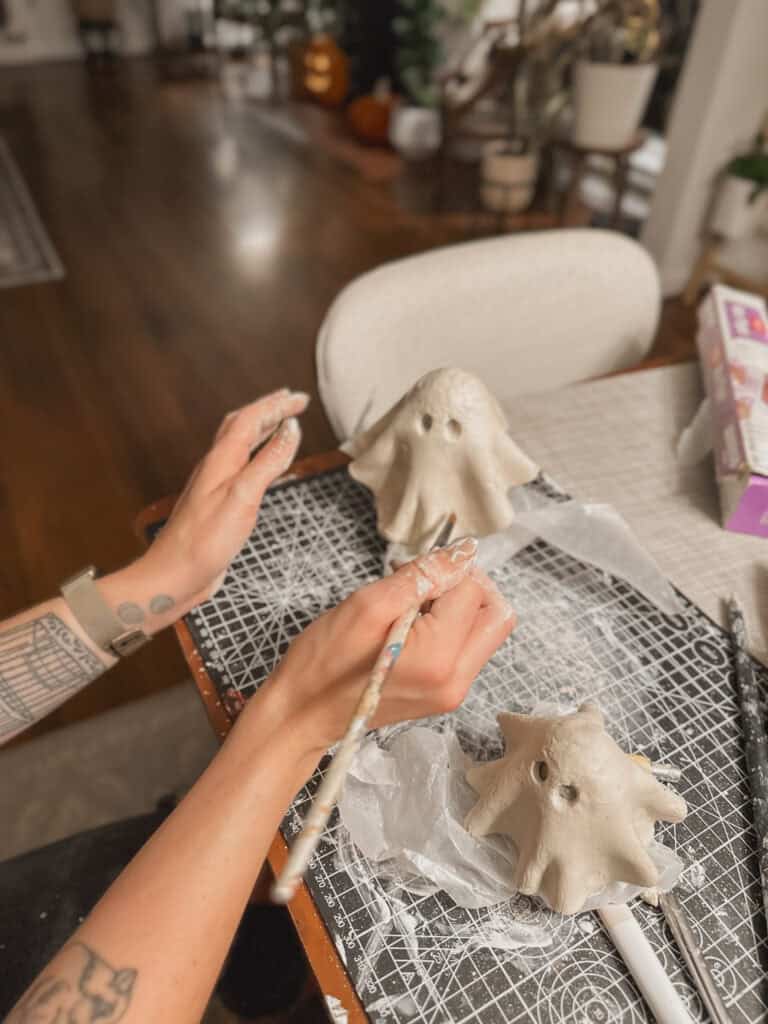
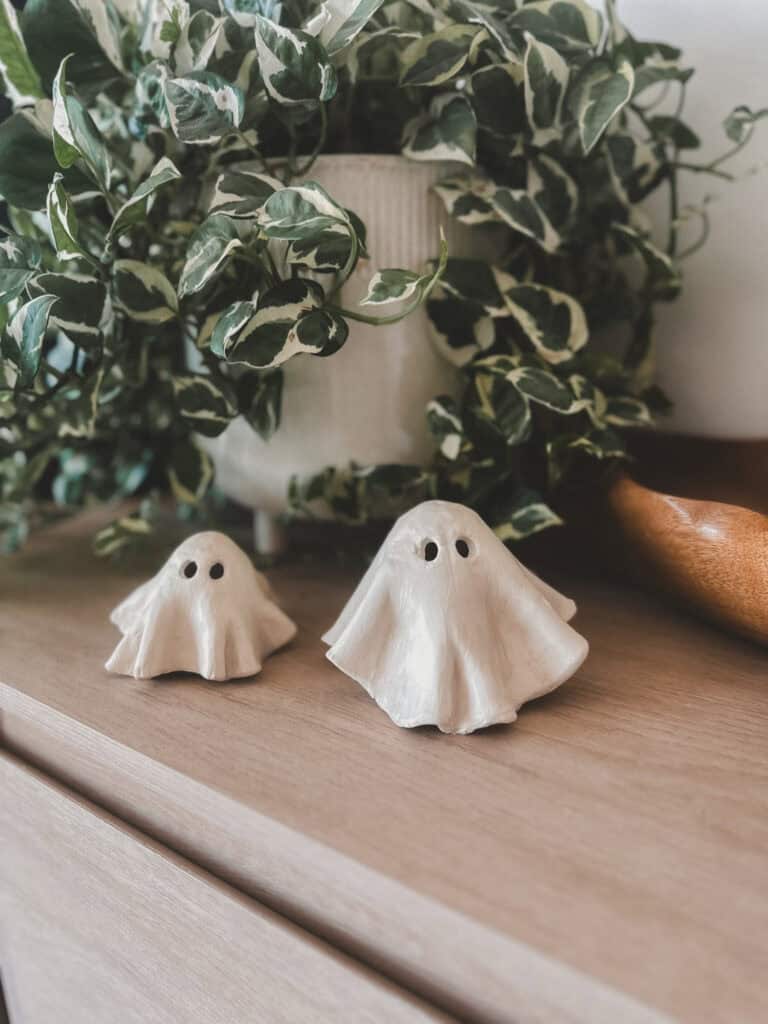
Tip: For variety, try making some ghosts tall and thin, and others short and round. Each clay ghost can have its own unique personality. I only made two this time, but I plan to make a few more.
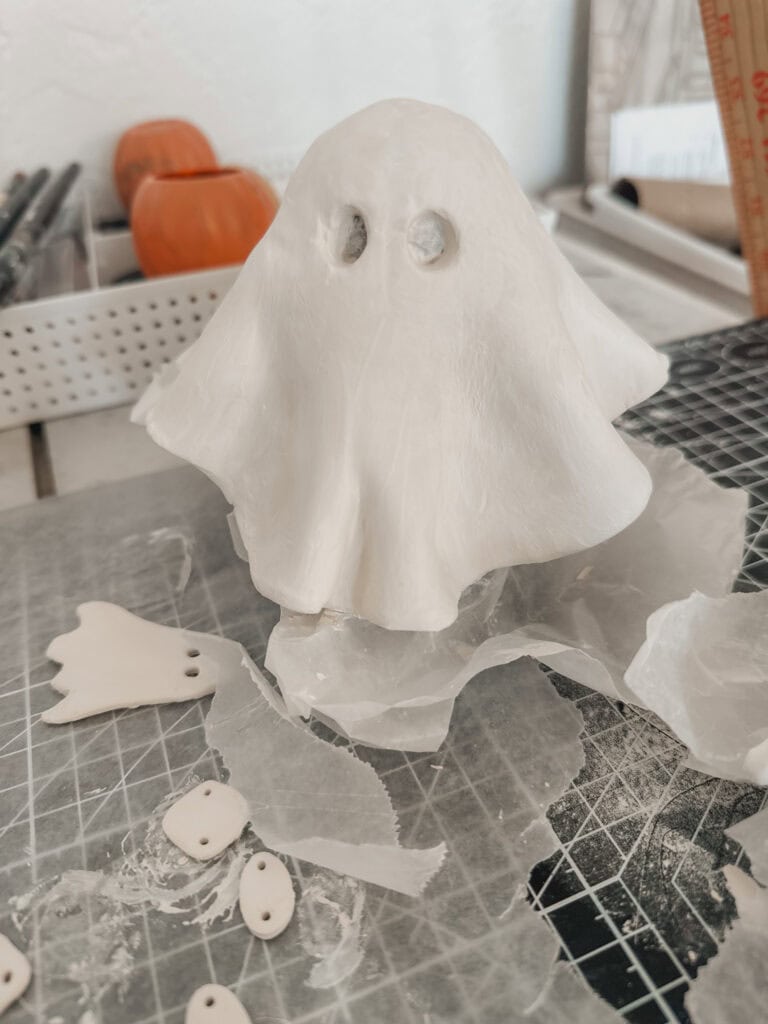
Step 5: Add Facial Features
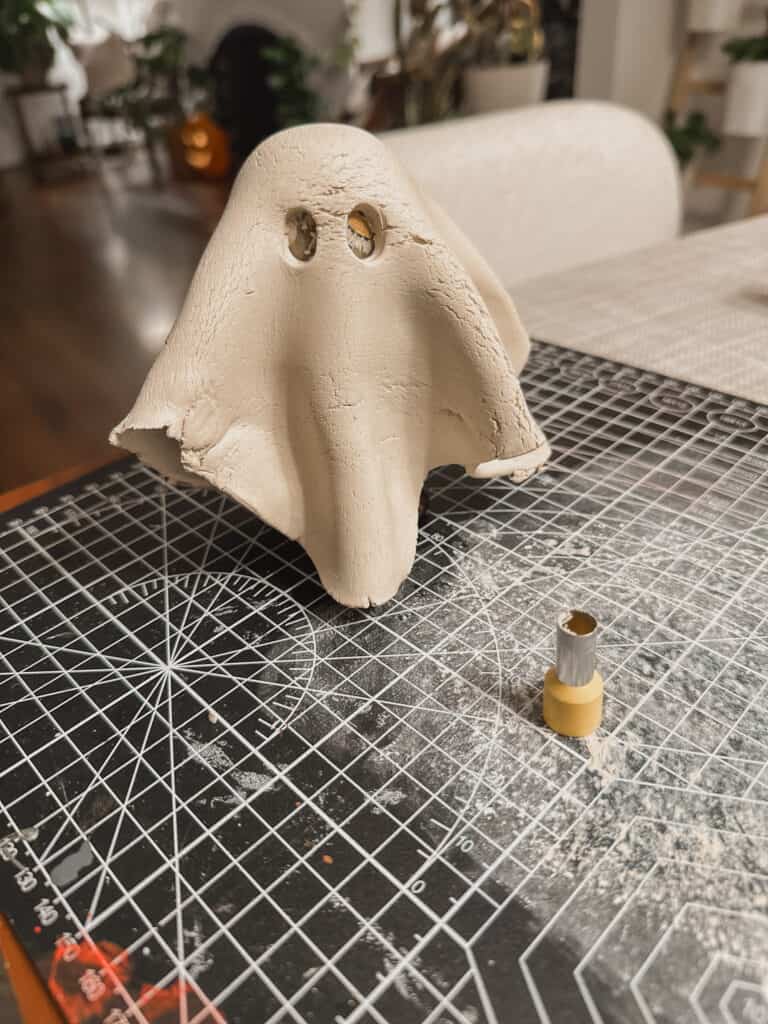
Now it’s time to give your clay ghosts some character:
- Use a small sculpting tool or a straw (that you don’t mind tossing if you can’t get the clay out) to gently press two small holes for eyes. You can skip this and paint the eyes on too if you prefer.
- For a mouth, you can use an exacto knife to cut out a smile for a friendly ghost, a frown for a wailing ghost, or create a small “o” shape for a spooky scream. Do this step if you want to put a candle underneath! Or you can omit the mouth entirely and just do the eyes, which is what I opted to do.
- If you want, add small clay balls for cheeks or eyebrows to create different expressions. Then you can use kitchen utensils like chopsticks or toothpicks to shape the little features.
- Use a sturdy wet paintbrush to smooth any areas where you cut or added clay to blend.
Remember, less is often more when it comes to ghost faces. A simple design can be very effective!
Step 6: Let Your Clay Ghosts Dry
Once you’re happy with your ghost sculptures, it’s time to let them dry:
- Place your air-dry clay ghosts in a warm, dry place.
- Allow them to dry completely, which usually takes 24-48 hours depending on size and humidity.
- Avoid touching or moving them while they’re drying to prevent damage.
Tip: If you live in a humid area, you might want to use a fan to circulate air around your drying clay ghosts.
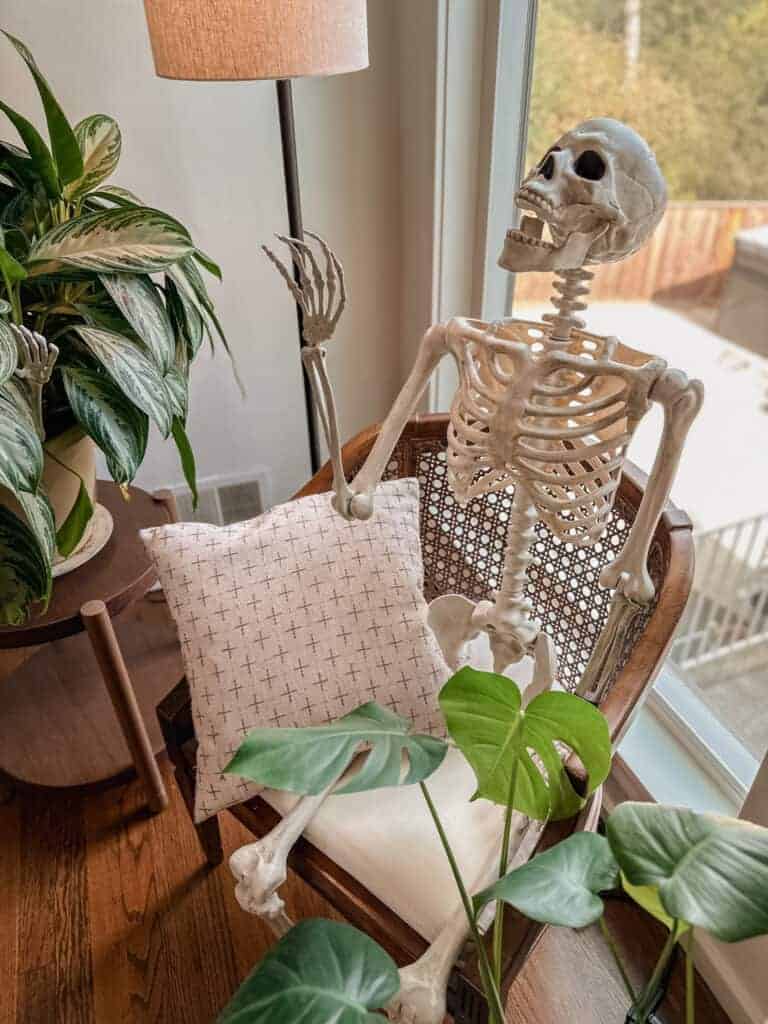
While you’re waiting for your clay ghosts to dry, check out this article for more eclectic and vintage Halloween decor ideas. The article has several ideas for other Halloween crafts as well.
Step 7: Sand and Refine (Two Ways)
The next day or about 8 hours after building:
- Use a sturdy wet paintbrush to create a slip mixture on the surface of your ghosts to smooth out any small cracks. *Slip is a mixture of clay and water. You might need to repeat this process until you get it to a place you like. As you work the paint brush around, the cracks will become filled and the area will get smoother.
After your clay ghosts are fully dry: If you have any significant bumps or blemishes:
- Gently sand any rough spots with fine-grit sandpaper. Be careful not to sand too aggressively, as air dry clay can be delicate.
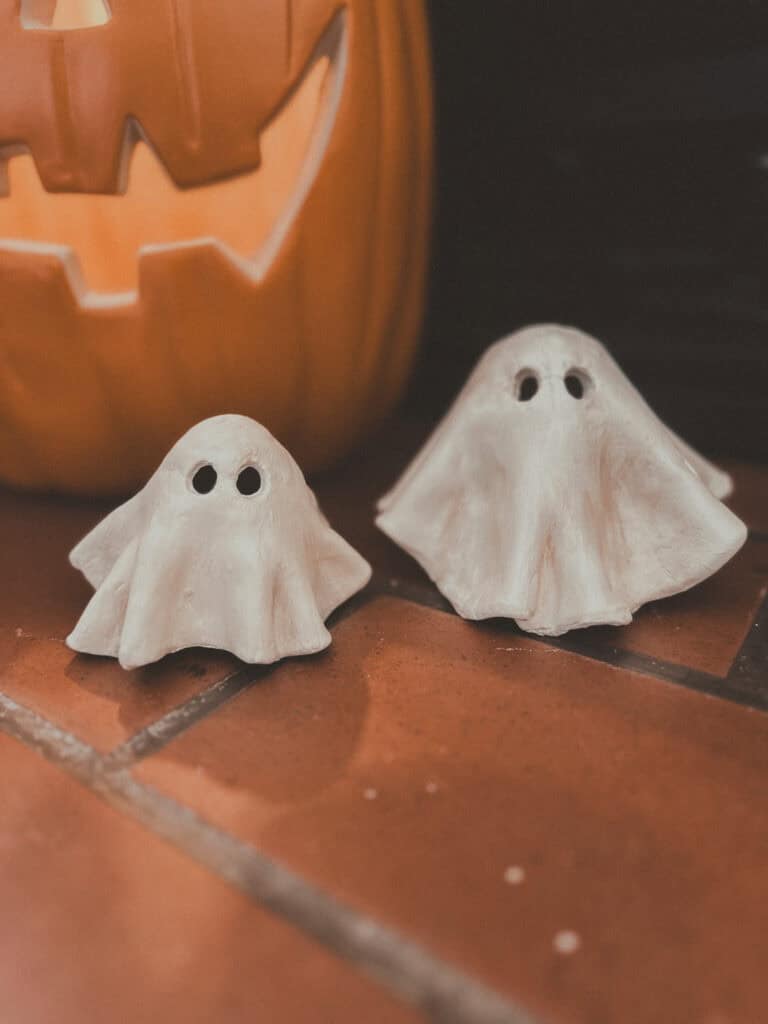
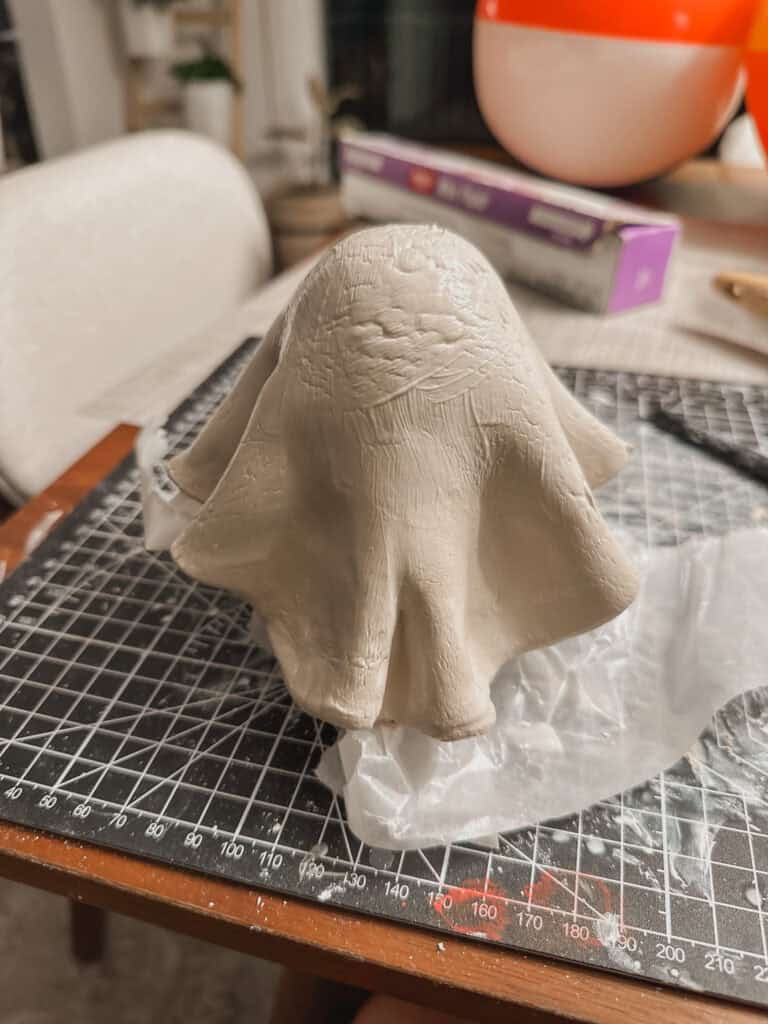
I was happy with mine after smoothing with first method above and chose not to sand. I like the organic nature of the clay and didn’t mind a few cracks and imperfections. Also, I really like the color of the dried clay as is and wasn’t sure if I wanted to paint, but I did.
The ghost become almost perfectly smooth after 2-3 rounds of wetbrushing.
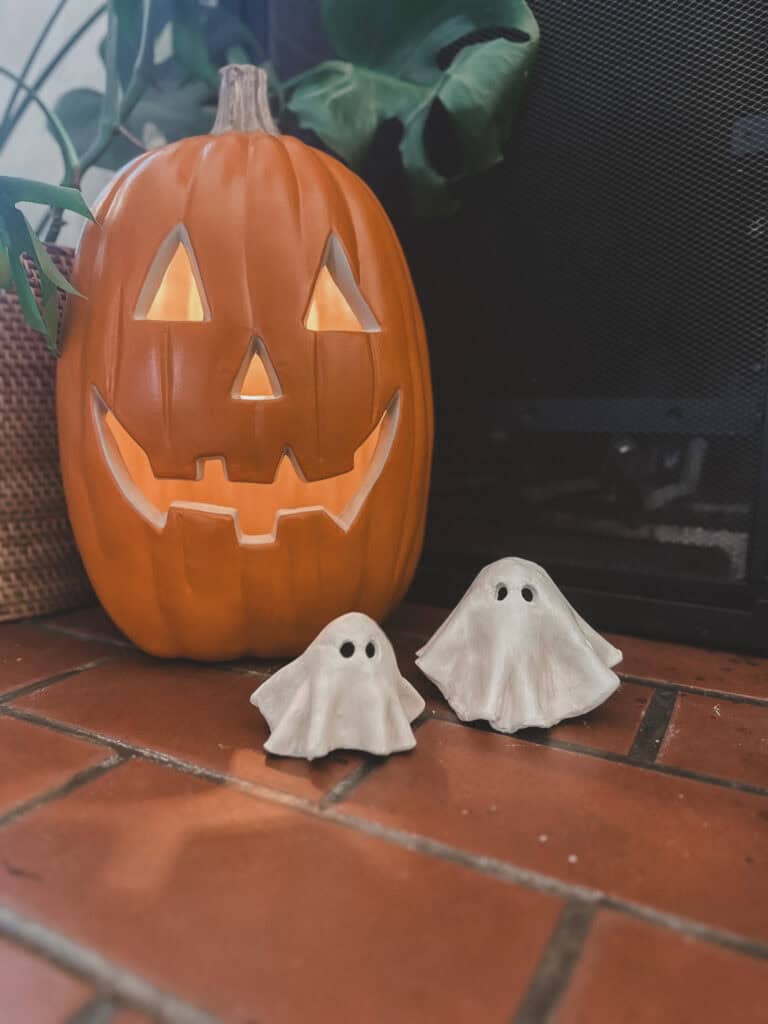
Step 8: Paint Your Clay Ghosts (Optional)
You can choose to keep the natural color of the clay, which I find to be the perfect aged and ghostly white or you can paint them.
I decided to do a thin wash of a yellowy white and added a little tinted burnt umber in the folds to add depth.
- Start by painting the ghost body in whatever color you’d like. If you want them to look traditional, paint them white, but use either tinted gray or brown in the deepest parts of the folds of the “fabric” to create the illusion of depth. To tint a color to make it lighter and easier to blend with the white coat you already did, add white to the color and mix.
- Paint the eyes black, or any color you prefer. Add a dot of white to the eye to give it a glistening look to really bring it to life!
- If you want, add a light wash of gray or blue over the body for a more ethereal look.
- Get creative! Add rosy cheeks, colorful accessories, or even glow-in-the-dark paint for a spooky effect.
Remember to let each layer of paint dry before adding another.
Alternative Way to Decorate: Decoupage
If you don’t want to paint your ghosts, you can collage any pattern you like on them with Mod Podge and paper. Floral designs are really popular right now. For good reason- it makes it look like the ghosts are wearing vintage floral sheets, which is just so cute.
Plyable paper like tissue paper or paper napkins will be the easiest to work with. If you opt to use a napkin, be sure to separate the individual plies of the napkin, using only a thin outer layer with the design.
This will make the transition from paper to clay a little more seamless.
Check out these darling decoupaged ghouls from The Rural Legend!
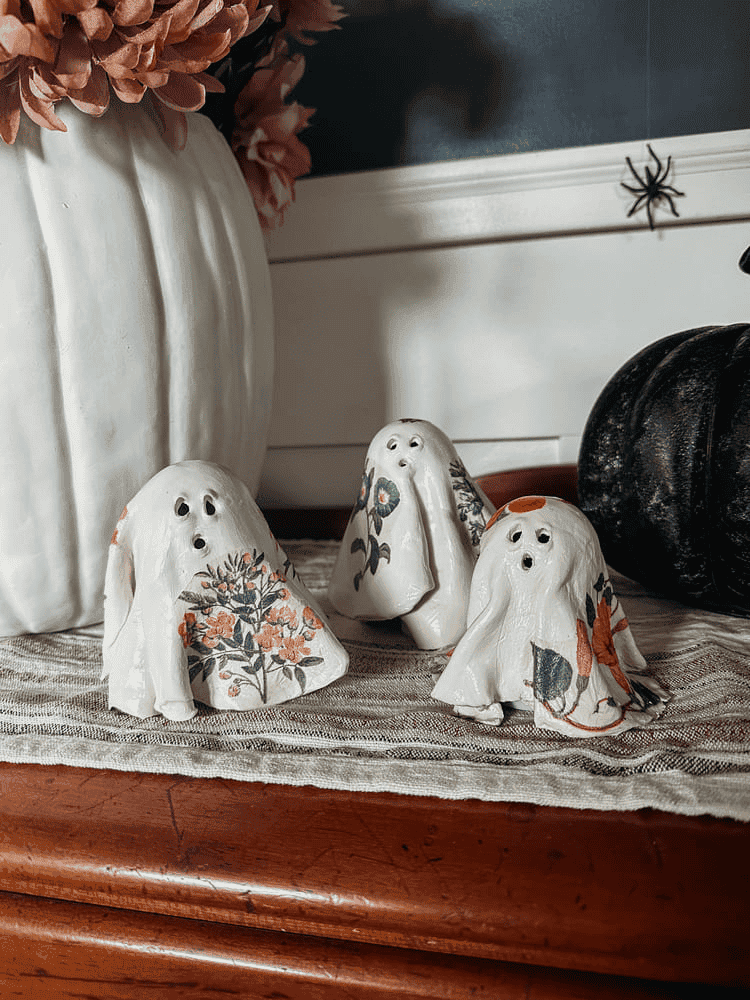
I am going to try this on the next batch because it is so darling.
Step 9: Seal Your Creations (Optional)
To make your air-dry clay ghosts more durable:
- Once the paint is completely dry, take your ghosts outside or to a well-ventilated area.
- Apply a light coat of clear sealant spray, following the product instructions.
- This will protect your clay ghosts from moisture and make them last even longer.
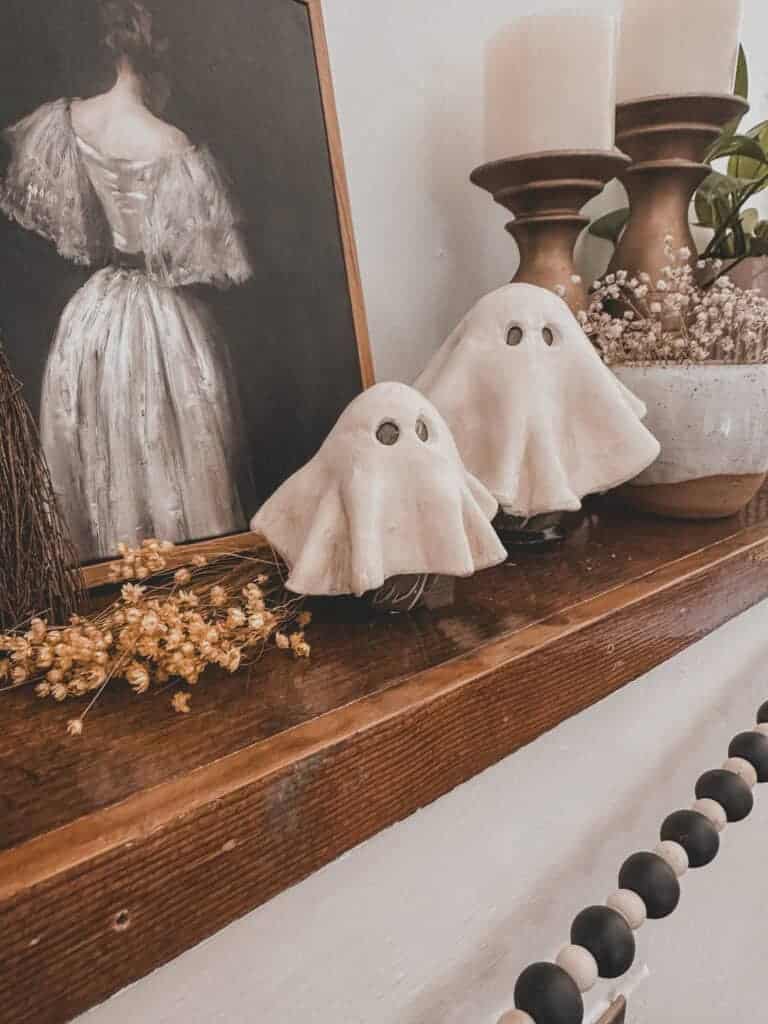
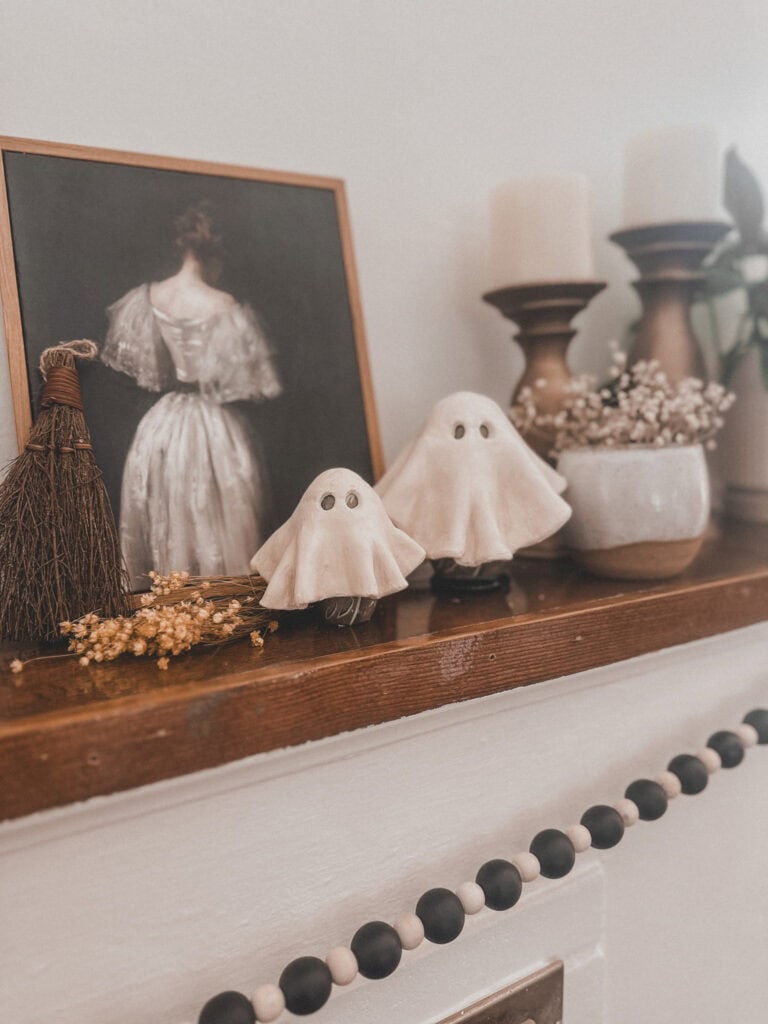
Creative Ideas for StylingYour Air Dry Clay Ghosts
Now that you’ve mastered making clay ghosts, here are some fun ways to use them:
- Style them on a bookshelf, mantle, or tray alone with candles and other haunting items.
- Add a faux tea candle under them for some spooky illumination.
- Create a spooky scene with ghosts of various sizes along with dried moss and other little elements inside a glass dome.
Troubleshooting Common Issues with Air Dry Clay Ghosts
- Cracking: If your clay ghosts develop cracks while drying, try brushing out the cracks with a wet paintbrush. As you rough up the surface with the brush, slip will form and fill in the cracks.
- Difficulty standing: balancing them can be tricky! If one edge of the ghost is too long, causing it to wobble, you can use sandpaper to shorten it. Or you can keep the armature under the ghost to keep it stable.
- Paint not sticking: Ensure your clay ghosts are completely dry before painting.
Additional Clay Craft Idea: Ghost Earrings!
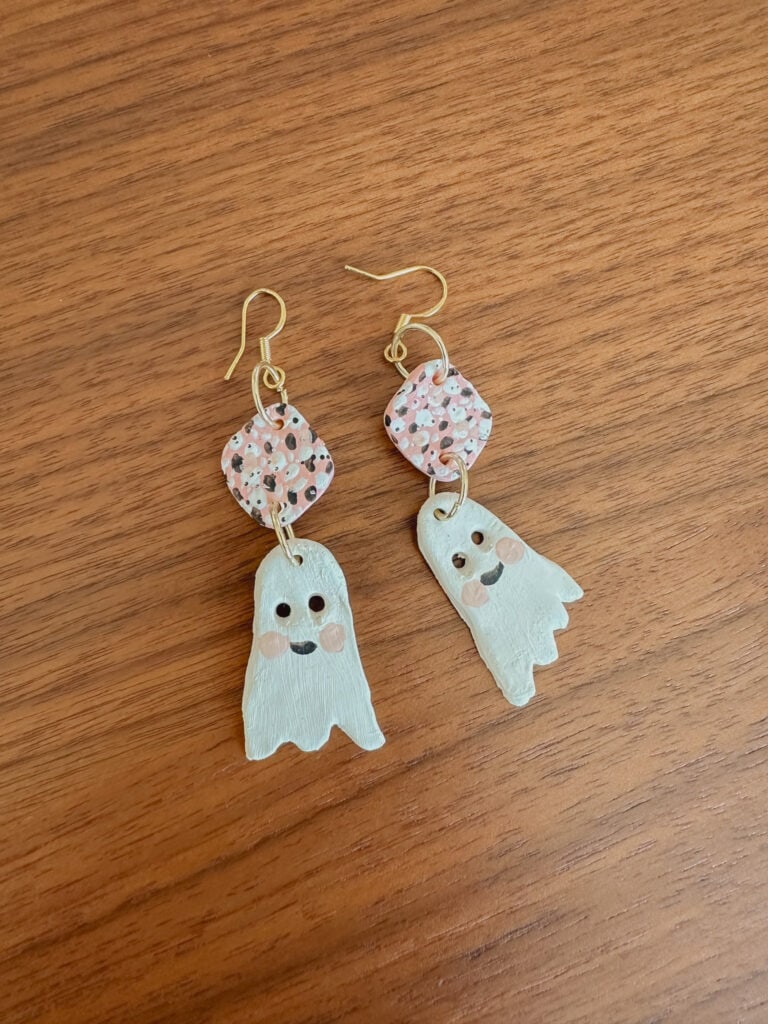
After I finished forming my ghosts, I had the idea to make little ghost earrings for my stepdaughters and niece. And I decided to make a pair for myself too!
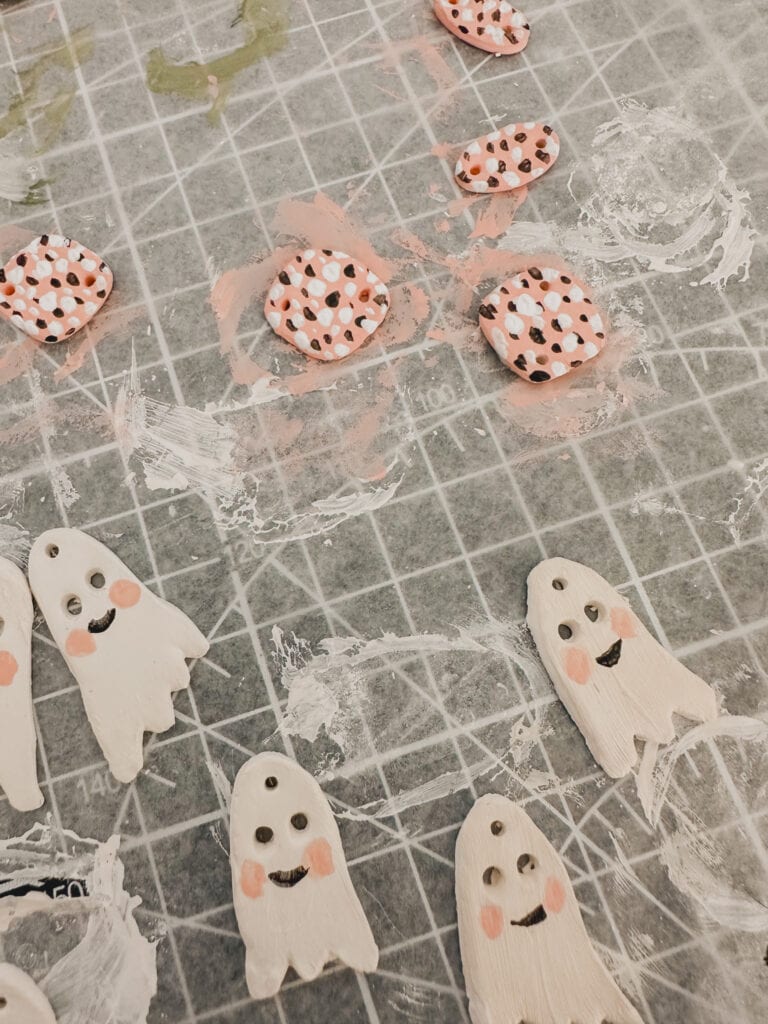
I did this on a whim and kept it very simple. I rolled the clay out to the maybe 1/8 inch thickness and drew my ghost shapes. After that, I cut them out with an Exacto knife and used a wet paintbrush to smooth any rough edges.
I also used my clay shape cutters to cut an extra little connecting piece to give the earrings some length.
I poked two holes for the eyes and one small hole for the jump ring I will use to attach to the connecting piece. And I poked two holes in that connecting piece to join it to the ghost and the earring post.
I already had jewelry supplies on hand since I occasionally make polymer clay earrings, but you can easily find sets like this on Amazon.
I let the ghosts dry for a day and then I painted cute little expressions on their faces.
Then I attached the hardware for the earrings and voila!
Enjoy Your Handmade Clay Ghosts!
And there you have it – your guide to bringing some spectral style into your life with air-dry clay ghosts. Remember, there’s no right or wrong way to do this. Your ghosts can be perfectly imperfect, each one a unique expression of your creativity. Whether you’re crafting solo, with friends, or with the kids, it’s all about enjoying the process and ending up with some pretty cool decorations.
These little clay ghosts are more than just Halloween decor – they’re a slice of your personality, handcrafted and one-of-a-kind. So take your time, experiment, and most importantly, have fun with it!
Now go forth and populate your world with these charming little spirits. Happy crafting and happy haunting!


Join the List
Stay up to date & receive the latest posts in your inbox.
0 Comments