30 Days, 30 Tasks: A Busy Person’s Guide to New Year Decluttering with Decluttering Checklist
I know it’s cliche, but this time of year has a way of making us feel overburdened by our stuff, doesn’t it? There’s something about the fresh start of January that gets us craving simplicity and order. But here’s the thing: cliches exist for a reason. If now feels like the right time for you to declutter, it is the right time. And no, you don’t need to worry about being perfect.
I’ll be honest with you—I’m far from perfect myself. I had plans to write this post months ago so I could have it ready in time for the new year. But life has been busy. I’m a stepmom to three, and we had the chaos of the holidays… not to mention I spent all of Christmas terribly sick (and I’m still recovering). So here I am, showing up as best as I can, and you know what? That’s okay. Let’s agree to approach decluttering the same way: imperfectly, but with purpose.
The Decluttering Checklist Plan
This decluttering checklist is simple and approachable, featuring tasks that take just 5 to 30 minutes each. You can tackle one task per day or space them out to suit your schedule. It’s not about overhauling your entire home but taking small, manageable steps toward a bigger goal.
This method is perfect for you if you find big or complicated tasks overwhelming. Research shows that breaking goals into smaller, achievable steps makes us more productive and happier while working toward them. Starting with an easy goal—like decluttering one item or area a day for 30 days—gives you a quick win. That sense of accomplishment builds confidence and momentum for your next project.
By the end of the month, your home will feel lighter, more organized, and ready to make room for the things that matter most.
Responsible Decluttering and Mindset
When I declutter, I like to use three laundry baskets or boxes labeled: Donate, Sell, and Toss and a Keep pile or clothing rack. Be mindful of how much ends up in the Toss pile, as those items will likely head straight to a landfill. Focus on donating or selling what you can, and get creative with items that don’t fit neatly into either category.
Before throwing anything away, ask yourself:
- Can this be recycled? Check local recycling options for items like clothing, paper, and plastics.
- Can this be upcycled? Old clothes and worn-out towels can become cleaning rags or materials for sewing or craft projects.
As you sort through your belongings, take a moment to reflect on when and why you purchased these items and what value they brought—or didn’t bring—to your life or home. Carry this awareness into the new year as you consider future purchases. Ask yourself: Will this truly add value, or am I chasing a dopamine hit or a specific and trendy aesthetic?
Honestly, we’re all buying too much, too often. This month, one of my personal goals is to buy nothing but food and essentials. As of today, January 17th, I’ve stuck to it—partly because the flu has kept me homebound, but also because I’ve avoided the temptation of online shopping. After the chaos of holiday shopping and the endless stream of packages, I needed a reset
Now that we have our baskets and our decluttering mindset, let’s get started.
Week 1: The Bedroom
Start working through the decluttering checklist with your bedroom, your personal retreat. Decluttering here can have an immediate impact on your sense of calm.
- Nightstand and Top of Dresser: Clear off the top and declutter the drawer(s). Toss old receipts, unused chargers, and anything that doesn’t belong. Dust and clean the decor on your dresser. Wipe down lamps, draw fronts, art, etc.
- Closet Day 1 (Tops): Start with your shirts, tanks, sweaters, and jackets. Consider putting away off-season clothes to make more space in your closet. Then sort through your tops and put them into a category: keep, donate, sell, or toss.
- Closet Day 2 (Bottoms and Dresses): Do the same thing for your shorts, pants, skirts, and dresses.
- Dresser Drawers: Empty each drawer and follow the same decluttering process- keep, donate, sell, or toss. Fold the clothing you are keeping neatly and put away.
- Shoes, socks, hats: I prefer to keep my closet minimal and seasonal. If you feel the same, put away off-season items in bins or baskets. Declutter what you no longer need, and organize what you are keeping.
- Accessories: Sort through your purses, bags, sunglasses, and jewelry. Go through your collection and part with broken or unused jewelry pieces. You get the idea, keep, donate, sell, or toss.
- Books, notebooks, and papers: Sort through your books. Keep your favorites and donate the rest. Recycle unneeded mail, paperwork, bills, etc. Organize and store what you need to keep.
Tip For Decluttering Clothing
Week 2: The Bathroom
Bathrooms are small but tend to accumulate clutter quickly. A few quick wins here can make a big difference.
- Medicine Cabinet: Toss expired medications and products. Please use caution and discard medications safely.
- Makeup Bag: Get rid of old or unused makeup. Makeup and skincare do expire and can become ineffective or a breeding ground for bacteria. In the States, many beauty products are marked with 12M or 24M (usually on the bottom of the bottle), meaning they are good for 12 or 24 months after opening. Paula’s Choice has an excellent detailed article on this topic that you can read here.
- Under the Sink: Organize your cleaning supplies and toiletries. Toss empty or almost empty bottles.
- Shower/Tub: Remove products you don’t use. Clean any organizers to remove mineral buildup and soap scum. Since this day’s decluttering will likely only take a few minutes, this is a great time to clean your shower or tub.
- Towels: Sort through your towels. Keep the good ones; donate or recycle the rest. Consider donating towels to animal rescue organizations, they typically have a great need for them for bedding and cleaning! And again, worn, ripped, or stained towels can be cut into rags for cleaning.
- Hair Tools and Accessories: Declutter your hair tools—because let’s be honest, do you really need three curling irons and that broken hairbrush you swore you’d fix two years ago? Start by taking everything out. Sort through what you use and decide what to keep or toss. Once you’ve pared down, clean out the drawer thoroughly (you might even find a few long-lost bobby pins). Neatly put everything back, and consider using organizers to keep hair ties, clips, and pins in check. These don’t have to be fancy—I used a few small ceramic cups I thrifted to corral my hair accessories. It’s functional, affordable, and keeps everything tidy.
- Any Remaining Drawers and Cabinets: This will vary based on your bathroom. Whatever miscellaneous items you store in your bathroom drawers or cabinets, empty them, sort, declutter, clean, and put them away.
By this point, you are almost halfway through the decluttering checklist! Celebrate that small win by doing something for yourself. Just don’t make that special something shopping, we’re still decluttering here!
Week 3: The Living Room & Dining Room
The living room is a high-traffic area, so decluttering here can make your space feel more welcoming.
- Coffee table, mantel, etc: Clear off and organize everything on all flat surfaces like your coffee table, mantel, console table, etc. Recycle magazines and papers. Dust and wipe down art and decor. Declutter items you no longer need and put way out-of-place items. Clean the surface, and replace the items you want to keep out on display.
- TV Stand and Electronics: Go through electronics, remotes, and cords. Match and label cords you need to keep. (Use a piece of masking tape and pen to create a quick label). Donate or recycle what you no longer use. Neatly put away any items you use regularly. This is a great time to clean your TV. Organize games, controllers, and accessories.
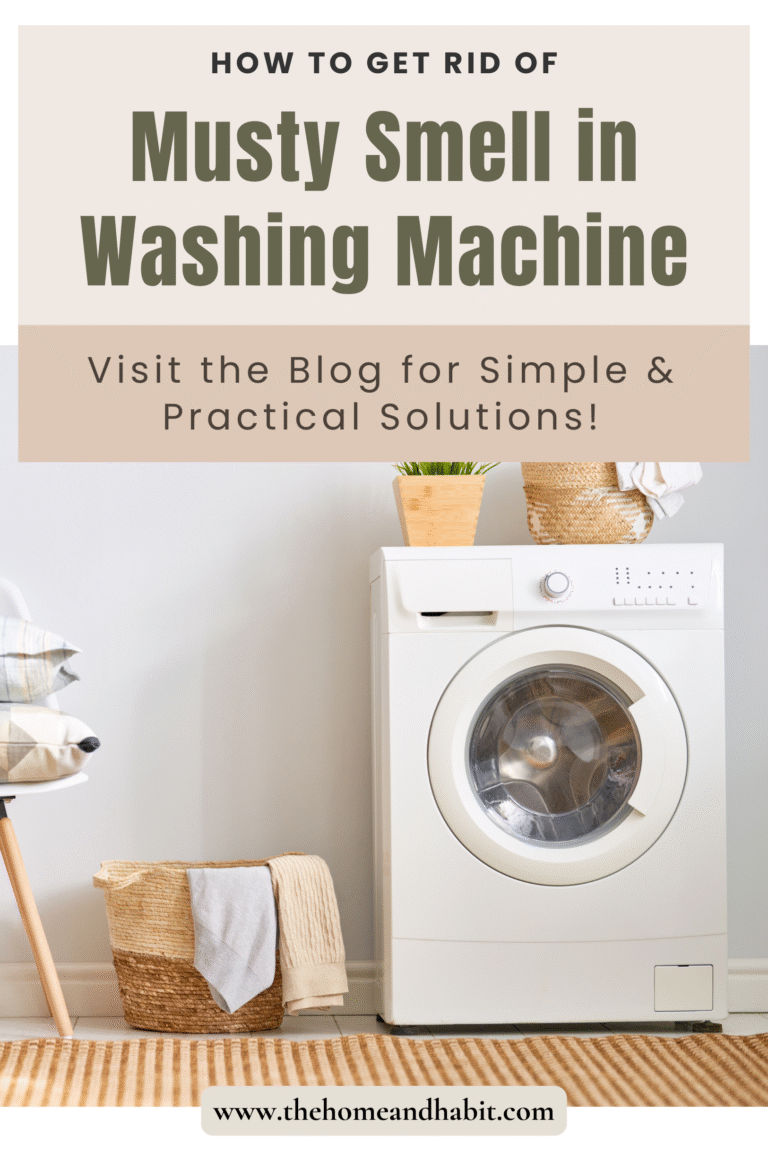
- Throw Pillows and Blankets: Keep only what you love and use. Donate extras. If needed, throw them in the wash. Fabrics hold smells that could be contributing to unpleasant odors in your home.
- Books, Decor, and Accessories: Evaluate wall art, figurines, candles, and other decor. Keep pieces you love and remove the rest to reduce visual clutter. Declutter your books and donate those no longer in use.
- Toys: If you have kids, sort through their living room toys. Return things to their rooms and donate what they’ve outgrown. Consider adding organizational bins if you don’t already have a system.
- Cabinets and Drawer: This will be specific to your space. Sort through items you might keep in your living or dining room hutch, sideboard, or cabinets. Declutter, clean, and replace.
- Hidden Storage: Declutter inside storage ottomans, bins, or baskets. Organize and discard anything you’ve forgotten about or no longer need.
Week 4: The Kitchen
As we wrap up the final full week of the decluttering checklist, it’s time to tackle the kitchen—a space that often becomes a hotspot for clutter. Junk mail, school papers, lunch bags, water bottles, grocery bags, and more seem to endlessly pile up on counters and island. Meanwhile, drawers and cabinets can quickly become disorganized and overstuffed. Let’s dive in and clear out the kitchen chaos!
- Junk Drawer: You knew this one was coming! It’s a great place to start. Toss old takeout menus (does anyone still have those?), junk mail, pens that don’t work, and random knickknacks.
- Silverware and Utensils: Organize and remove duplicates. This is a great time to clean out whatever organizer you use to store your silverware and utensils. Wipe down the drawer or container.
- Pantry: Check expiration dates and toss stale or unused items. Donate what you won’t eat. Place items that are nearing expiration at the front of the pantry to be used first in this month’s meals.
- Refrigerator and Freezer: Toss expired condiments and leftovers. Wipe down the shelves. I am great about cleaning out our refrigerator, but I always forget to clean out the freezer.
- Cookware, dishes, and glasses: Declutter pots, pans, dishes, and glassware. Donate duplicates or items you rarely use. Empty each drawer or cabinet, clean, and organize the items you are keeping.
- Spices and Oils: Check expiration dates and organize. Refill your spices if applicable. Toss out or recycle old or empty containers.
- Countertops: Clear off appliances and tools you don’t use daily. Clean small appliances. Declutter anything you no longer need.
Bonus Weekend: Garage, Hallways, and Miscellaneous Areas
Use the final two days to tackle those spaces that often get overlooked.
- Tools: Whatever your tool storage system is, take some time to declutter and organize.
- Storage Area or Car: Spend 30 minutes clearing out and organizing a small section or space in your home that could use a little attention. This might be a utility closet, a corner of your garage, or your car. Choose your space, declutter, clean, and organize.
That’s it! You’ve completed the decluttering checklist and you are well on your way to a new, fresh start this year.
Get Your Free Decluttering Checklist Printable Here
Sign up to get instant access to this decluttering checklist and the rest of my growing free resource library.
Can I Ask a Favor?
I pour a lot of love into creating and sharing these free printables, and I hope they bring value to your life. If they’ve been helpful to you, could you do me a small favor?
Help my new, small blog grow by following me on your favorite social media platform.
Your support makes all the difference and allows me to keep creating and sharing! Thank you so much!
Tips for Success With This Decluttering Checklist
- Set a Timer: Give yourself a specific amount of time for each task. It keeps things manageable and prevents overwhelm.
- Create Categories: As you declutter, sort items into categories: keep, donate, sell, and toss (recycle, upcycle, and trash).
- Celebrate Small Wins: Even 5 minutes of decluttering can make a difference. Celebrate your progress!
- Get the Family Involved: If you have kids or a partner, enlist their help. Make it a game or a team effort.
- Don’t Strive for Perfection: Remember, the goal is progress, not perfection. Do what you can, when you can.
- Clean as you go: keep a dusting cloth, cleaning rag, multi-purpose spray, and vacuum with you as you go to light cleaning.
If you want to do full New Year Deep Cleaning, Check out this article for the details and get inspired for your next project!
The Payoff
By the end of this 30-day decluttering checklist, your home will feel lighter, and so will you! Decluttering isn’t just about tidying up your space—it’s about making room for what truly adds value to your life be freeing you from the time it takes to care for an overabundance of belongings. Take it one step at a time, and let this process be a shift toward a home and mindset that works better for you.
I have a long way to go to declutter our home, so please share your favorite decluttering tips in the comments!


Join the List
Stay up to date & receive the latest posts in your inbox!
0 Comments