DIY Gingerbread Garland (A Simple, Kid-Friendly Christmas Craft)
These handmade gingerbread garlands turned out so much cuter than I could have imagined! I love that they were made by our kids and will be something I can keep for years—long after their little hands aren’t so little anymore. If you are also a sentimental- or economical- soul and you’re looking for an adorable, beginner-friendly Christmas craft that uses mostly what you already have at home, this DIY gingerbread garland is perfect.
All you need is a cardboard box, some inexpensive puffy paint, and a spark of imagination.
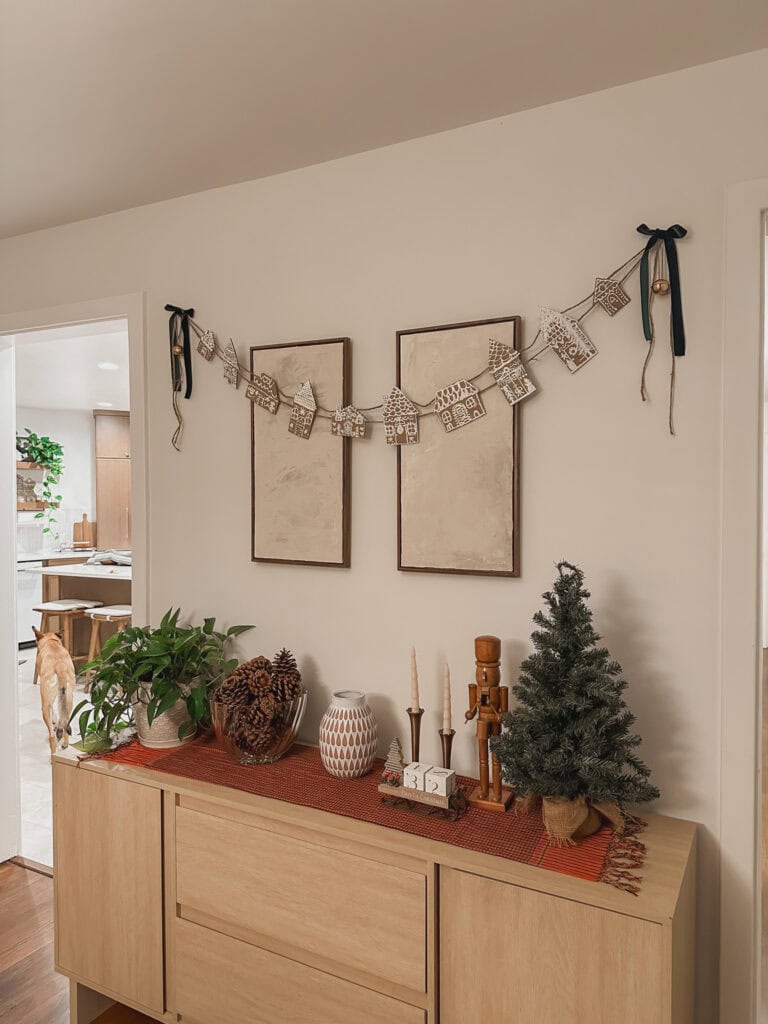
Whether you’re decorating your living room, playroom, or a cozy corner that needs a little holiday magic, this simple gingerbread garland adds the sweetest homemade charm!
How to Make a DIY Gingerbread Garland
This gingerbread garland is surprisingly easy, which makes it ideal for crafting with kids. You can keep the houses simple or get creative with detailed “icing” decorations—everything looks cute with this method.
Step 1: Cut Out Your Gingerbread Houses
Start with any cardboard you have on hand—shipping boxes work perfectly. Use scissors or a craft knife to cut large, flat pieces.
Draw the outline of a simple house shape directly onto the cardboard. Keep it basic: a square or rectangular body and a triangular roof. Don’t forget to add a chimney for a winter look!
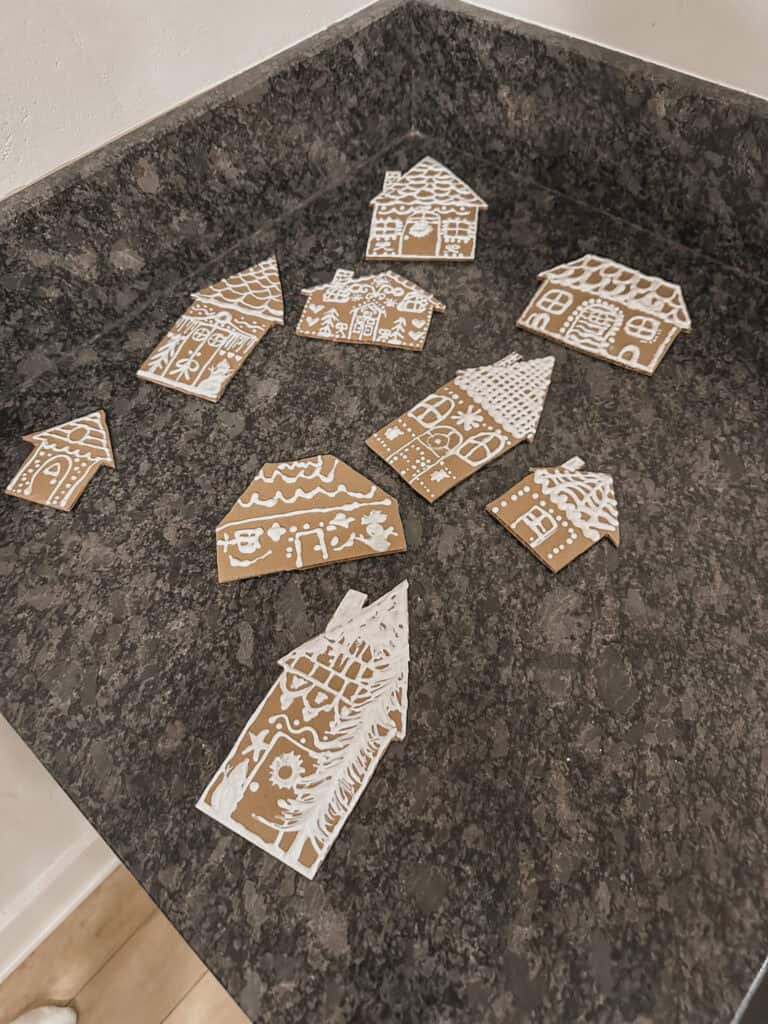
Once you have a template you like, cut out as many houses as you want for your garland. I made about ten and let each kid decorate a couple, and I made one too.
Step 2: Add Doors, Windows, and Cute Details
Now the fun part. Have your kids use puffy paint to draw in the “gingerbread house” features using: doors, windows, rooftops, snow, porches—whatever they’re inspired by. You can scroll through Pinterest or Google Images for ideas, but even the simplest designs look adorable.
Here are some easy, classic decorative elements you can add:
- Hearts
- Polka dots
- Wavy filigree
- Stripes
- Snowflakes
- Icicles (can’t say I have ever had to write or spell that word, and it doesn’t look right!)
- Candy-cane borders
- Christmas tree shapes
Encourage your kids to fill in any blank areas with tiny designs. The more variety, the cuter your finished gingerbread garland will look.
Puffy Paint is Perfect for Gingerbread Garlands
We used white puffy paint, which you can find at any craft store. Puffy paint is extremely forgiving, which makes this project especially kid-friendly. Even if your lines are wobbly or uneven, the texture and color give everything that perfect “iced cookie” look.
Squeeze the puffy paint directly over the pencil lines, outlining doors, windows, and every decorative detail. The raised effect is what makes the cardboard houses look like real gingerbread cookies.
Let the pieces dry for at least 24 hours so the paint can fully set.
Step 3: Turn Your Houses Into a Garland
Once everything is dry, it’s time to string your gingerbread garland together.
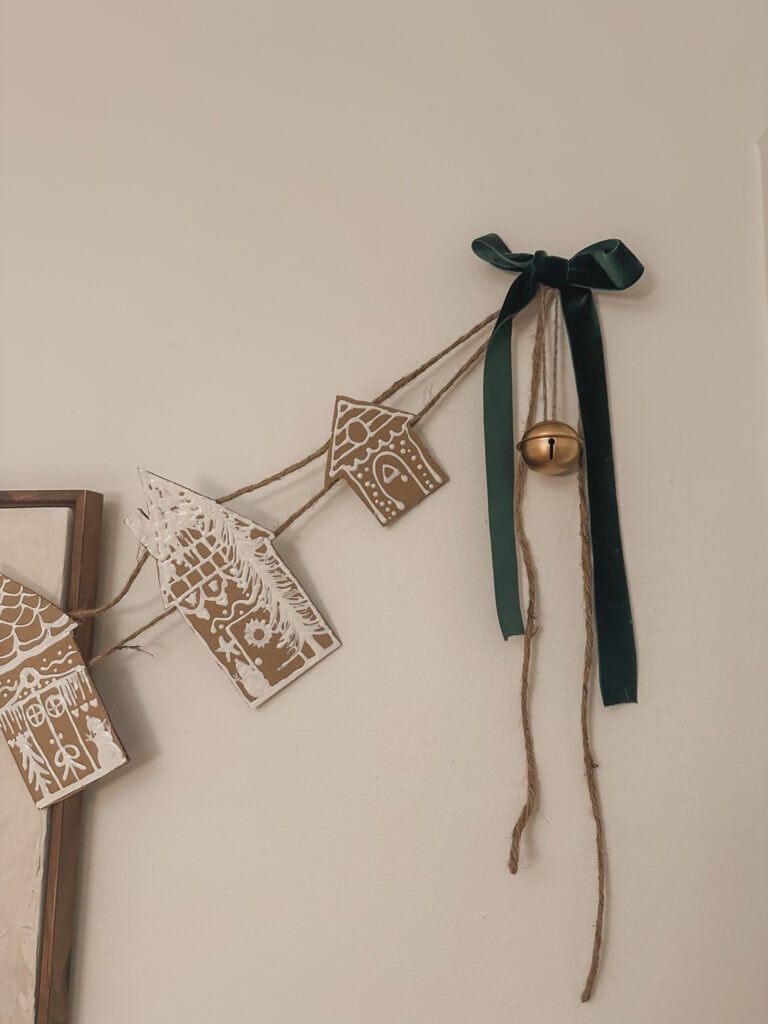
I used two strands of twine for extra stability and hot-glued them to the backs of the cardboard houses. When hung, this helps them lay flat and look straight.

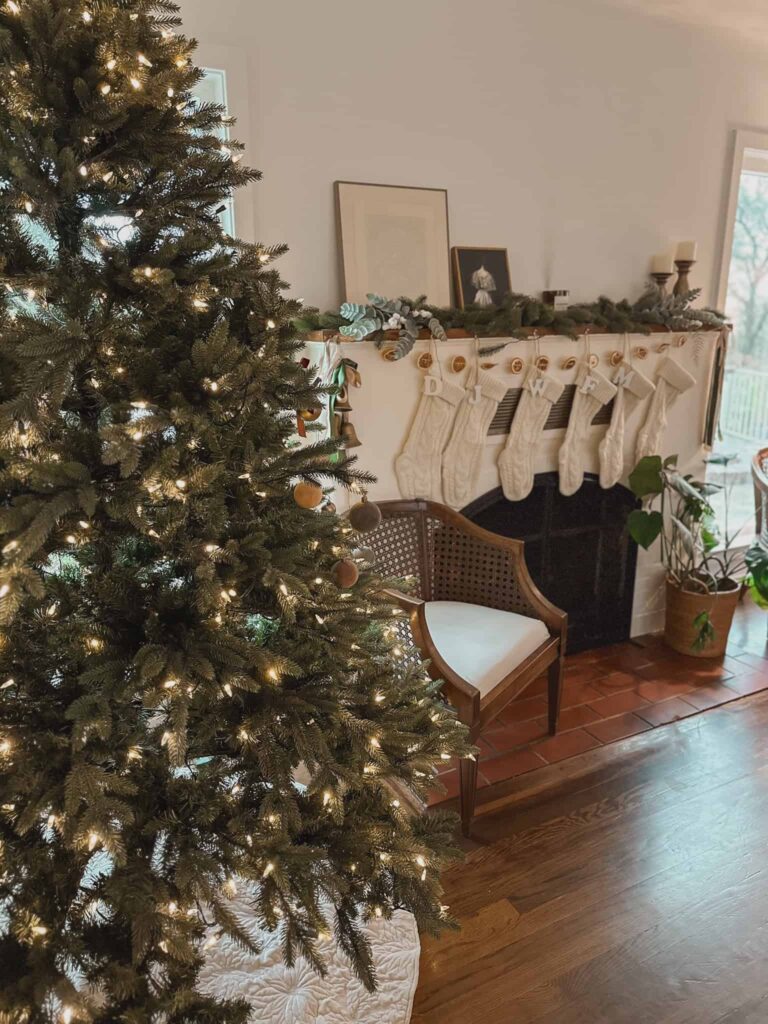
To display the garland, I stuck small Command hooks on the wall and looped the twine over them. To hide the hooks, I tied velvet ribbon into bows and placed them on top—it instantly elevated the whole look.
Gingerbread Garland and Lasting Memories
This DIY gingerbread garland was such a simple, joyful Christmas craft, and the kids had the best time creating their own tiny gingerbread cookie houses. I love that it cost almost nothing, used materials we already had around the house, and turned into a keepsake I’ll treasure every year.
If you’re looking for a beginner-friendly holiday craft to make with your kids, this gingerbread garland is truly perfect. We’re already planning to make more for other rooms in the house—and maybe even give some as gifts!
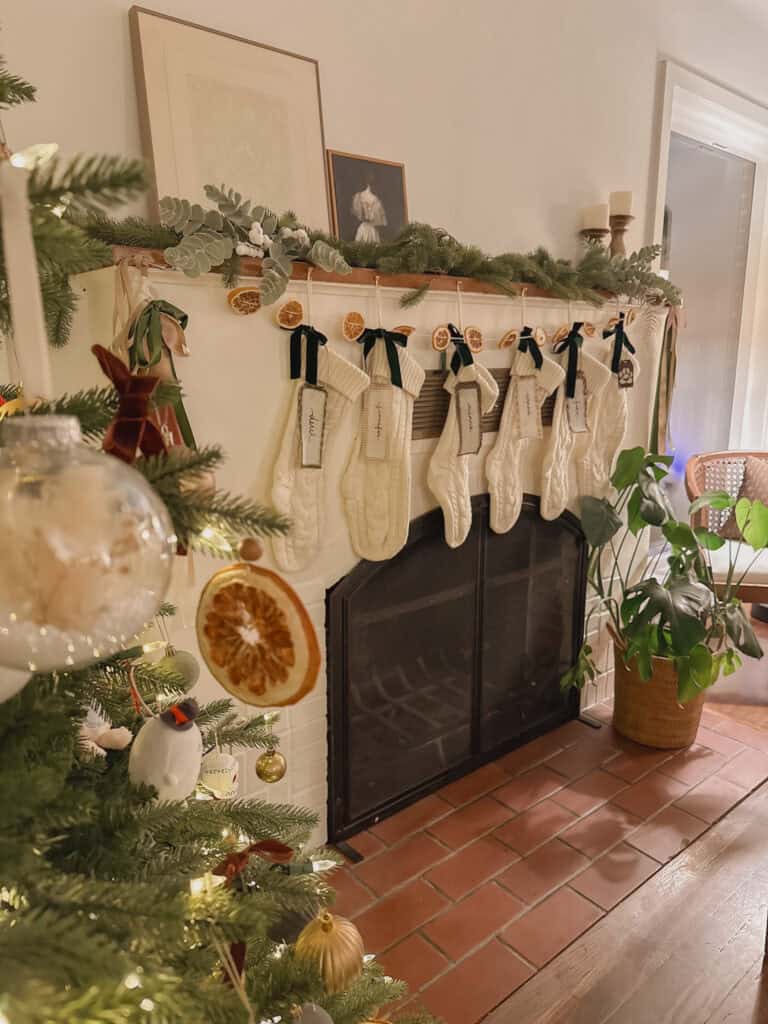
Looking for more Christmas decor ideas?
Read this article next to make your own custom stocking tags!


Join the List
Stay up to date & receive the latest posts in your inbox.