Make Your Car Smell Great with a DIY Essential Oil Diffuser for the Car
Create your own DIY essential oil diffuser for the car in minutes with only a few simple items. Bringing a little aromatherapy into your daily routine can make even the most ordinary spaces feel more inviting. If you’re looking to skip store-bought air fresheners full of questionable ingredients, this DIY essential oil diffuser is a simple, handmade alternative. Made from air-dry clay, it’s a stylish and eco-friendly way to add your favorite scents to your car, closet, bathroom, or even your dresser drawers.
In this tutorial, you’ll learn how to make your own clay diffuser pendants—no special skills required. It’s an easy, creative project with endless possibilities for customization.
As an Amazon Associate, I receive a small commission (at no additional cost to you) for qualifying purchases on items purchased through the links in this post.
Why Use an Essential Oil Diffuser for the Car?
An essential oil diffuser for the car serves as a natural alternative to artificial air fresheners. It allows you to enjoy the benefits of aromatherapy while driving, creating a more pleasant, focused, or calming atmosphere. The best part? These diffusers are reusable and customizable, so you can switch out the scents based on your needs or mood.
Benefits of Using Essential Oil Diffuser in the Car
- Focus and Attention: Essential oils like peppermint or rosemary are great for promoting mental clarity while driving.
- Stress Relief: Lavender and chamomile can create a calming environment during stressful commutes.
- Energy Boost: Citrus oils like lemon, orange, and grapefruit are uplifting and invigorating.
- Clean and Fresh Air: Tea tree and eucalyptus have purifying properties that can help freshen the air.
A Word of Caution
While essential oils are natural, some can be harmful to pets, kids, or those with sensitivities. Always research the oils you plan to use and ensure they’re safe for everyone in the space.
How to Make Your Essential Oil Diffuser for the Car
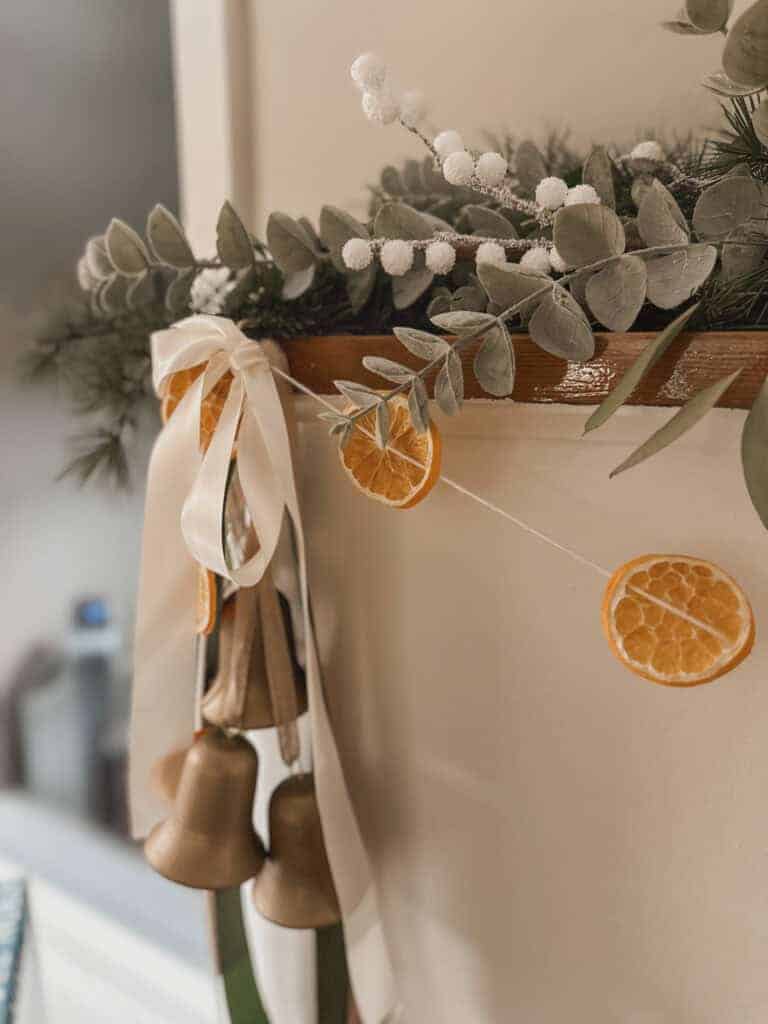
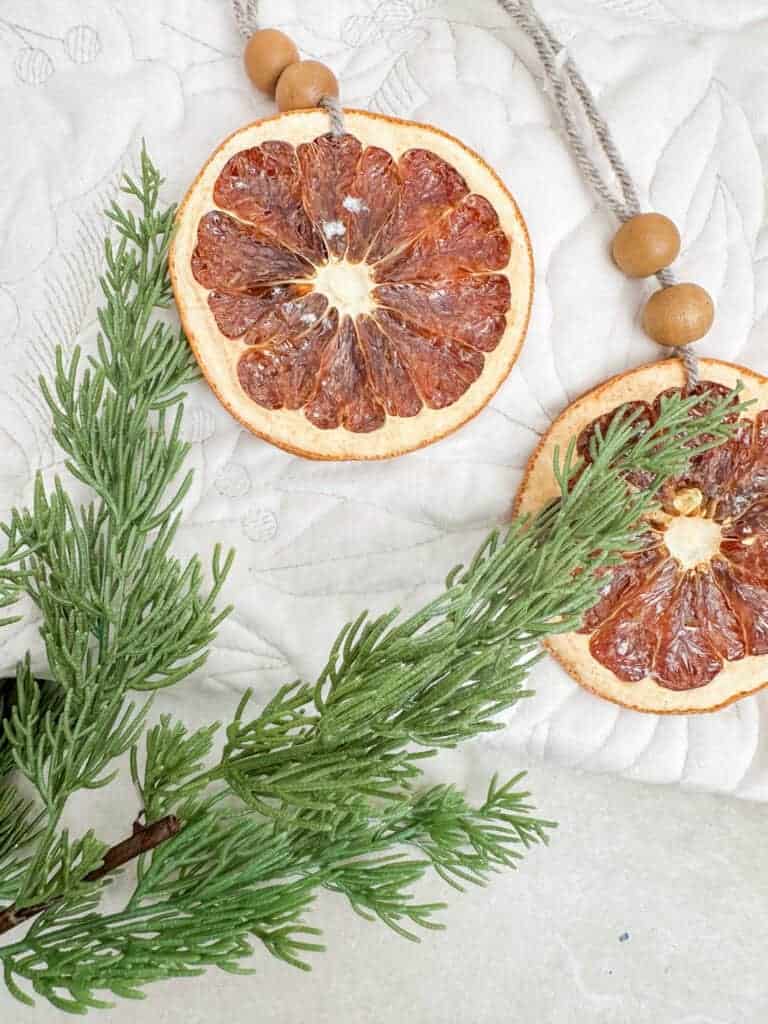
This project involves crafting small clay pendants that you can hang with twine or string. Once finished, these diffusers will hold a few drops of your favorite essential oils and release the scent slowly over time.
Supplies You’ll Need:
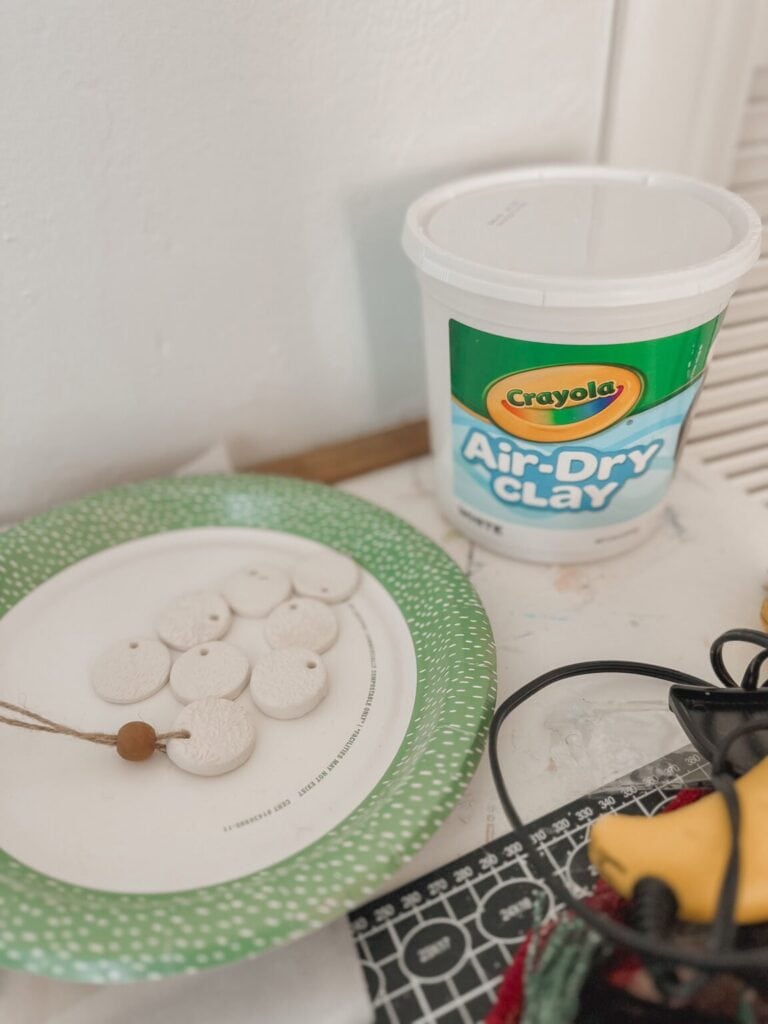
- Air-dry clay
- Rolling pin
- Shape cutters (e.g., circles, stars, hearts). Or use any small circular object like a very small glass, a cap or lid from a bottle, or other similar small circular items.
- Clay tools (or improvised tools like chopsticks, paintbrushes, or toothpicks)
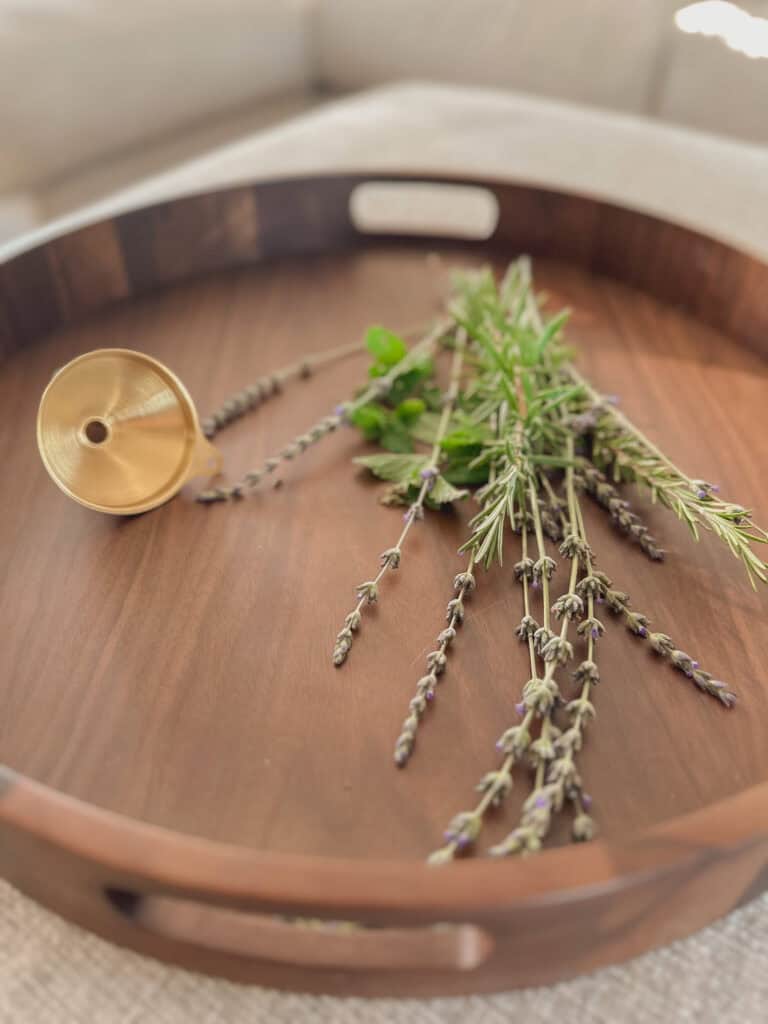
- Dried or fresh flowers and herbs (e.g., lavender, rosemary, daisies) to press into the clay or you can you a floral clay roller, which is what I did for this project.
- Twine or natural fiber string
- Optional: Beads for decoration. I used wood beads that I found at the Dollar Store.
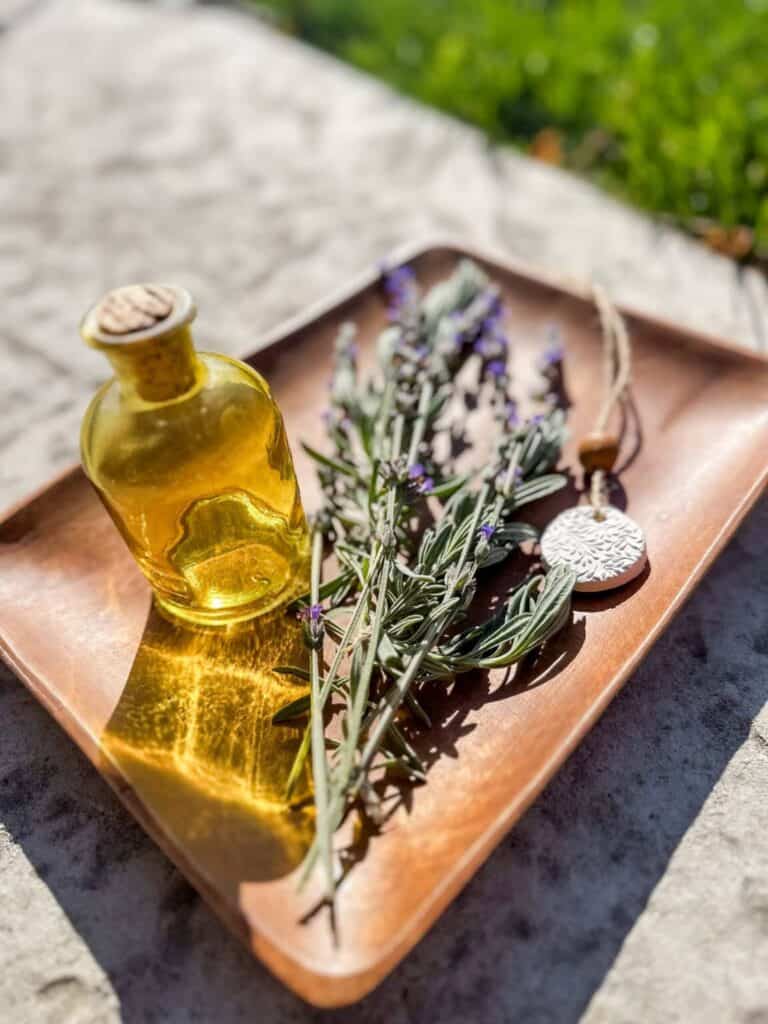
- Essential oils of your choice. I used lavender essential oil.
Step 1: Roll Out the Clay
Start by rolling out a piece of air-dry clay to about ¼ inch thickness. A flat, smooth surface works best for this step. Roll it out on parchment paper to contain the mess and protect the table, if desired. But air-dry clay is very easy to clean up. If the clay sticks to your rolling pin, use a sheet of parchment paper between the pin and the clay.
Step 2: Cut Out Your Shapes
Use shape cutters to cut the clay into your preferred designs. Circles, stars, hearts, and geometric shapes work beautifully but feel free to get creative. If you don’t have shape cutters, you can use the rim of a glass or freehand designs with a knife.
Step 3: Add Texture and Patterns
Here’s where you can personalize your diffuser:
- Press dried or fresh flowers (like lavender sprigs) gently into the clay to create impressions.
- To highlight the flower impressions, create a border around them using the rounded end of a small paintbrush or a similar tool.
- Use clay tools, the back of a paintbrush, or chopsticks to add patterns like dots, lines, or other intricate designs.
- Or use a patterned roller to roll on the design.
Step 4: Punch a Hole for Hanging
Before the clay dries, use a toothpick, chopstick, or the back of a small brush to punch a hole near the top of each shape. This will allow you to thread twine or string through later. Make sure the hole is large enough for your chosen string.
Step 5: Clean Up the Edges
Dip a small paintbrush in water and gently smooth the edges of each piece. This will remove any roughness and give the pendants a polished look. I like to do this after the clay has dried for maybe an hour or 2. When the clay is slightly dry, this wet brushing technique gives very smooth surface.
Step 6: Allow the Clay to Dry
Let the clay pieces dry completely. Drying time will depend on the thickness of the clay and the temperature of your space, but typically, it takes 24–48 hours. Place them in a well-ventilated area and avoid touching them while they harden. Place in the sun to dry faster.
Step 7: Add String and Optional Decorations
Once the clay is fully dry, thread natural fiber twine (or any string you have) through the hole and knot it. You can add wooden or ceramic beads to the string for extra decoration.
Step 8: Add Essential Oils
Finally, add a few drops of your favorite essential oil to the clay pendant. The porous nature of air-dry clay allows it to absorb and slowly release the scent over time. Reapply the oil as needed when the scent fades.
Essential Oil Combinations for Driving
Here are a few simple blends that work well for cars and small spaces:
Focus and Clarity:
- 2 drops of rosemary
- 2 drops of peppermint
Stress Relief:
- 3 drops of lavender
- 2 drops of chamomile
Energy and Uplift:
- 3 drops of orange
- 2 drops of lemon
Freshness and Clean Air:
- 2 drops of eucalyptus
- 2 drops of tea tree
Safety and Comfort:
- 3 drops of cedarwood
- 2 drops of vanilla
Versatile Uses for Your Clay Diffuser
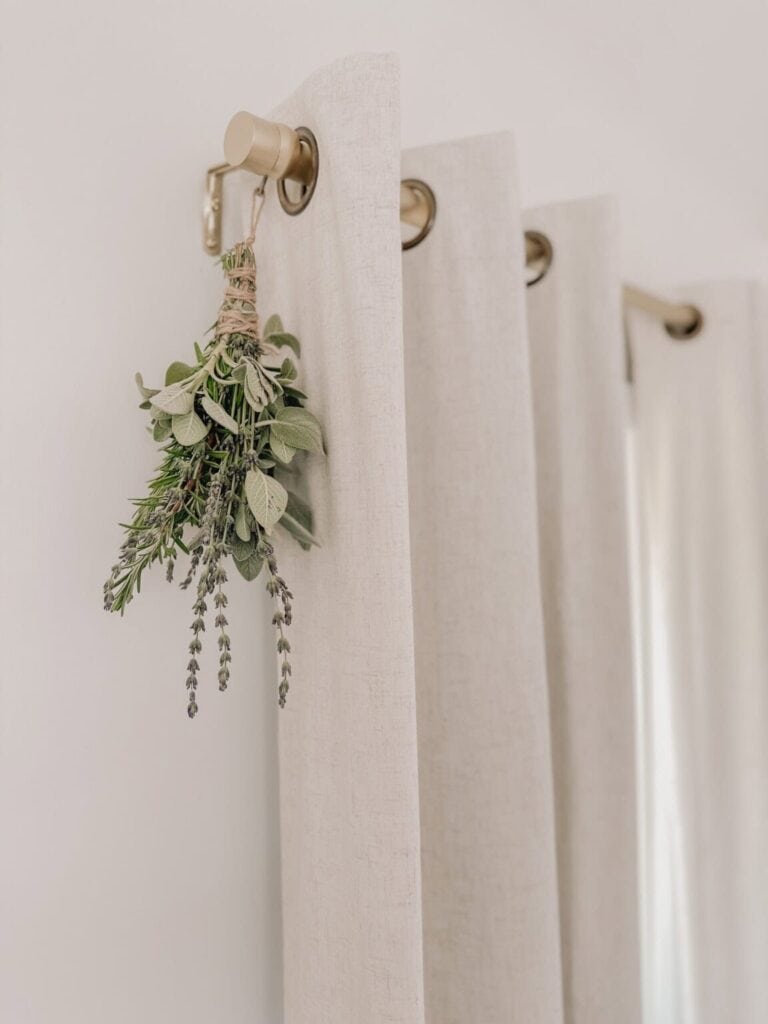
These diffusers aren’t limited to your car! Try hanging them in any small space like the following:
- Closets: Keep clothes smelling fresh.
- Bathrooms: Add a spa-like touch.
- Drawers: Infuse linens with subtle scents.
- Workspaces: Use focus-promoting oils to stay sharp.
How Long Does the Scent Last?
That’s a tricky question because it really depends on a few factors—how much essential oil you use, your personal sense of smell, and the size and airflow of the space. I made these right before Christmas, and the one in my car still smells great three weeks later. However, the ones I made for our kids’ rooms to encourage calm and restful sleep have mostly lost their scent by now.
Since these are made from natural materials, they don’t have the same staying power as commercial air fresheners with synthetic chemicals. But on the plus side, they’re free from the harmful ingredients found in those products.
If your clay diffuser starts to lose its scent, just refresh it with a few more drops of essential oil!
A Sustainable and Handmade Touch
Using natural materials and essential oils, you’re choosing a more sustainable way to freshen up your space—without the synthetic stuff. And since each diffuser is handmade, no two are exactly alike, making them a unique and personal touch. Whether you’re making them for yourself or as a thoughtful gift, these clay pendants are an easy, eco-friendly way to enjoy aromatherapy in any small space.
Taking the time to create your own essential oil car diffuser means you get a scent that’s completely yours, wherever you go.
Want to try another simple essential oil project? Check out my go-to DIY for making a natural linen and room spray.

Join the List
Stay up to date & receive the latest posts in your inbox.